Insulation and sealing
Planning roof insulation with rigid PIR boards
In brief
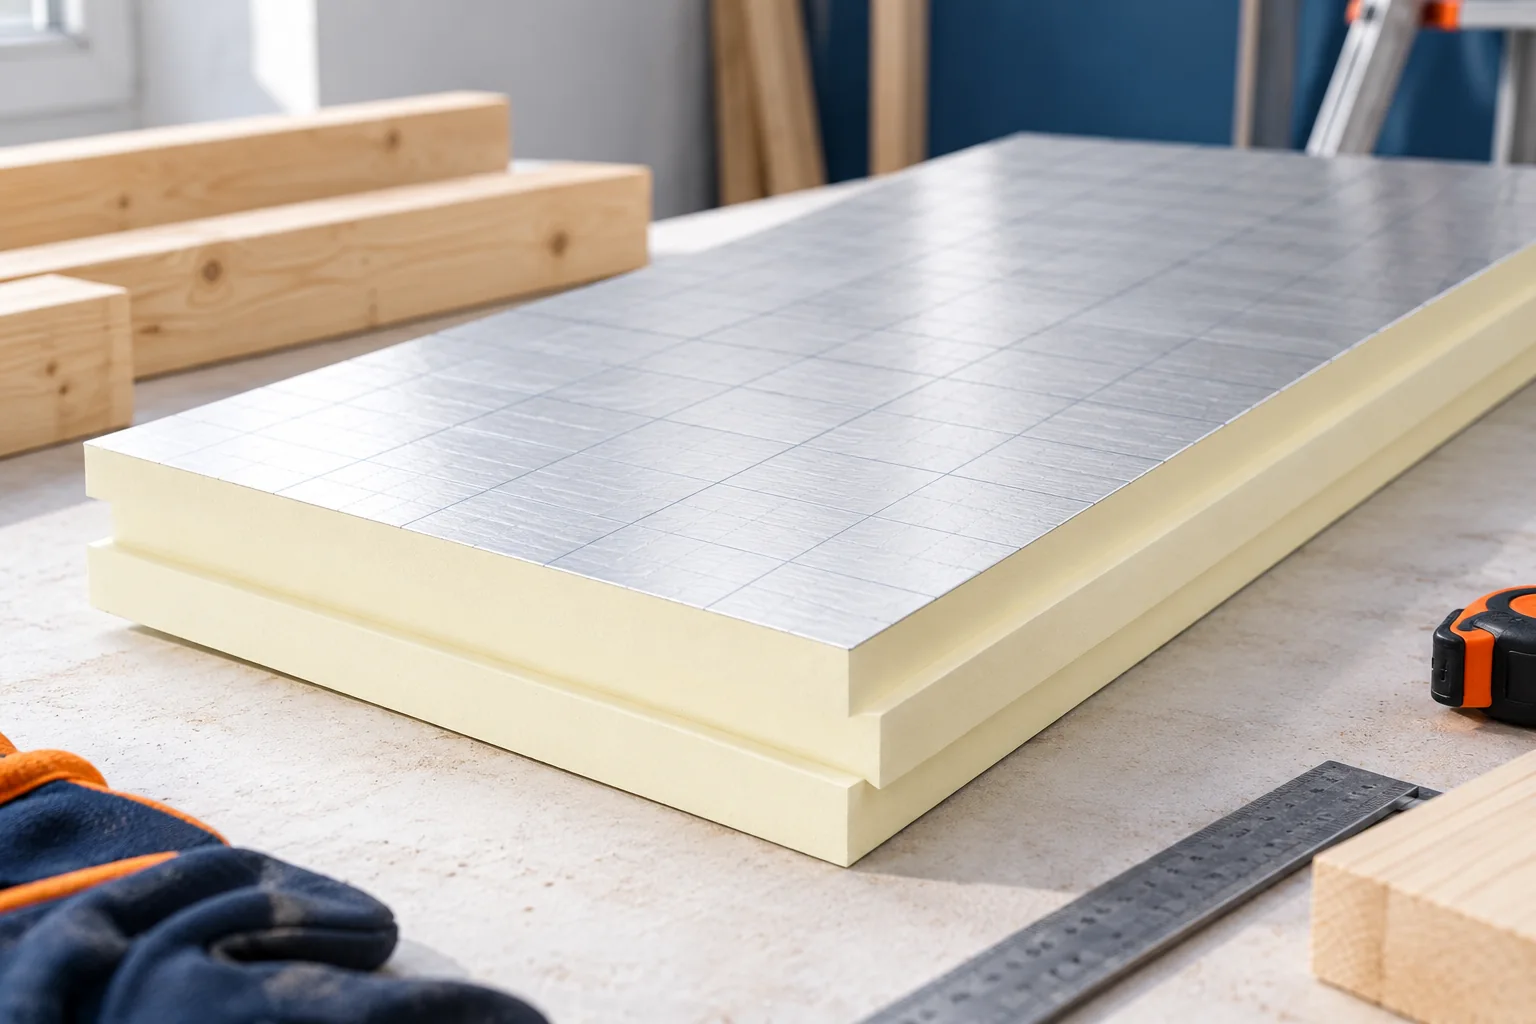
The key decision when insulating a roof with PIR boards is choosing the whole layer build-up, not just the insulation thickness. Before buying, check that the substrate is dry and loadbearing and whether the existing layers need replacing. Also settle how you will detail the junctions at the eaves, wall plate and openings, as these determine airtightness. A board with a thin aluminium facing remains an insulation material, not a roof sandwich panel. Without a detailing plan, even low lambda will not guarantee the expected performance.
Step one: determine the roof type
A pitched roof on a timber frame, a roof on structural steel decking and a flat roof each have different substrates and load transfer paths. A board with a thin aluminium facing is an insulation material. It should not be treated as a roof sandwich panel with steel facings. Nor will it on its own replace the structure beneath the covering.
Before the works, determine the internal conditions and the state of the existing layers. Insulating from above when replacing the covering offers different possibilities than renovating a finished loft from inside. Moisture and the suitability of the substrate must be checked. Covering damp construction with a sealed facing is not a way of drying it out.
Step two: calculate the required insulation
The thickness results from calculating the entire building element. For an example PIR board with a lambda of 0.022 W/(m·K), a 100 mm layer gives a thermal resistance of approximately 4.55 m²·K/W. This is the value of the layer alone. It is not the U-value of the finished roof. The calculation must account for the other materials and the places where heat flows more easily.
For the same resistance, a material with a lambda of 0.036 W/(m·K) requires approximately 164 mm of thickness. This is where the advantage of PIR lies where construction height matters. It does not mean an advantage in all applications. Mineral wool may be more favourable due to fire and acoustic requirements, and selected XPS under conditions of high moisture.
Step three: prepare the joint design
The drawings must resolve the eaves, ridge, gable walls, wall plate and openings. The insulation should connect with the wall insulation without an accidental gap. Leaving an uninsulated strip at the edge will limit the benefit of the boards’ good lambda. The details should be prepared before ordering flashings and fasteners.
In the above-rafter system, the fixing of the batten grid through the insulation layer to the structure must be designed. The length and arrangement of the screws result from the adopted system and the loads. The board’s declared compressive strength alone does not determine the permissible support spacing. Nor does it permit heavy packs to be stored on the finished insulation.

Step four: lay the boards without empty gaps
The substrate should allow even support in accordance with the instructions. The boards are laid in the specified direction and sequence. Straight edge, overlap and tongue-and-groove require appropriate joining. They are not interchangeable merely because they all belong to the same insulation group. Damaged joints must be assessed before installation.
Match cut-offs to the actual dimensions. Do not leave gaps on the assumption that the membrane will cover them. The method of filling and sealing them is selected according to the system. In a multi-layer arrangement, the design may require staggered joints. During work, protect the facings from tearing and avoid walking on unsupported sections.
When purchasing, account for the coverage area after joining the edges. A milled board may have a smaller coverage than its external dimension suggests. The area calculation should also include cut-offs at openings. It is worth drawing the layout so as not to create many narrow strips in places requiring tight contact.
Step five: maintain control of vapour and water
The vapour control layer requires continuity at walls, openings and service penetrations. An unsealed perimeter can let moist air through despite the sealed surface of the boards themselves. Joints are made with materials compatible with the substrate. A random tape may detach under the influence of temperature or dirt.
From above, the insulation needs protection appropriate to the roof assembly. The low water absorption of PIR does not make the board a finished covering resistant to all construction conditions. Open joints must not be left exposed during long periods of rainfall. If the roof requires a ventilation gap under the metal sheet, its cross-section and patency must be maintained also at flashings.
Step six: check the layers before covering
Acceptance covers continuity of insulation, edge fit, seals and seating of fasteners. Check especially the areas around the chimney and windows. Fire requirements result from the specific assembly. PIR is not a non-combustible material, and a thin film on the surface does not justify omitting the required distances and protections at hot elements.
Take photos of the joints before installing the final covering. Record the thickness, type of facings and board data. This will allow later assessment of extension or repair options. An insulated roof should perform as a coherent building envelope. A good material delivers the expected result only when it is not interrupted by open gaps and poorly finished edges.
7 branches. Materials closer to your project.