PIR insulation
Replacing the roof covering with Powerroof: retaining the finished loft interior
At a glance
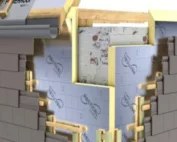
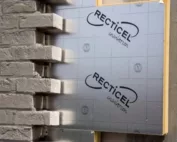
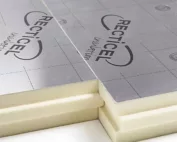
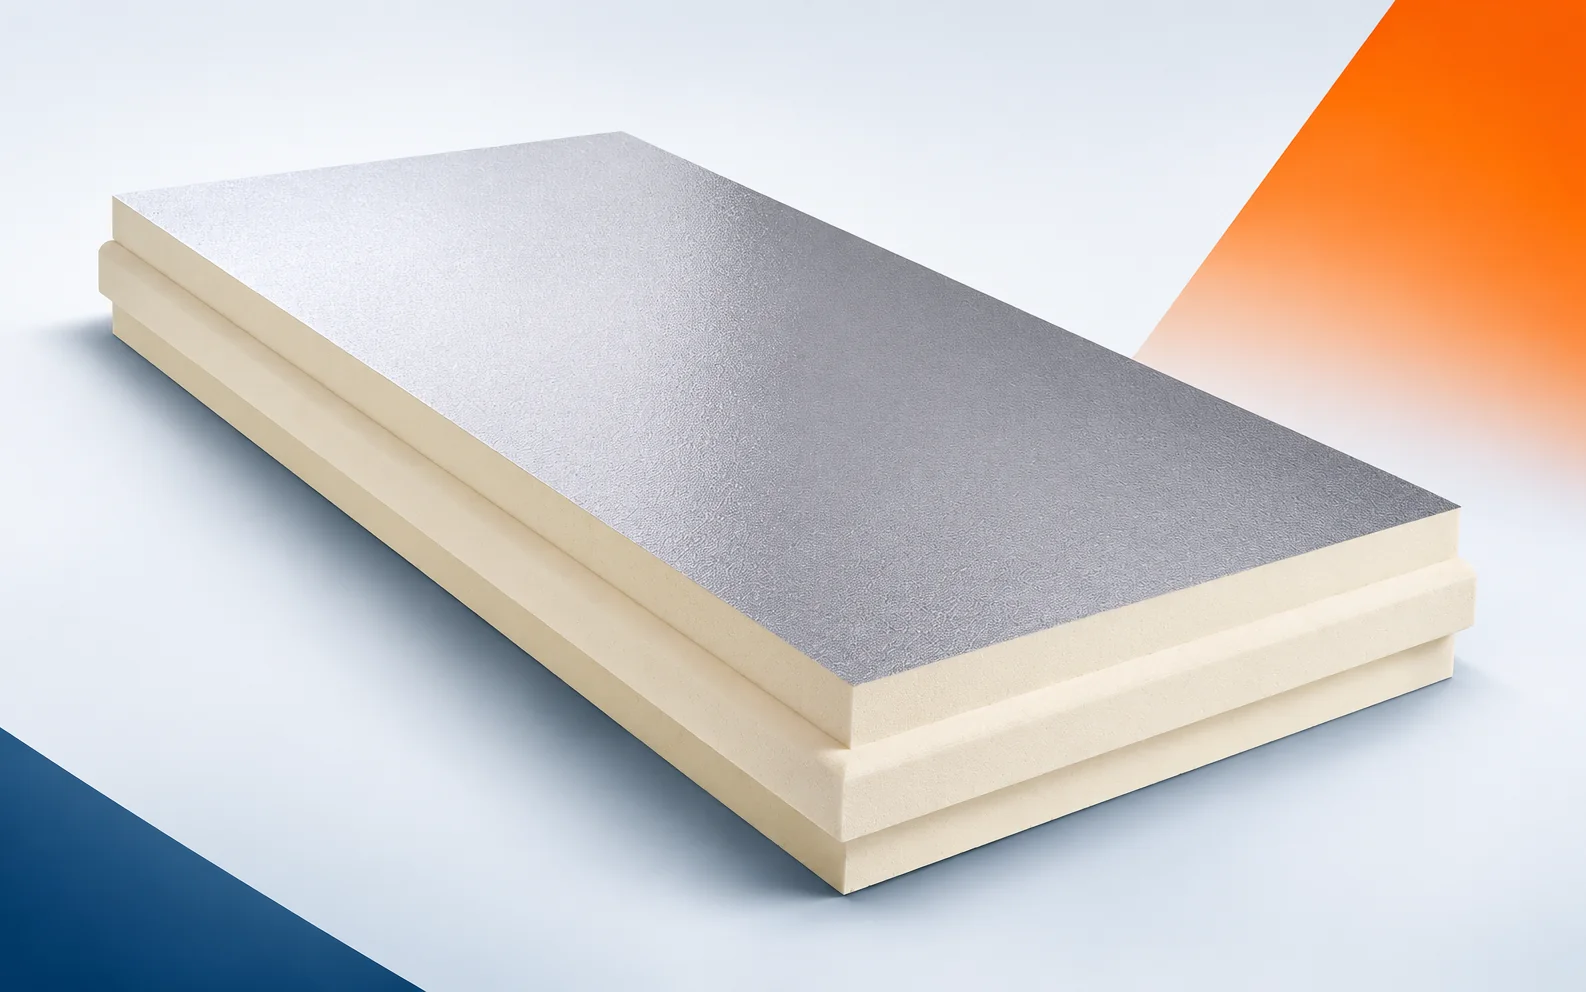
A finished attic is a strong argument for carrying out part of the work from the outside. Powerroof can make this type of thermal insulation possible, but not always without changes to details. Before renovation, access, weather, the condition of the timber and the possibility of closing the roof tightly must be checked. Recticel Powerroof is a PIR board for above-rafter thermal insulation of pitched roofs. It has an aluminium facing and a tongue-and-groove joint on all four edges. During the pre-renovation inspection, check the above-rafter Powerroof layer running over the timber structure of the pitched roof slope. Powerroof must be run over the rafters while ensuring proper fixing of the entire covering before determining the scope of demolition and preparing the old building envelope. The new surface does not solve everything: continuous insulation does not replace the elements that transfer forces from the covering to the structure.
Identifying the location before renovation
Demolition and repair work are intended to allow the arrangement above the rafters to be used without omitting support and changes to the roof geometry. Before the PIR boards cover the old layers, document the course of the insulation layer, the height of the roof slope and the design of the connection to the timber elements.
Drying conditions after renovation
Replacing the roof covering with Powerroof requires planning the water drainage path, including at the terminations and laps of the protective layer. The aluminium surface of the insulation does not constitute a finished detail for every opening in the roof slope. The retained roof elements must be connected to the new protections.
Before covering the existing structure, examine the point where the chimney passes through the thermal insulation and the separate water-draining layer. At the chimney, the rain-protection layer must be closed independently of the groove of the PIR boards, before the new build-up conceals the places important for assessing the cause of the problem. Adding insulation alone does not close the matter when the aluminium facing of Powerroof does not itself form the chimney flashing and its terminations. The polyurethane foam in the finished product does not replace the repair; first the continuity of the water shield must be planned independently of the method of joining the PIR boards. After preparing the area, check again the run of the laps, the treatment of the penetration and the protection of the open roof slope during the installation break, instead of basing acceptance on the appearance of the new surface.
During renovation with Powerroof, the position of the layers above the timber structure changes. The existing roof windows, chimneys and eaves must therefore be checked. The assumption that all existing flashings will remain requires confirmation on cross-sections. A benefit may be the retention of the internal attic build-out, but this does not always eliminate other works. The estimate should show both areas: the works retained and the works resulting from the new geometry.
Thermal effect after changing the layers
When retaining the finished attic, the thickness required for a given thermal resistance of Powerroof can be compared. The declared lambda of 0.022 W/(m·K) is used for this calculation. Low conductivity helps to limit the insulation layer, but the selection still requires defining the expected effect.
Given the constraints of the existing geometry, consider the resistance of the layer determined from the thickness of Powerroof and a lambda of 0.022 W/(m·K). When calculating the roof slope with Powerroof, the fasteners penetrating the thermal insulation layer must also be taken into account, before the limited space forces a change to the designed cross-section. The parameters recorded in the old documentation may not be sufficient, because a favourable value for the middle of the board does not automatically describe the result at every roof detail. When comparing what the new polyurethane boards will provide, the space saving should be related to the result for the full cross-section rather than to the foam alone. To the measurements of the existing condition, add the fixing parameters, the course of the junction at the eaves and the actual thickness of the insulation at the terminations, and later compare them with the planned cross-section.
Cut-outs and difficult terminations
Prepare the quantity take-off for Powerroof using the covering area of 2380 × 1180 mm. The external dimension of 2400 × 1200 mm is larger because part of the geometry includes the tongue and groove. In a renovation, this difference affects the number of sheets and the width of the final cut pieces.
On the drawing of the junction between the old and new sections, distinguish the overall dimensions of 2400 × 1200 mm from the effective coverage dimensions of 2380 × 1180 mm. Calculate the number of Powerroof boards from the net coverage area, then allow for cutting waste. Using the gross dimensions overestimates the area that the same number of boards can cover and risks a material shortage. Before ordering, draw the full rows, the junctions with retained components and the cuts around valleys and roof windows. On delivery, check that the edge variant corresponds to the assumed coverage and that the cutting layout maintains continuity of the new insulation layer.
Limitations that thermal insulation does not remove
In the description of Powerroof, retain CS(10/Y)150 and the fire reaction D-s2,d0. This class is not a declaration of non-combustibility of PIR. Nor does it determine the fire resistance of the entire roof, which must be considered for the complete system, including after renovation changes.
In the building being renovated, re-check the D-s2,d0 and CS(10/Y)150 classes specified for the Powerroof board. The Powerroof Euroclass must be kept separate from the fire resistance and load-bearing capacity of the complete roof, including where some components remain from the previous system. Changing the layers may reveal other limitations, and neither the Euroclass nor the compression result on its own determines the load-bearing capacity of the roof covering fixing. Before leaving an old component in the system, it is worth checking the mechanical and fire requirements at the correct level of assessment for the solution. In the inspection report and the repair design, keep documentation of the entire roof and of how loads and wind forces are transferred to the structure.
How to accept the renovated junctions
The Powerroof estimate should be based on the geometry of the roof slopes and the effective covering, with openings priced separately. Before you compare deliveries, also establish the height of the new cross-section at the windows and at the eaves. These places determine the extent to which the covering must be adapted to the building components that are being retained.
In a renovation estimate for “polyurethane insulation”, analyse the scope of rebuilding the eaves and flashings after adding the Powerroof above-rafter layer. The cost of the above-rafter layer should take into account the changes to flashings resulting from the new height of the roof slope, and the final scope must be confirmed once the necessary repairs have been identified. The existing condition affects the scope of the contract, because retaining the existing attic construction may require a greater scope of work on the outside. Once the layers have been uncovered, renovation options can be reliably compared, taking into account the interior space and changes in the geometry of the roof slope. Before you finally order the material, confirm the net covering, the bill of quantities for fixing, flashings and work at the existing roof windows with the contractor responsible for preparing the old part.
7 branches. Materials closer to your project.