PIR insulation
Adding PIR insulation to an old flat roof: checking the layers beneath
At a glance
New PIR boards can improve the thermal performance of an old flat roof. First, however, the condition of the covering, the substrate and the concealed layers must be established. Key points are damp areas, drains and the height of the parapet. A good renovation plan combines thermal insulation with repair of these details. PIR boards for a flat roof are selected according to how the covering is constructed. Aluminium laminate, glass fleece and bitumen-coated facing are not interchangeable surfaces. The old covering can become a substrate only after its condition and compatibility have been assessed. Not every adhesive and new facing are compatible with the surface left in place. If the old waterproofing is retained, its role in the new build-up must be established.
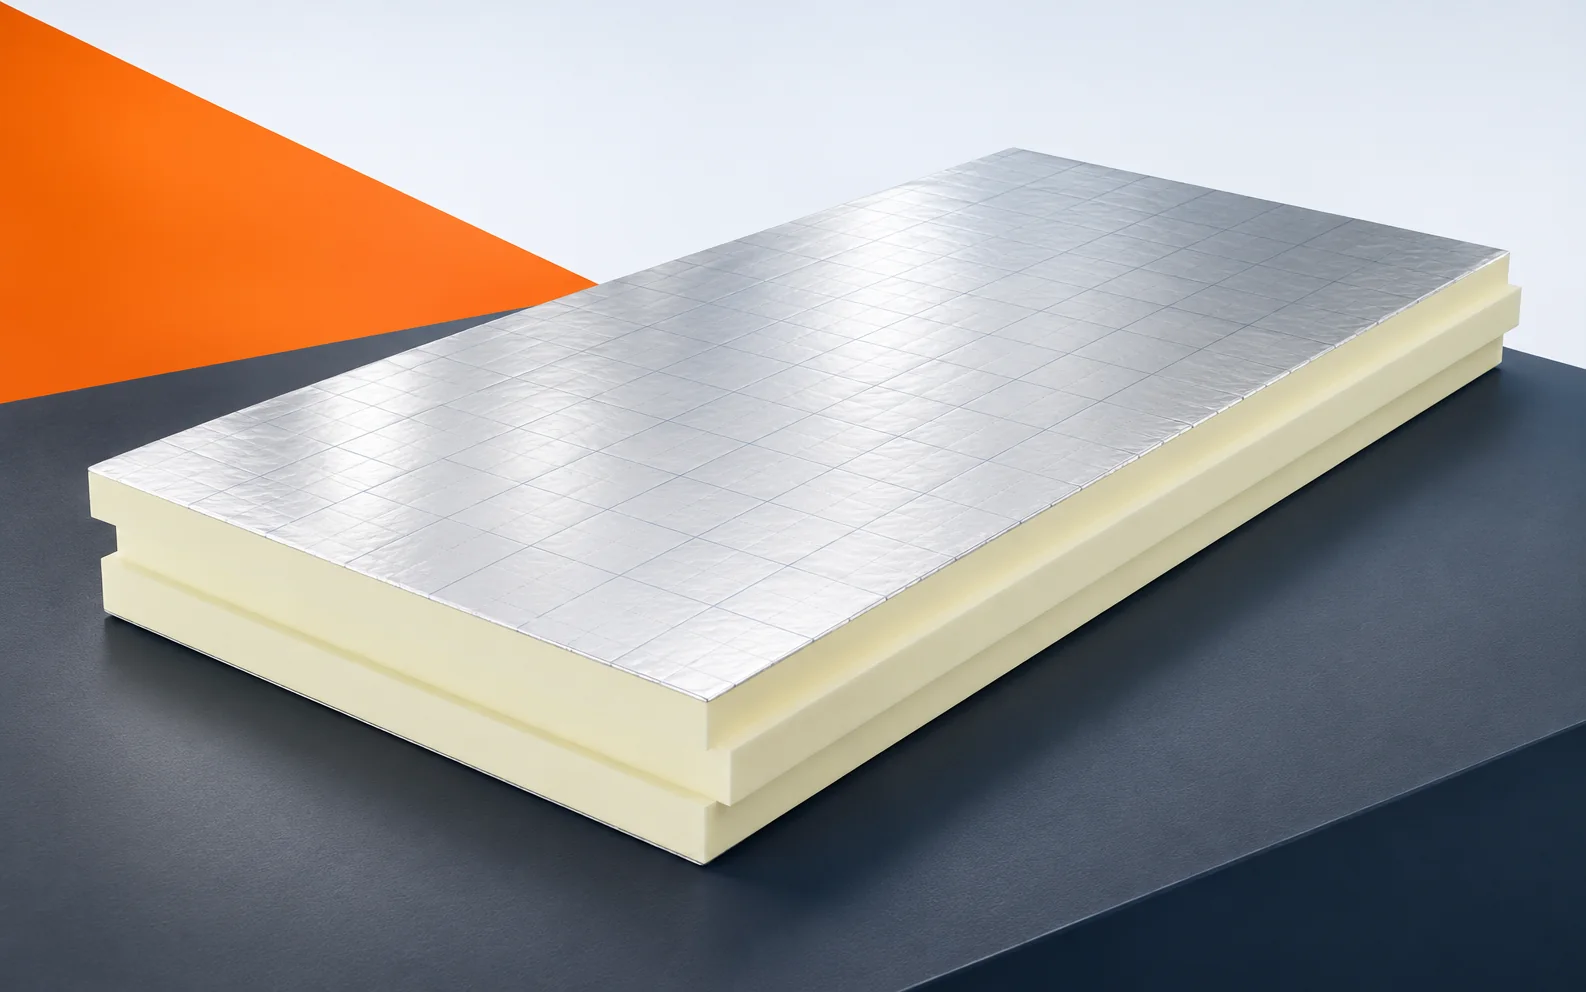
Facing matched to the waterproofing
It may require repair, preparation or separation from the next material. The adhesion and load-bearing capacity of the layers beneath it must also be assessed. A level surface appearance is not enough. PIR board can improve thermal performance, but the proper functioning of the entire renovation also depends on the condition of what will no longer be visible.
Falls directing water to the drain
Mark existing water accumulations on the roof plan and check how water would reach the outlets or the drainage edge. Only by identifying the geometry can it be determined where a slope correction is needed. This may result from the structure, the substrate layer or the selected PIR tapered boards; adding flat insulation alone does not solve drainage.
Adding a level insulation layer usually does not remove an incorrect flow direction. Standing water may result from deflection of the substrate, a poorly formed slope or a problem at the outlet. Each cause requires a different scope of correction. Before ordering wedges, it is worth measuring heights and identifying the flow path. Tapered boards can help recreate the geometry if they are selected for the actual plan. Merely increasing the thickness of level boards does not remove a local depression.
Fixing and wind effects
Where the substrate is retained, it must be determined how it will transfer the forces from wind acting on the new covering. The successive connections form a load path down to the substrate. Bonded, mechanical and ballasted solutions require different assessments, so the fastening method should not be chosen without checking the load-bearing capacity of the old part of the roof.
Before selecting it, you need to know which element the fastener will actually reach. The new fixing should reach an element with confirmed load-bearing capacity. In an old roof, various materials or repairs may be present beneath the visible surface. It is worth establishing their arrangement before selecting the fasteners. When bonding, an assessment of the appropriate contact area is needed instead. The choice of method should not result solely from which one the team currently finds easier to carry out.
Loads above the insulation
In the survey, mark the equipment, service routes and planned ballast. A support occupying a small area loads the system differently from an evenly distributed layer. New equipment or additional ballasting also means a change in the load on the structure itself. The renovation assessment must cover these locations, even when most of the roof area is to remain without installations.
The low mass of the PIR itself does not allow the assessment of the other components of the renovation to be omitted. During modernisation, new installations are often also planned. Their weight and the manner of their support must be added to the analysis of the structure and roof layers. The lightness of the thermal insulation itself is advantageous, but does not neutralise other loads. It is worth considering local bases and service access before the new covering. This makes it easier to create sealed penetrations without later opening the finished roof.
Airtightness and moisture in the assembly
Before the new covering is created, locate the damp areas of the old system. The waterproofing, thermal insulation and vapour control layer jointly determine the thermal and moisture conditions. When recreating each of them, its seams, edges and installation penetrations must be resolved. Sealing the roof area does not replace identifying the moisture remaining underneath.
Covering them up can make later repair and assessment of the cause of the leak more difficult. Test openings should help establish the boundary of the damp area. Water can migrate between layers, so a stain on the ceiling does not always indicate the location of the leak. The repair should cover the cause as well as the damaged materials. Covering them with new insulation will make later assessment more difficult. Only a prepared, checked assembly provides a basis for planning thermal improvement.
Access to details during the renovation
Determine the scope of replacement on the basis of test openings and measurements, not solely on the appearance of the old covering. They allow the substrate and hidden layers to be assessed. At the same time, measure the height reserve at the parapets: the new cross-section will take up part of the space needed for the terminations. The result of the survey should therefore describe both the condition of the materials and the geometry of the details.
This dimension must be checked for the thickest section of the sloping assembly. The height at the parapet must be assessed taking into account the thickest sloping elements. Adjustment of the flashing, the threshold at the exit or the bases of the rooflights may be needed. It is worth comparing several correct PIR variants in terms of total height. Thinner insulation may reduce some of the alterations. However, its benefit is concrete only when the measurement shows sufficient space for terminating the waterproofing.
Example of the height of the slope layer
A 10 m section with a slope adopted as 1.5% illustrates the height check. The difference in level will be 150 mm; assuming 110 mm of insulation at the lower end, the simplified cross-section would reach 260 mm at the other. These are example data, not a recommended slope or a roof design. They show the need to reconcile drainage with the available height at the parapet. The actual set of wedges and the thermal assessment are determined for specific drains, geometry and system. The facing of the PIR board and its documented compatibility with the assembly must also be specified: the core alone does not perform the function of waterproofing. The renovation specification should describe all layers together with their fixing.
7 branches. Materials closer to your project.