Installation and workmanship
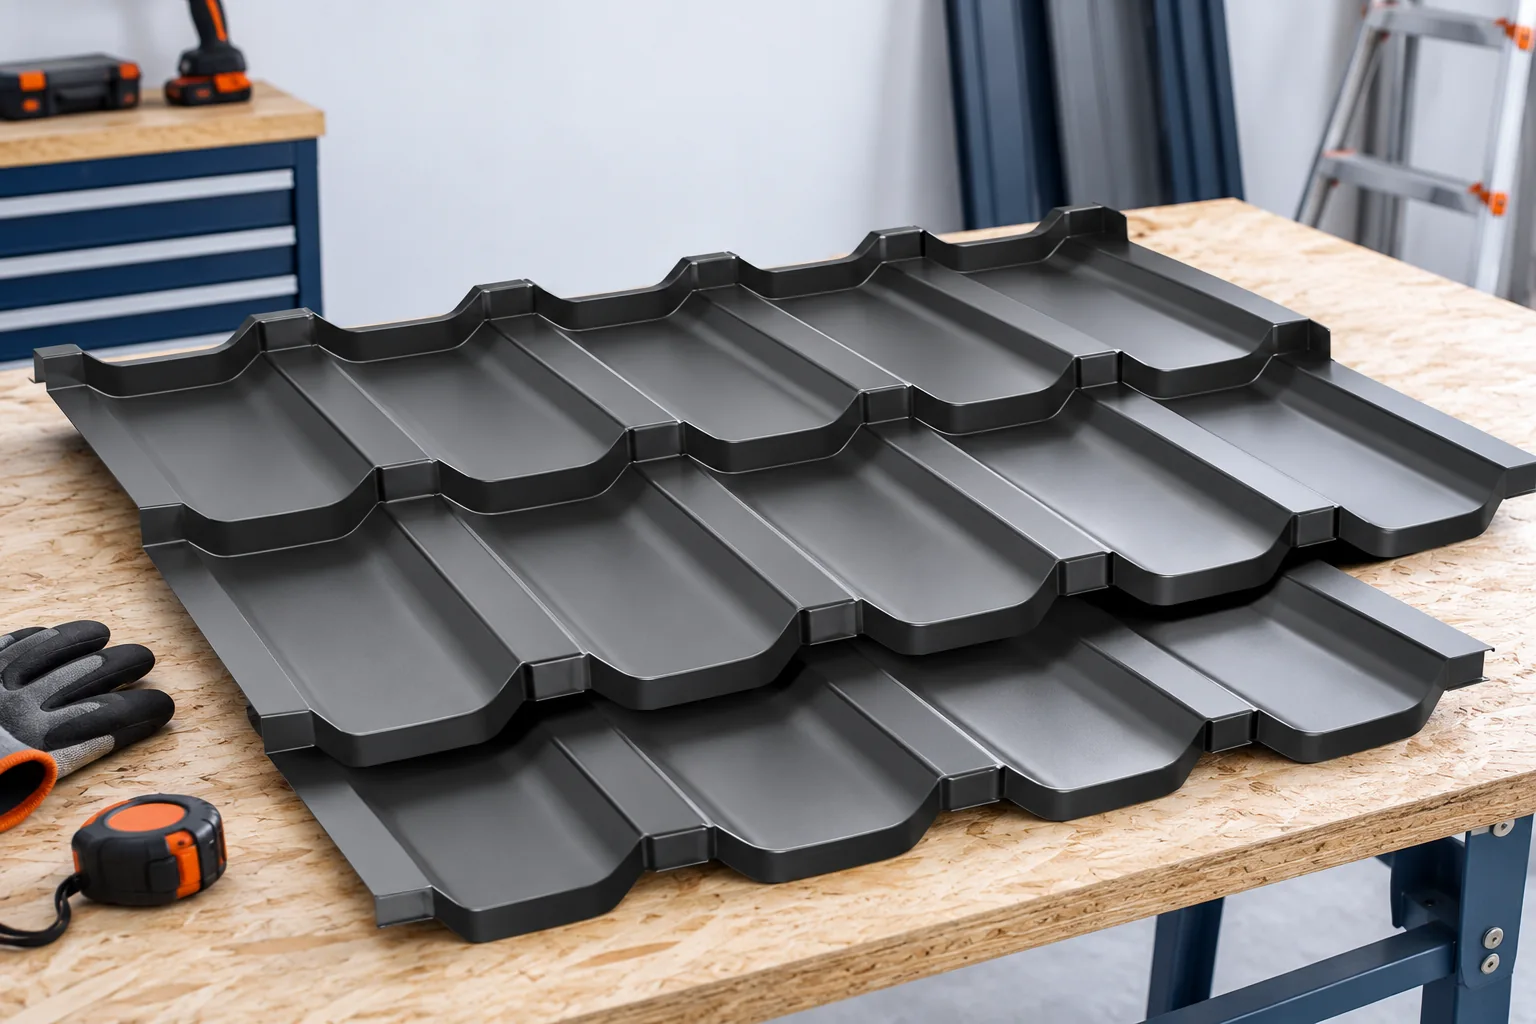
Installing modular tile-effect metal roofing
In brief
Installation of modular tile-effect metal roofing begins with checking the structure and the eaves detail. Then the layers under the covering, the substructure and the sequence of laying the sheets are prepared. The dimensions of the battens, the direction of installation and the fixings depend on the specific system. The following guidelines help to plan the works and the acceptance. They do not replace the instructions of the supplied product or the roof design. Check the geometry of the roof slopes, the eaves line and the position of the openings. The evenness of the substrate matters for the assembly of the seams and the appearance of the surface. If the diagonals or the plane deviate from the assumptions, the problem must be resolved before covering. The sheets should not be used to straighten a poorly made structure. Tightening too firmly with a screw can leave a permanent deformation.
How to prepare the substrate before delivery?
Check the roof slope geometry, the eaves line and the position of the openings. The evenness of the substrate matters for the interlocking of the seams and the appearance of the surface. If the diagonals or the plane deviate from the assumptions, the problem must be resolved before covering. The sheets should not be used to straighten a poorly made structure. Tightening hard with a screw can leave a permanent deformation.
Determine the storage location for the pallets and the method of delivering the material to the roof. The packs require protection against moisture and conditions in accordance with the instructions. Do not drag the sheets over one another. On delivery, check the profile, colour, coating and condition of the edges. On one visible roof slope it is worth checking batch conformity to reduce the risk of shade differences.
How to create the layers under the covering?
The layout of the underlay should drain water in the intended direction. The joints and penetrations must comply with the requirements of the membrane or other underlay used. Damage caused during the works should be repaired with a suitable material. Do not assume that a watertight sheet will forever exclude the presence of moisture under the covering.
In a typical ventilated roof, the counter-battens create an air flow space and the battens support the sheets. The path from the inlet to the outlet should remain clear. The ridge detail must combine protection against wind-driven rain with ventilation. Plugging every gap with foam is not a correct way to seal such a roof.
How to set the battens and the first row?
The batten spacing is selected according to the module and the fixing points. A popular module length is not a dimension that applies to all products. Before marking out the entire roof slope, check the instructions and the actual sheet. Particular attention is required for the distance of the first battens at the eaves. It affects the support of the start of the covering and its position relative to the gutter.
The first row sets the rhythm for the further work. Its line and the way the side edges are joined must be checked. Do not tighten a whole series of sheets without checking that the successive joints interlock correctly. Early correction is simpler than removing several rows. The method of starting and the direction of installation may differ between systems.

How to fix the modules without damaging the connections?
The type of screw depends on the substrate and the function of the connection. A different fastener may be used to fix the sheet to the batten, and another to join two sheets. The instructions indicate the appropriate fixing points. The screws must not be freely moved from the bottom of the corrugation to its crest or vice versa. Such a recommendation must relate to a specific profile.
Check the pressure on the sealing washer. Over-tightening can deform it, while under-tightening can leave a leak. The fixing layout should account for the system requirements and the design wind load. There is no single number of screws suitable for every roof slope. The edges, corners and penetration points are particularly important.
How to cut the sheet and make flashings?
Approved tools that do not damage the coating through high temperature are used for cutting. These may be suitable shears or a nibbler. An angle grinder is not the right tool for coated tile-effect metal roofing. After cutting and drilling, remove the swarf. Leftover particles can rust and damage the surface beyond the cut edge itself.
Roof valleys, chimney flashings and edges are executed according to the system details. The direction of the laps must correspond to the water runoff. Do not replace the geometry of the flashing with a large amount of sealant. At service penetrations, allow for their movement and fixing. The penetrating element should not transfer loads in an arbitrary way onto the thin sheet.
What does the final inspection cover?
Check the sheet joints, fixings, flashings and the free flow of the drainage. Remove film residues in accordance with the manufacturer’s requirements and all waste. Inspect the coating and protect minor damage using an approved method. It is also worth checking the roof from the attic side before its layers are finally covered.
Keep photos of the details, material documents and agreed changes. The acceptance should indicate any corrections and the deadline for their execution. Work at height requires proper safeguards and weather conditions throughout the installation. Quickly assembled modules are not a success if errors remain beneath them in the substructure, ventilation or connections that are later difficult to access. Before work, also establish the acceptance points for layers that will later be invisible.
7 branches. Materials closer to your project.