Renovation and repairs
How to reduce the risk of roof leaks
In brief
Limiting the risk of leaks depends above all on the pitch chosen for the specific roofing material, not on the thickness of the sheet metal alone. Check whether the slope on the actual structure meets the product’s requirements, especially where the length of joints or the presence of openings changes the conditions of use. Plan the laps, supports and details at the chimney, valley or window before ordering. Remember that in roof panels a continuous panel differs from a system with a transverse lap. Inspect the installation in stages, before the layers are covered.
Start with the pitch appropriate for the material
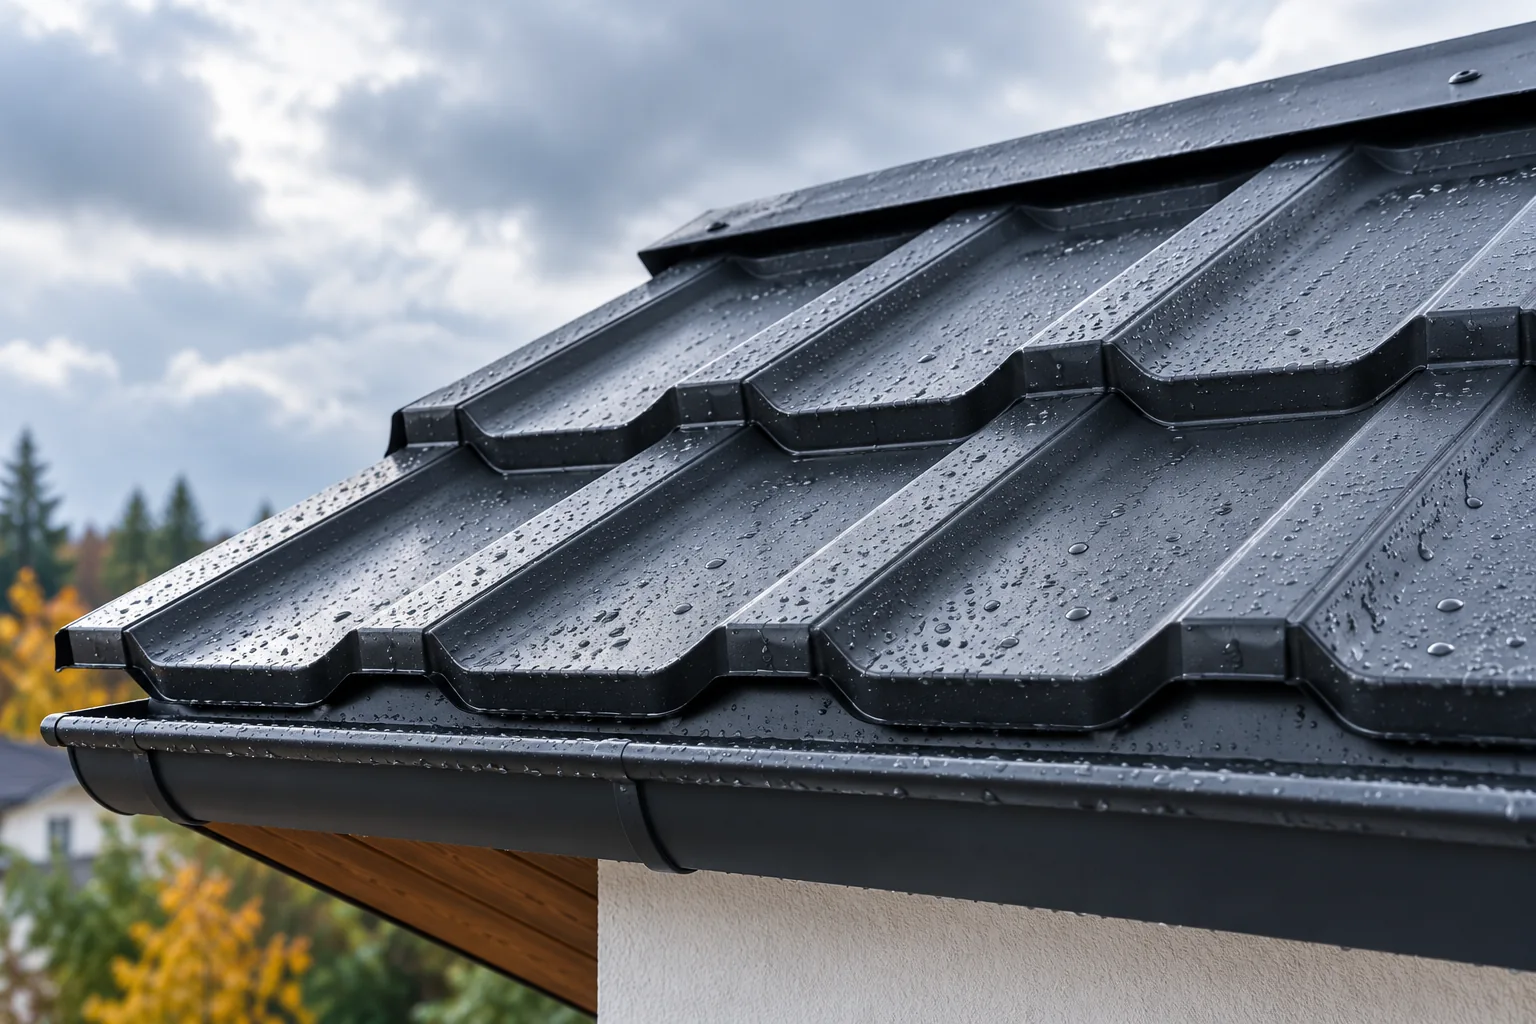
Each profile has specified conditions of use. The minimum pitch depends on the product, and sometimes also on the length of the joints and the presence of openings. Particularly with roof panels, a continuous panel must be distinguished from a layout with a transverse lap. A single value should not be assumed for all sheet metal coverings.
The pitch must be checked on the actual structure, not only in the design description. Deflections and unevenness can create local water-retaining spots. If the material is selected after the supports have been erected, match it to the existing conditions. Do not attempt to remedy too small a pitch with more sealant alone.
Plan the joints before ordering
Sheet lengths and the module layout affect the number of laps. Where joints can be reduced without compromising transport and installation, it is worth considering. However, this does not mean that the longest possible element will always be best. Long sheet metal requires support and care during handling.
In the design, mark the lap locations, supports and details at openings. Check the installation sequence. The joint must be laid in accordance with the direction of water drainage and the profile instructions. Accidental reversal of the lap or omission of the required sealing may only become apparent during wind-driven rain.
Do not omit the layer under the covering
In a roof with a membrane, its joints and the outlet at the eaves form an important part of the protection. Water that gets under the sheet metal must have a defined drainage path. The membrane must not be accidentally interrupted at the chimney or services. At these locations, appropriate seals and detailing are required.
At the same time, the membrane is not to replace correctly executed covering. A permanent leak should not be tolerated merely because the lower layer currently drains it. Each part of the system has a defined function. In sandwich panels, the tightness of joints and flashings results from a separate solution that cannot be equated with a roof on battens.

Ensure fixings and support
Fasteners must match the substrate and the covering material. Their position, number and correct compression are important. A damaged washer may lose its sealing function. A sheet that is too loose will move. It is therefore not enough to check whether there are plenty of screws on the roof.
The supports should be level and arranged in accordance with the profile selection. Pulling the sheet down to a crooked framework creates unnecessary stress. At the edges, the effect of wind must be taken into account. It is worth checking these places before the flashings are fitted, when the fixings and support are still clearly visible.
Design difficult locations separately
The roof valley collects water from the adjacent roof slopes, so it needs an unobstructed cross-section and proper support. The chimney divides the runoff and requires flashing matched to its dimensions. The roof window has its own system for connecting to the covering. Each of these points deserves a specific detail rather than a general slogan about tight execution.
At service penetrations, the shape of the base must match the profile. An additional opening must not accidentally fall in an unsuitable load-bearing or drainage location. Services are best planned before covering. Later installation requires a renewed assessment of tightness, not just cutting the sheet and applying sealant.
Keep drainage clear and monitor changes
Accumulated leaves can block the outlet and retain moisture at the joints. Inspect places near obstacles and under trees with particular care. After a strong gale, check whether the flashings have shifted. A small bent section can direct water differently than before the event.
Also recognise condensation. Moisture on the inside does not always come from precipitation. A leak in the layer on the room side or a lack of drying out can produce similar symptoms. If the source is water vapour, sealing the external joints will not solve the problem. An assessment of the conditions of the entire building envelope is needed.
How to sign off a roof before the first winter?
Ask for the details that will not be visible after the work is completed to be shown. Document the layer under the covering, the connections at the chimney and the termination of the insulation. After installation, check the laps, flashings and drainage. Remove swarf and material remnants. Do not leave them to be washed away by accidental rain.
Establish how later access to the chimney and services will be provided. Walking along an unforeseen route can damage even a correctly installed roof. Protection against leaks also includes use. A well-planned entry point and accessible inspection points reduce the need for ad hoc measures that create new openings and deformations.
7 branches. Materials closer to your project.