Insulation and thermal insulation
How to insulate a loft and minimise thermal bridges
In brief
First establish where the boundary of the heated space runs in your house, because this determines which parts of the roof and walls need to be covered by insulation. Check whether the loft is usable or remains cold and unused – in the latter case the layer may run along the ceiling below it rather than across the whole roof slope. With rooms under the slopes, pay attention to the junctions at the wall plate, gable wall and roof window perimeter. Trace the layout as one continuous outline on a section drawing before buying any material.
First, determine the heated part of the house
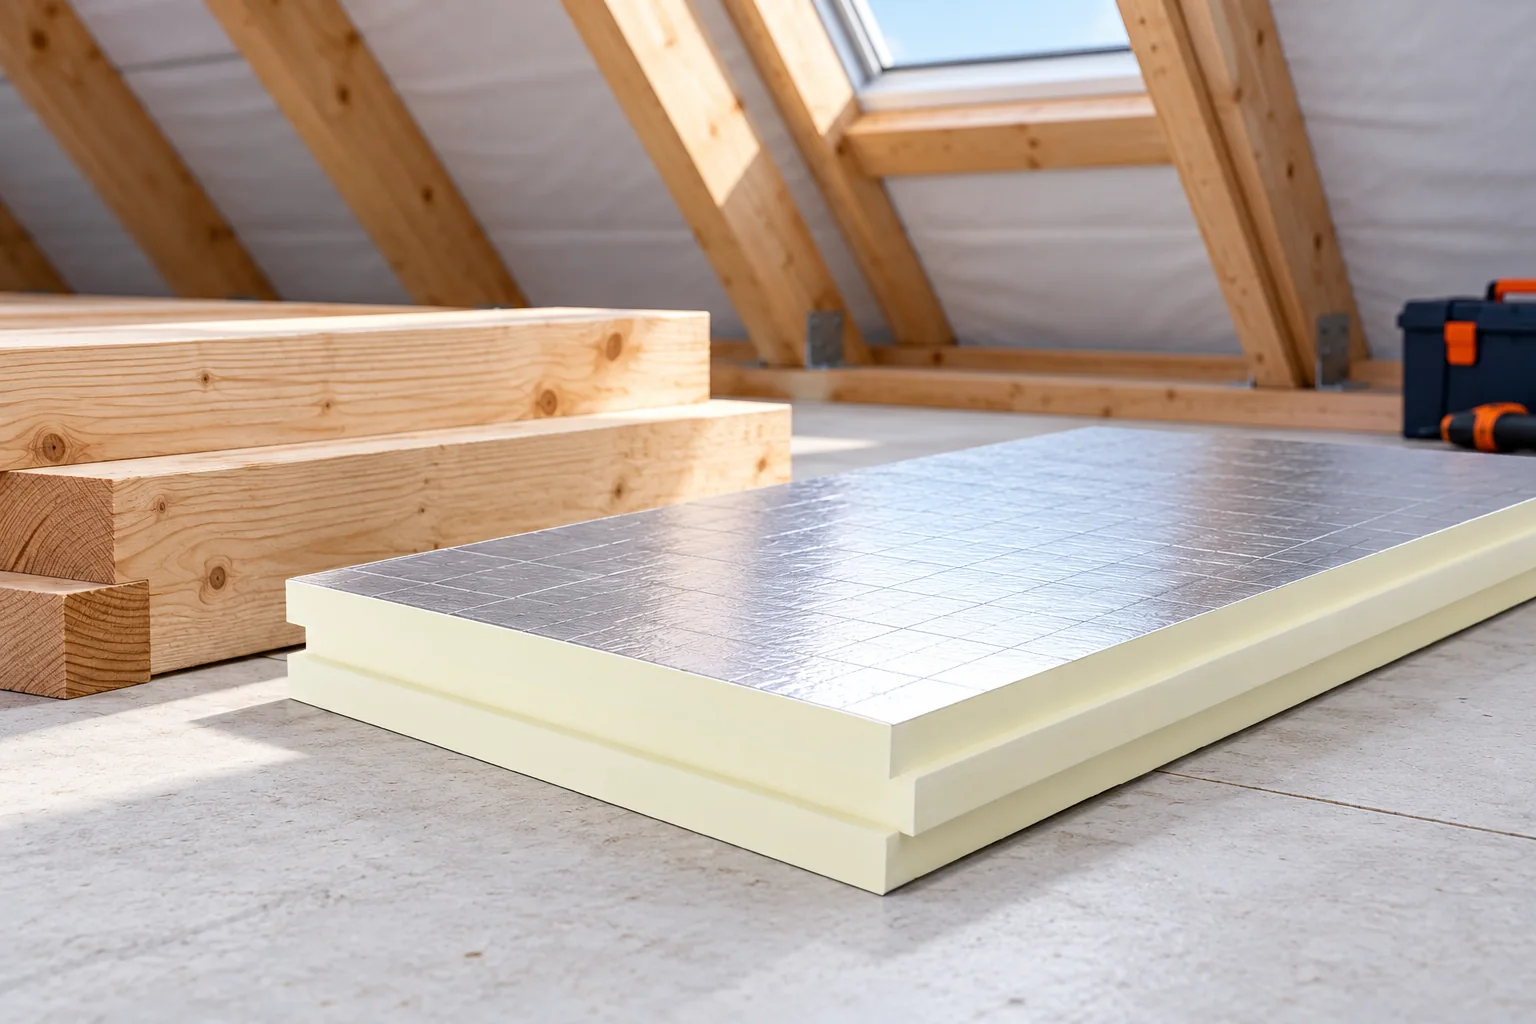
If the loft remains unused and cold, the insulation can run along the ceiling below it. Where there are rooms under the slopes, it covers the relevant sections of the roof and walls. These are different layouts with different areas and details. It is not worth buying material before the boundary of the heated space has been clearly marked on the section.
Also check the connections to the staircase and low storage spaces. A small uninsulated partition can remain a costly heat loss path despite well-executed slopes. The layout should enclose the entire heated part. It is worth tracing it on the drawing as one continuous outline, without jumping between random layers.
Where is a thermal bridge most easily overlooked?
Typical places requiring attention are the wall plate, the ring beam, the gable wall and the perimeter of the roof window. A gap in the insulation does not have to be wide to worsen conditions locally. Structural elements passing through the layer are also important. Their influence must be taken into account in the calculation of the building component.
A good start is to assess the actual condition before any boarding. During renovation, opening up sections and documentation of the existing layers are useful. A thermal imaging survey can help identify temperature differences, but it requires suitable conditions and interpretation. The colour on the image alone does not determine whether the cause is missing insulation, an air leak or moisture.
What does a continuous layer outside the rafters achieve?
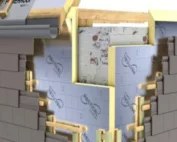
Insulation placed additionally under or above the rafters can reduce the influence of wooden elements passing through the main layer. In an above-rafter layout, continuity over the structure is easier to achieve. However, this requires designing the fixing and the details. The level of the covering is also raised, which affects the eaves and flashings.
Insulation from the inside reduces the available space. The substructure and boarding must be taken into account, not just the material itself. In a low loft, every centimetre counts, but it is not worth reducing the thickness without calculations. A small saving in space should not mean leaving a thermally weak strip at the edge of the slope.

When does PIR help to reduce thickness?
For an example PIR board with a lambda of 0.022 W/(m·K), the thermal resistance of 100 mm of insulation is approximately 4.55 m²·K/W. To achieve a similar resistance with a single layer of material with a lambda of 0.031, approximately 141 mm is needed. At a lambda of 0.036, this would be approximately 164 mm. This shows the importance of the parameter, without indicating a single thickness for all roofs.
The comparison relates solely to the insulation, not to the finished U-value. PIR does not automatically replace mineral wool where fire requirements or sound absorption are decisive. The parameters of a board with foil should also not be transferred to a sandwich panel with steel. The choice of material must match the location and the entire roof space assembly.
How do you connect the insulation to the wall and window?
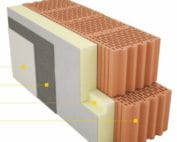
At the wall plate, the roof layer should reach the wall insulation without an exposed strip. This must be reconciled with space for ventilation if the construction provides for it. Too tight a filling of the space can close off the required channel. The detail should be resolved in section and then checked before covering.
Around a window, not only the pieces of insulation material but also the sealed connections between layers are important. An ill-fitting cut creates a void. An accidentally cut membrane can let moist air through. It is worth using the solution intended for the given window and roof type. An aesthetically pleasing finish to the recess alone does not prove the connection is correct.
Why is airtightness so important?
Warm, moist air can penetrate through unsealed joints into cooler parts of the roof. Therefore, the layer on the interior side must be continuous at walls, ducts and connectors. A large area of sealed membrane does not help if air bypasses it at an open perimeter. The method of connection depends on the materials.
It is worth limiting the number of later penetrations. An installation space can allow some cables to be routed without continuously breaching the sealing layer. Its layout should be planned before installing the lining. Tape applied to a dusty or unsuitable substrate does not guarantee a durable connection.
How can you check the result before closing the slopes?
Inspect the edges, joints and penetration points. Record the material type, thickness and layer arrangement. Photos will facilitate later inspection and repair. If the project provides for a tightness test, it is good to carry it out at a stage that allows defects to be rectified. Once the entire roof space is lined, access will be more difficult.
Finally, check that the ventilation of the roof slope and the rooms is unobstructed. These are separate systems that should not be confused. Insulation limits heat flow but does not remove the need to discharge moisture from the interior. A well-executed roof space combines appropriate thermal resistance with continuity of insulation, airtightness and drying conditions.
7 branches. Materials closer to your project.