PIR insulation
termPIR ETX on an existing façade: substrate, reveals and junctions
At a glance
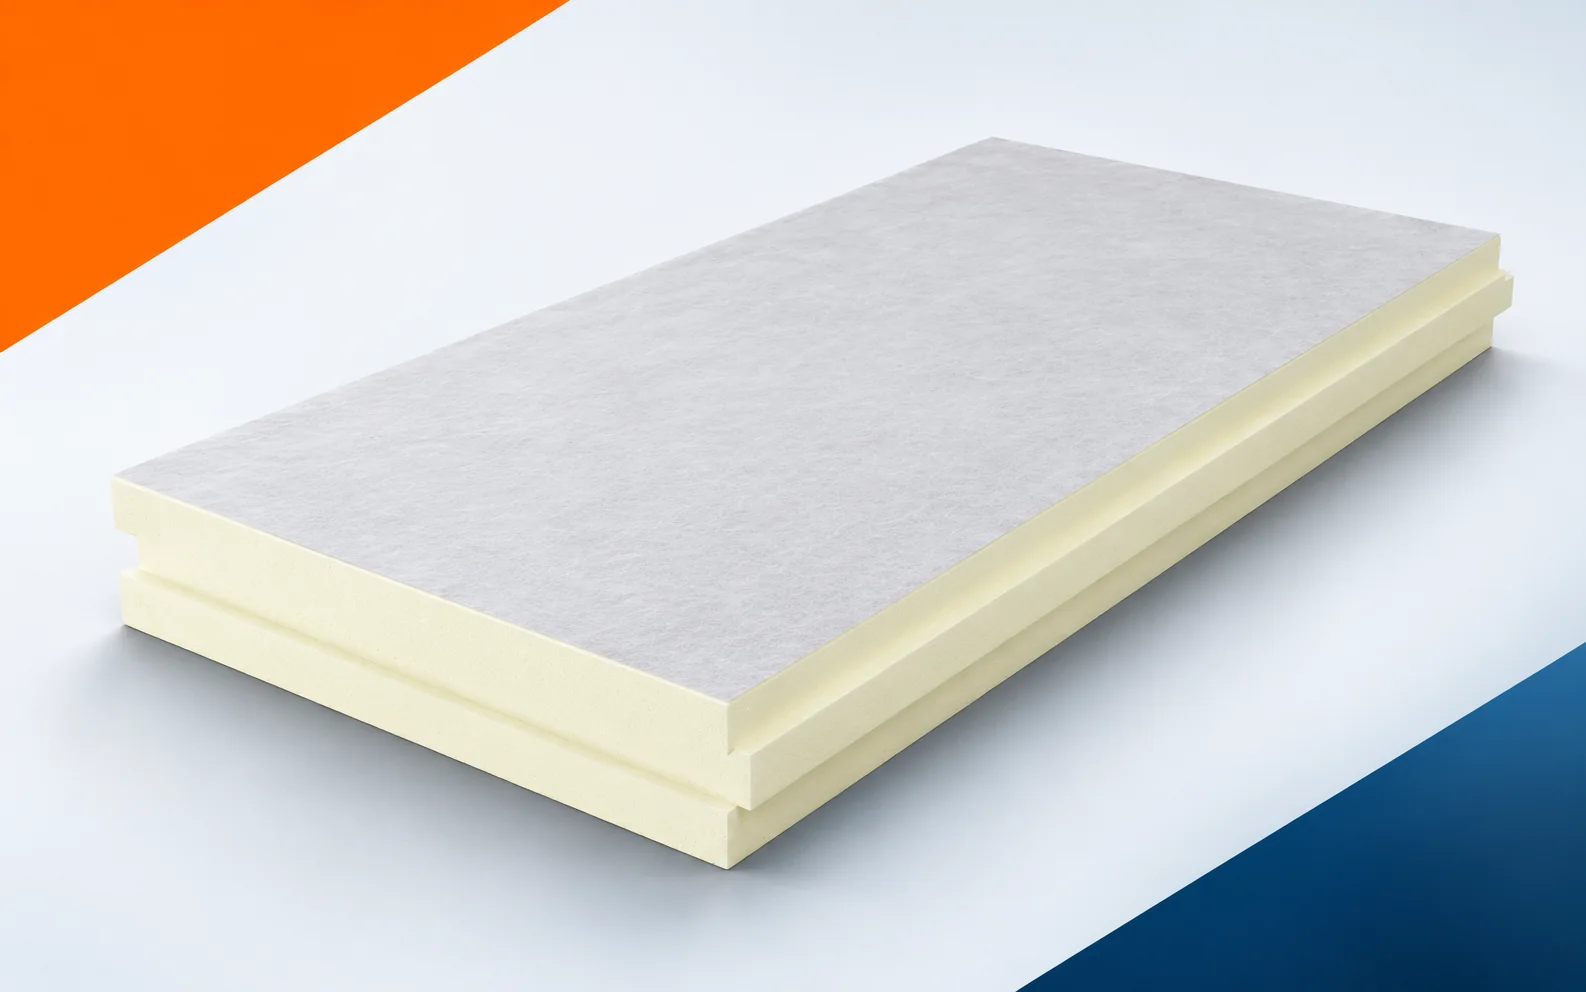
Old render is not always a suitable substrate for new thermal insulation. With termPIR ETX, its adhesion must be assessed and loose fragments removed. A smaller insulation thickness does not automatically level the wall and does not repair damaged flashings. termPIR ETX is a PIR board with a vapour-permeable glass fleece facing. The manufacturer intends it for two-layer walls in an ETICS system. During the pre-renovation inspection, check the façade where the limited width of the reveal makes it difficult to use thick insulation. The insulation at the window frame must remain continuous with the boards laid on the full wall before determining the scope of demolition and preparing the old building element. The new surface does not solve everything: the board with glass fleece facing requires a suitable set of façade layers.
What remains beneath the new layer
The demolition and repair work are intended to preserve the continuity of the thermal insulation at the window without inadvertently substituting the product’s facing. Before the PIR boards cover the old layers, document the name of the complete ETICS system and its scope of application on the selected substrate.
Drying conditions after renovation
Before bonding termPIR ETX, inspect the retained façade for efflorescence, detached paint and weak remnants of render. The assessment of these areas must be completed before installation. The target substrate must provide load-bearing capacity, evenness, cleanliness and dryness, not merely a surface sufficient for spreading adhesive.
Before covering the existing structure, examine the old render, which may look good on the surface but may be detaching from the masonry. Weak layers must be removed before bonding, and the condition of the substrate under the new thermal insulation must be checked before the new build-up conceals the areas that are important for assessing the cause of the problem. Adding insulation alone does not settle the matter when the durability of the bond also depends on the layer left beneath the adhesive. The polyurethane foam in the finished product does not replace repair; weak sections must first be removed and the cause of moisture established before the façade is covered. After preparing the area, re-check the results of the substrate assessment, traces of efflorescence and areas requiring repair before installation, instead of basing acceptance on the appearance of the new surface.
The old façade intended for termPIR ETX requires an assessment of the adhesion and load-bearing capacity of the retained layers. An even paint surface does not prove that the render is well bonded to the masonry. Areas that are detached, soiled or damp must be identified. The scope of repairs is determined before bonding the new thermal insulation. Only a prepared substrate allows an assessment of whether a build-up in accordance with the adopted system can be installed.
Thermal effect after changing the layers
When comparing termPIR ETX thicknesses that fit at the old reveal, use the lambda value corresponding to them. In the thinnest range, below 80 mm, it is 0.027 W/(m·K); from 80 to less than 120 mm — 0.026; from 120 to 250 mm — 0.025. A single coefficient does not describe all of these variants.
Given the constraints of the existing geometry, consider changing the thickness across the 80 and 120 mm thresholds given in the termPIR ETX data sheet. The lambda of termPIR ETX must be read for the thickness actually used in the given section of the façade, before the limited space forces a change to the designed cross-section. The parameters recorded in the old documentation may not be sufficient, because adopting 0.025 for the thinner board would overstate the calculated thermal resistance of its layer. When comparing what the new polyurethane boards will deliver, the façade solutions should be compared on the basis of the parameters specific to each thickness. Add to the measurements of the existing condition the thickness of each section at the full wall, the reveal and other narrow points, and later compare them with the planned cross-section.
Junction between the old and new sections
Install termPIR ETX with the printed side facing the wall, as specified in the instructions. When checking this stage, verify that joints are staggered and that the boards form an even surface.
On the sketch of the junction between the old and new parts, include the orientation of the print on the board and the production date visible on the delivery marking. The start date of installation must be tied to the required monthly interval from production also at the junction of the new layer with elements left in the building. Adjustments made only on site can be difficult, because a start date that is too early does not become correct merely because the material is already on the scaffolding. The sequence of works must be set so that delivery can be planned in advance and the marked side can face the wall. When accepting the section where the new polyurethane insulation ends, assess the production date, the readiness of the substrate and the way the joints between rows are offset.
Condition of the structure and requirements for the building envelope
A change of termPIR ETX thickness during renovation should not lose the information from the declaration. The product is designated CS(10/Y)120, while its reaction to fire is specified as F for 20–49 mm and E for 50–250 mm. The data must be assigned to the board actually ordered.
In the renovated building, re-check the area of the building corner, where the fixing must correspond to the conditions of the specific façade. The fasteners must be selected for the type of masonry, the façade zone and the requirements of the adopted system, also when some elements remain from the previous arrangement. A change of layers may reveal other constraints, and the board’s compression parameter does not state the required number or type of anchors. Before leaving an old element in the arrangement, it is worth separating the assessment of the product, the fixing and the behaviour of the complete thermal insulation system during a fire. In the inspection report and in the repair design, retain the fastener layout design and the conformity of the reinforced layer with the adopted system.
Cost of repairs and new thermal insulation
For termPIR ETX, plan the layout of elements with the standard dimension 600 × 1200 mm, bearing in mind the groove that affects the coverage. The order for the renovation should concern the agreed ETICS system together with compatible components. A set of randomly selected materials does not describe such a system.
In a renovation estimate for “polyurethane insulation”, analyse the cut-offs at window corners, window sills and the upper termination of the insulated wall. The bill of quantities must take into account the flashings and terminations in addition to the actual area of the boards on the wall, and the final scope must be confirmed after identifying the necessary repairs. The existing condition affects the scope of the contract, because saving on an omitted flashing can lead to water ingress behind the finished layers. Once the layers have been exposed, a closed and correctly finished thermal insulation system can be reliably priced instead of just bonding the boards. Before finally ordering the material, confirm the scope of flashings, reinforcing materials, fixing and preparatory works with the contractor responsible for preparing the old part.
7 branches. Materials closer to your project.