PIR insulation
PIR in wall renovation: reveals, old render and internal insulation
At a glance
Façade renovation often reveals limitations at windows, the plinth and the roof. A thin PIR board can help resolve selected details. First, however, the substrate and moisture must be assessed, and then a finishing system suited to the board being ordered must be selected. PIR boards can form a continuous layer of thermal insulation on the outer side of the wall. This position helps reduce thermal bridges associated with structural elements. An uninsulated ring beam can remain a weak point despite a good layer in the field. The new scope should include a continuous connection over the full height of the wall. When renewing a façade, it is worth checking the places that were not previously insulated. This may be the ring beam, the strip near the roof or the space behind services.
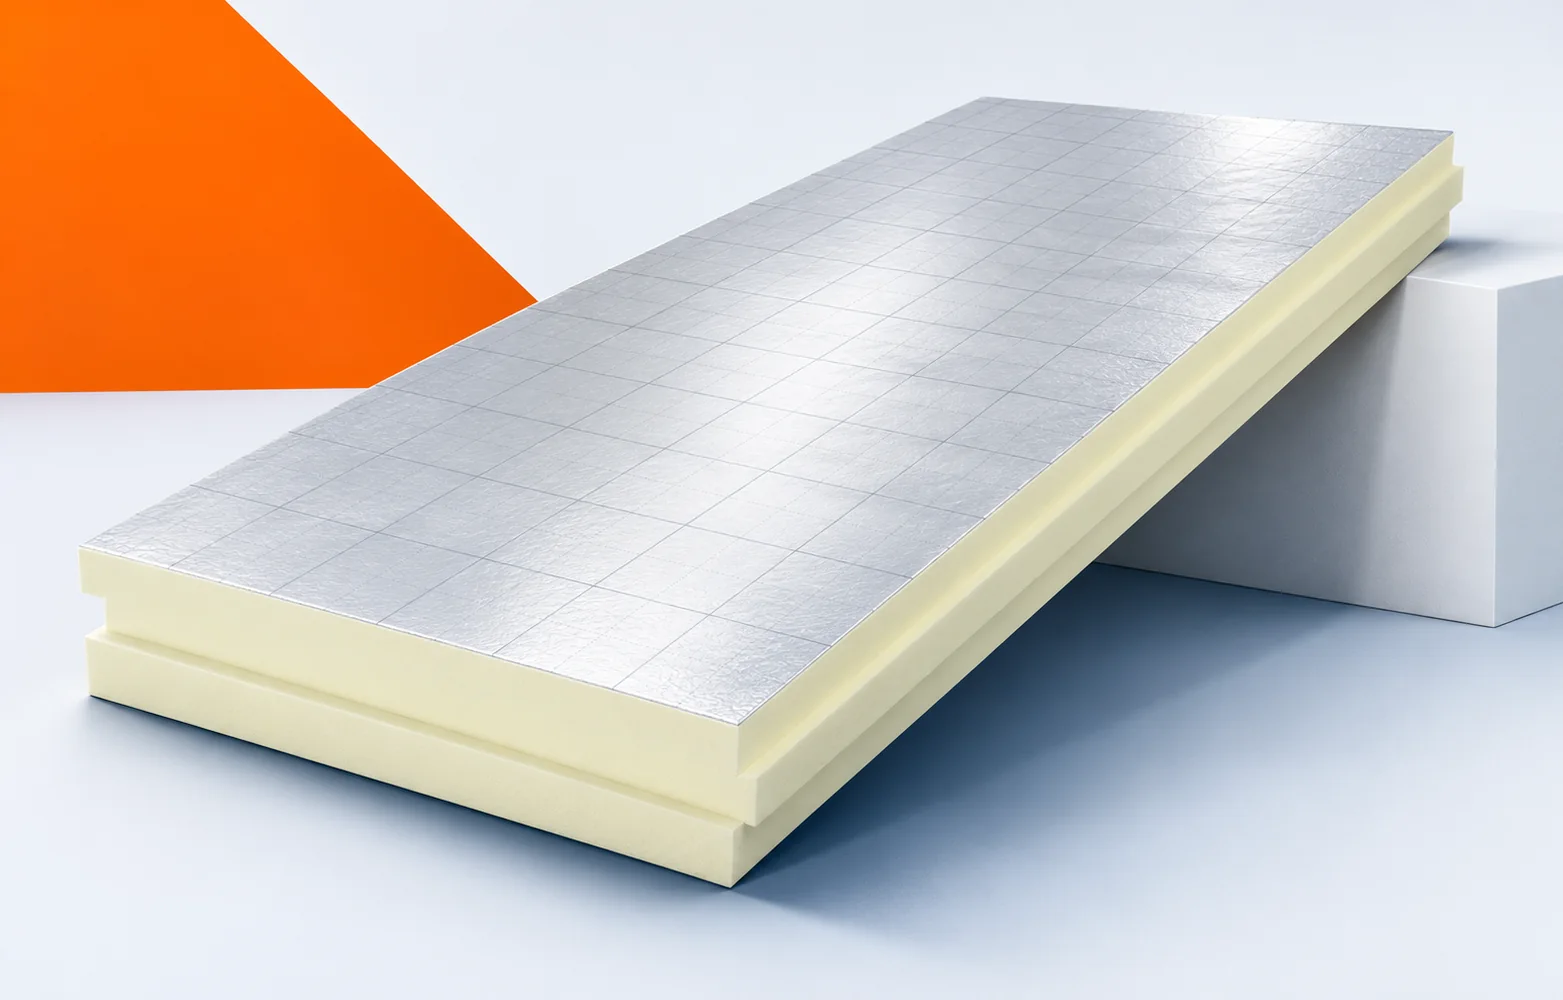
Continuity of wall thermal insulation
The new design should indicate how the layer will pass through these sections. Thinner PIR can be helpful to a limited extent, but it needs a correct connection to the wall field. Good insulation performance over a large area does not automatically eliminate individual gaps.
PIR under render in an ETICS system
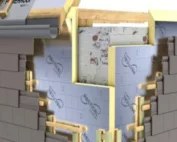
ETICS is a system of interacting layers. It comprises the insulating material, adhesive, fixings, reinforcing layer and finish. The load-bearing capacity of the old render must be checked before bonding the new thermal insulation.
A crumbling layer is not repaired by covering it with a rigid board. The substrate for the new system must be assessed after removing loose fragments. Any retained render should have adequate load-bearing capacity and be prepared for the selected adhesive. Unevenness must be accounted for in the technology, not corrected by randomly pressing the boards. The feasibility of anchoring should also be checked. PIR reduces the thickness of the thermal layer, but does not by itself restore the load-bearing capacity of the old masonry or its finish.
Ventilated façade and cavity wall
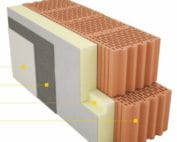
When replacing old render with a ventilated cladding, its separate supporting substructure and the cavity behind the finish must be designed. This is not the same detail as a cavity wall in which the thermal insulation interacts with the masonry and anchors. Identifying the planned finish method precedes the selection of boards and the assessment of connections on the renovated façade.
The suitability of the insulation must then be assessed for the new cross-section. Switching to a ventilated façade means new structural tasks. The brackets must be arranged and their anchoring in the existing substrate checked. The insulation layer should be matched to this arrangement. It cannot be assumed that the former variant under render will be suitable for every supporting framework without assessment. The refurbishment should also identify the route for water drainage and the termination of the gap at openings.
Water vapour and the potential for drying out
First remove the cause of the dampness, for example water penetrating at a leaking window sill. Then consider separately the vapour diffusion through materials and the moisture transport by air flowing through leaks. These mechanisms require distinction; covering a wet spot with thermal insulation does not replace repairing the detail.
The new layer should not block the route by which water continues to reach the masonry. Repairing the leaking window sill should precede covering the damp masonry. It is important to determine the extent of the damage and the possibility of drying out. New insulation can change the thermal conditions, but it does not eliminate the water supply. It is worth documenting the condition before installation. This makes it easier to assess later whether the moisture was a pre-existing problem or the result of the new connection.
Reveals, plinth and the connection to the roof
Measure the reveal dimensions separately from the main wall surface. At the window frame it is usually more difficult to accommodate the same thickness as on the façade. In such a place, PIR can be considered because of the low thermal conductivity of a thin layer. However, the suitability of the solution depends on the space actually available in this specific detail.
Space must be preserved for a tight connection to the frame and for the finish. With an old window, the reveal width may be limited by the frame and the way it is set. A thin layer with good thermal resistance allows improvement of this area to be considered. However, access to the necessary seals and the functions of the window joinery must be preserved. The dimension must be checked after preparing the substrate. A cut piece matched to the actual geometry is more important than adopting a single thickness across the whole façade.
Internal thermal insulation during renovation
If the façade is to remain unchanged, thermal insulation from the room side requires analysis of the old wall and its connections to floors and transverse walls. The wall will receive less heat from the interior and the conditions under which it dries out may change. The feasibility of using PIR should therefore not be decided solely on the basis of the space available in the room.
These connections remain important even with a high thermal resistance of the new board. Insulation from the inside leaves the wall colder and changes the connections at floors. It is worth analysing the transverse walls where the layer ends. A path for heat flow may remain there despite high resistance in the field. A plan for airtightness and for routing services is also necessary. Such preparation allows the small thickness of PIR to be used without reducing the modernisation to merely gluing on boards.
Length of the joints around openings
It is worth separating the treatment of openings from the pricing of the regular wall field. For an example window of 1.2 × 1.5 m, the perimeter is 5.4 m; with 8 openings of this size, the repeated connections give a total of 43.2 m. The calculation shows the scale of reveals, lintels and zones under sills, but does not calculate heat losses or the quantity of accessories needed. Their selection results from the detail design. When ordering PIR, also specify whether the finish will be plastered, left with a gap, or executed from the inside. Different surfaces and applications of factory-made boards are not interchangeable merely because they are all described as polyurethane insulation.
7 branches. Materials closer to your project.