Flashings
Measuring roof valley flashings and planning the joints
In brief
Ordering a roof valley requires measuring the line where the roof slopes meet and determining how it is to be finished. It is not enough to read the dimension from the building plan. The connections between successive sections must also be planned, and the cross-section matched to the drainage design. The valley flashing works in the area that collects water from the adjacent roof slopes. It is therefore worth preparing its schedule as carefully as the list of the covering itself. Every concave junction of roof slopes should be marked on the sketch. Individual valleys may differ in length, pitch and outlet position. They should not be entered under one item without distinction. Each section should be marked with a symbol corresponding to the roof drawing.
Identify all valleys on the roof form
Also mark the points where an additional roof slope or an obstacle meets the roof. Such a layout may require a separate flow solution. Non-standard flashings at these junctions should not be created only from offcuts on site. Their scope must be included in the order.
Measure the length along the actual junction
The dimension of the roof valley on the flat plan differs from the length running along the sloping roof surface. The latter value is needed for fabrication. It can be determined from the complete project geometry or from a measurement taken by the team. It is important that the source of the dimension is clear.
On an existing roof, it is worth checking the actual terminations. The valley may begin or end at a different point than assumed on the schematic plan. A random allowance should not be added instead of clarifying the difference. The finished run of the flashing must first be established.
The cross-section must match the drainage design
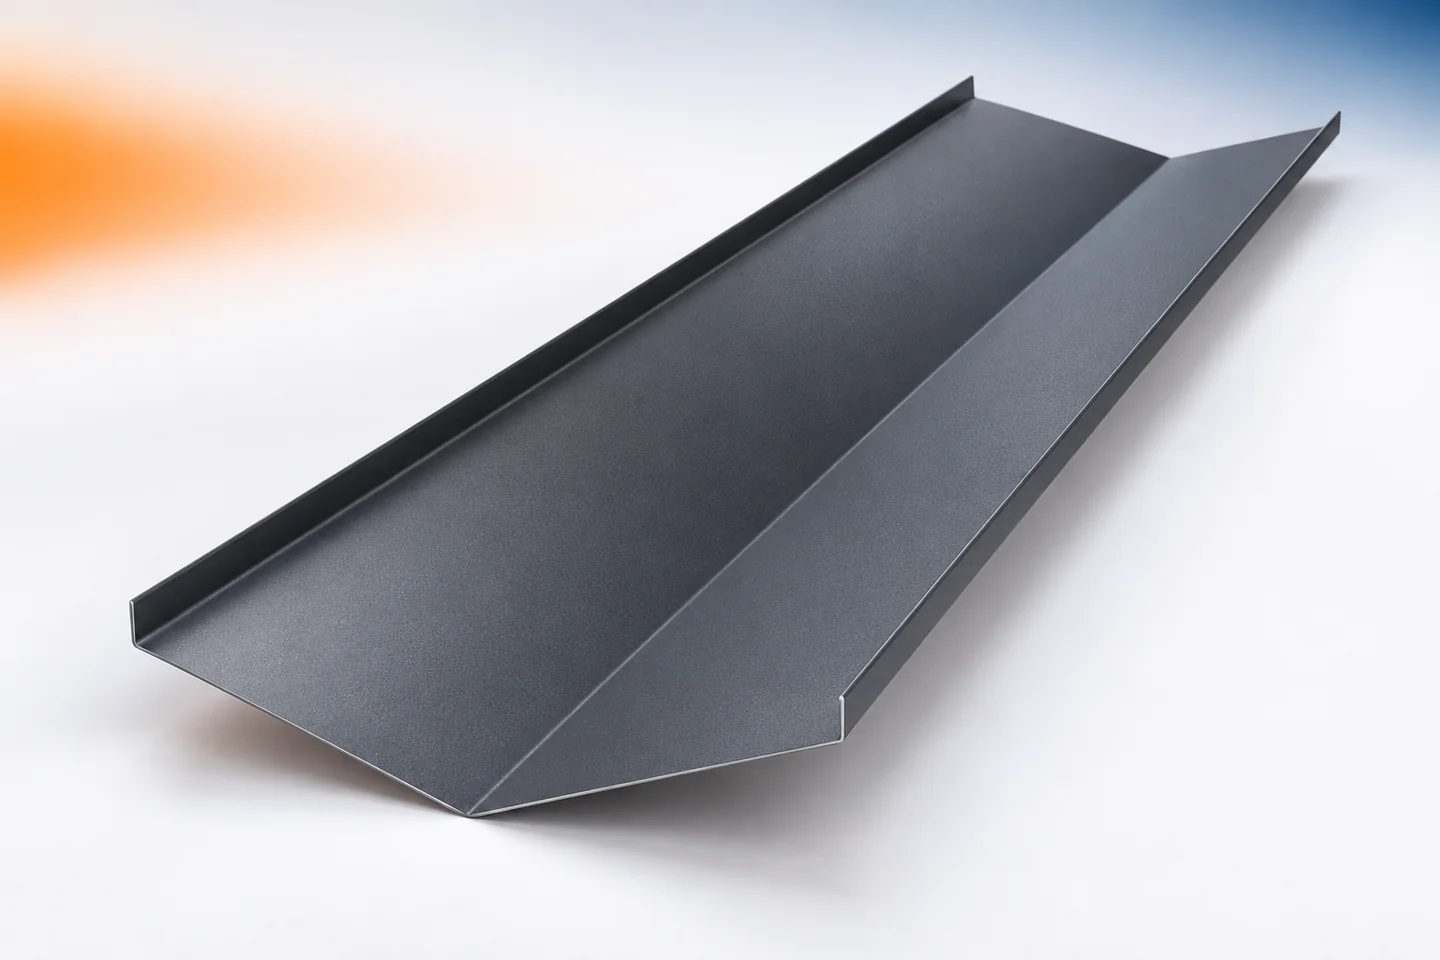
The width and shape of the roof valley are selected for the specific roof solution. Any wide flashing cannot be considered suitable merely because it fits between the roof slopes. The amount of space for water and the method of connection to the covering are assessed. The dimensions should result from the correct detail.
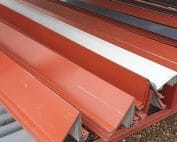
The drawing specifies the arms, angles and edge shaping. The visible side must also be indicated. Ridge caps work elsewhere and do not replace a roof valley simply by being turned over. The similarity of two bent sheets does not mean the same function in drainage.
Plan the sections before ordering
The length of the roof valley is divided into pieces that can be manufactured, transported and installed. The division should be linked to the method of joining them. Some material will be needed for laps or other specified joint solutions. The ordered quantity therefore does not have to equal the length visible after installation.
It is worth marking the sequence of sections from the start to the outlet. This makes it easier to check the delivery and issue parts to the installer. If the final element is to be cut on site, it must be specified which one it will be. Such planning reduces accidental joints in inconvenient places.

Match the outlet to the gutter zone
The final part of the roof valley should interact with the eaves drainage. The gutter aprons at this point may require a special connection. They should not be treated as independent purchases without a shared sketch. A lack of fit often only becomes apparent when installing the last section.
Wind boards, corners or chimney flashings may be located nearby. Their position should be shown on the plan. Water must follow the intended path and not get behind the adjacent covering. Every element affecting the outlet should be taken into account before approving the material quantity.
Record the material and delivery conditions
Galvanised, aluzinc and coated steel sheets are used in accordance with the requirements of the given solution. The availability of the selected cross-section must be confirmed. The thickness and finish must be added to the order. For coloured sheet, it is also important to indicate the side of the coating on the sketch.
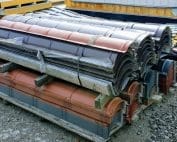
Transport should protect wide elements from bending and scratching. It is worth determining where they will be placed after unloading. Starter profiles and narrow cover strips should not be accidentally placed between the boxes in a way that damages surfaces. Orderly packing also makes later completeness checks easier.
Receive the gutters before handing over to the roof
Each group should be compared with the drawing and the length schedule. Edges, angles and the condition of the sheet are checked. It must not be assumed that transport deformation will disappear after screwing. In case of discrepancies, the procedure must be determined before installation.
After completion of the works, the box should be free of waste and filings. It is worth keeping the drawings of the completed solution, especially if changes were made. They will help later with repairs or ordering an additional piece. A well-prepared list does not end its role at the moment of delivery but remains documentation of the roof layout.
Questions and answers
Is the roof valley measured on the horizontal projection?
Its actual length along the roof slope is required for installation. The plan projection can only be used as a basis for calculation when the full roof geometry is known.
Can the number of joints be reduced by ordering a very long piece?
Production, transport and installation capabilities must be taken into account. Fewer joints do not always mean an easier or correct execution of the entire detail.
7 branches. Materials closer to your project.