Insulation and PIR
How do you calculate the required PIR thickness for a specific wall?
In brief
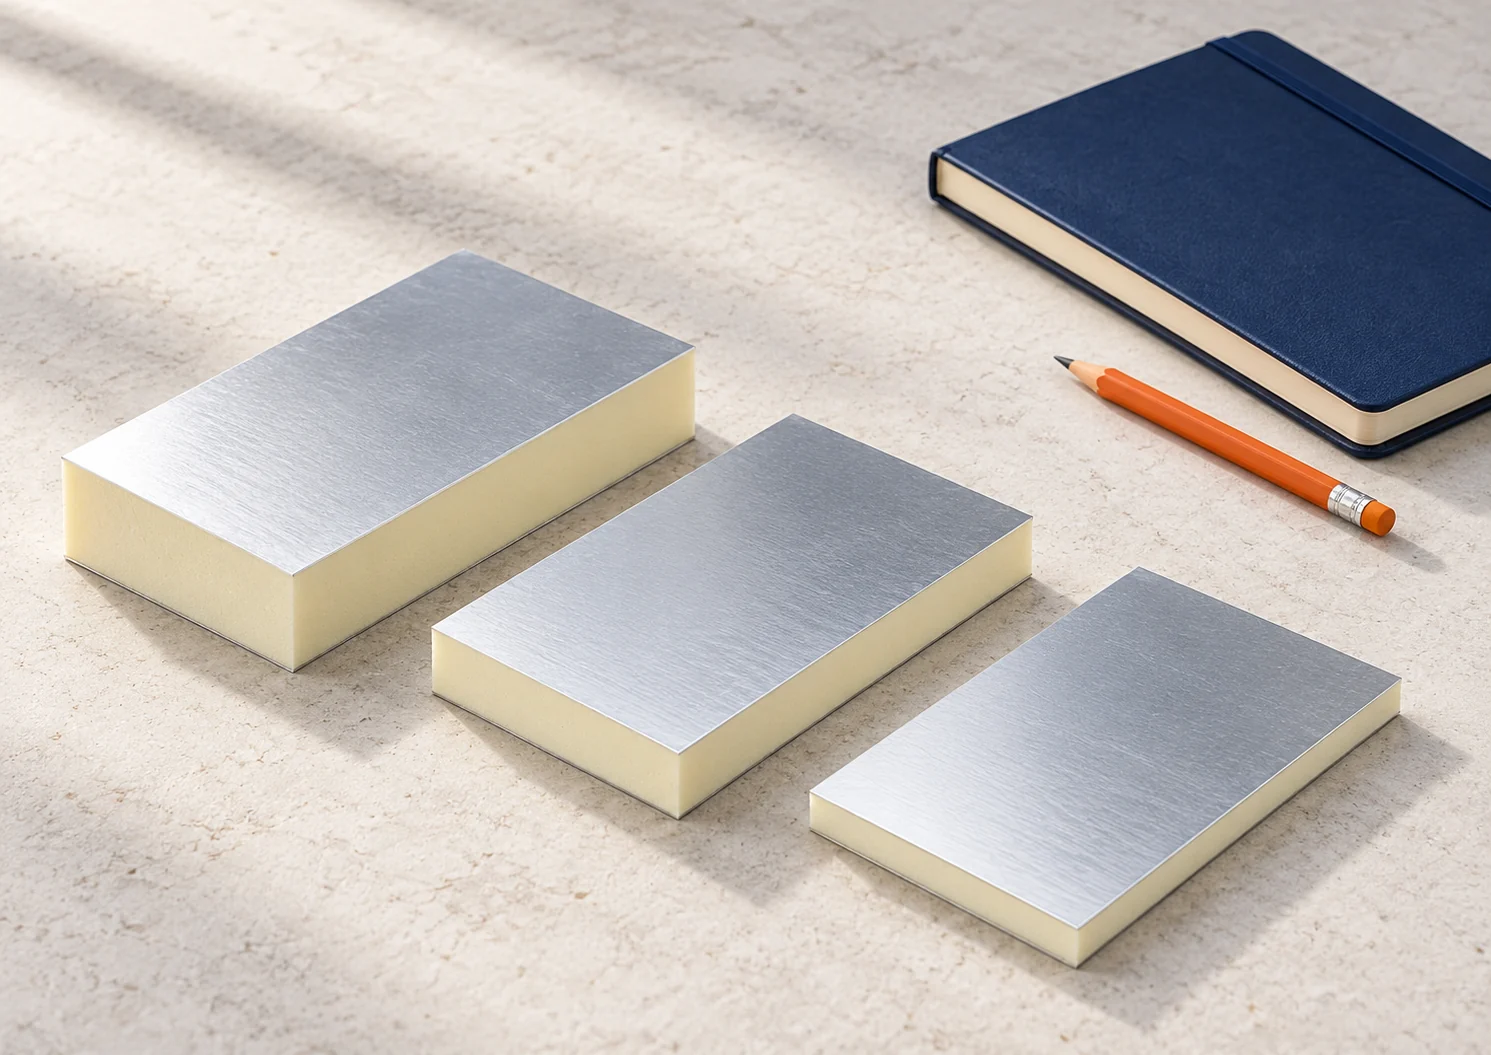
Choosing the PIR thickness can start with a simple thermal resistance calculation. First, you need to know the wall and the target U-value. Then you select a material with the right lambda and application. A calculator makes comparison easier, but it will not assess reveals, fixings and moisture on its own. These elements must be checked separately. Choose the U-value required in the project or adopted as the refurbishment target. Do not assume that the same thickness will be right for every house. A thin wall with high conductivity needs a different addition than a wall that already has an effective insulation layer.
How do you set the target without guessing the number of centimetres?
Also check the available space. The window reveal, eaves and plot boundary may limit the solution. A geometric constraint does not remove the thermal requirements. If the variant does not fit within the intended space, change the material or detail and reassess the whole assembly.
What should be included in the resistance of the existing wall?
Sum the properly determined resistances of the layers and the surface resistances. For a homogeneous layer the relationship R = d/λ is used. The data must correspond to the actual materials and calculation conditions. Do not enter the lambda of the void alone as the parameter of the entire unknown wall.
In an old building, mark uncertain data. If a void occurs, do not treat it as a solid material of arbitrary thickness. A proper way of accounting for such a layer is needed. When the survey is poor, it is worth comparing variants and checking how the uncertainty affects the selection.
What does a clear calculation example look like?
Assume a target U = 0.20 W/(m²·K). In a simplified assembly the required total resistance is then 1/0.20 = 5.00 m²K/W. Assume that the existing wall together with the surface resistances gives 0.80 m²K/W. The missing resistance of the new insulation is 4.20 m²K/W.
If a lambda of 0.022 W/(m·K) is assumed for the example, the thickness will be 4.20 × 0.022 = 0.0924 m, that is 92.4 mm. This is an illustrative calculation, without full corrections and thermal bridges. It does not constitute a ready-made selection for any wall nor a confirmation of legal requirements.
How do you choose the thickness from the available range?
The calculation result must be translated into the actual variant. In the example given, a 100 mm board with the assumed lambda can be checked. Its resistance is approximately 4.55 m²K/W. After adding the assumed 0.80, we get approximately 5.35, which gives a simplified U of approximately 0.187 W/(m²·K).
However, do not stop at this number. The selected facing must suit the application. If the correct variant for plaster has a different lambda, the calculation must be repeated. Do not round the thickness down solely to make it easier to fit the board at the window frame.
It is also worth confirming the choice on the drawing. If the assumed 100 mm does not fit within the reveal, you must not keep the calculation result and enter 60 mm there. A local change requires its own assessment of temperature and connection to the frame.

What most often spoils the calculator’s result?
A typical mistake is confusing millimetres with metres. Another is entering the U-value of a finished panel in the insulation lambda field. It also happens that an old layer is omitted or surface resistances are added twice. It is worth checking the data before comparing results to three significant figures.
Another problem is using a parameter from a different product variant. The type of facing and thickness can affect the declared properties. Therefore, record the full description of the assumed material next to the result. The name of the PIR group alone will not allow the calculation to be reproduced later.
How to account for corners, windows and fixings?
Calculating the flat field does not describe all connections. Thermal bridges at ceilings and reveals require proper assessment. Fasteners and gaps may require corrections. Thicker insulation does not replace careful detailing of these locations.
For internal insulation, moisture and the temperature of the old wall must also be assessed. Even a very low U-value does not confirm that the assembly dries out safely. If the substrate is damp, the cause is determined first. The thickness calculator does not detect a leak or damage to the insulation at ground level.
How to record the result so it is useful to the contractor?
Add the layer cross-section, facing type and assumed thickness to the schedule. Describe the solutions at windows, ceiling and floor. Indicate which assumptions require confirmation before work. The contractor will then know what is a fixed part of the design.
After changing the material, return to the calculation. A substitute of the same thickness may have a different resistance and different installation requirements. Acceptance should cover the conformity of the entire assembly, not just the number of centimetres. Only then does the calculation result relate to the completed wall.
Questions before ordering
Can the calculated U-value of 0.187 be given as a parameter for any wall with PIR?
No. The value results from the specific assumptions of the example. A different wall, material, fixing or detail can change the result.
Will the calculator also select the method of bonding the board?
The thermal calculation alone does not determine this. The fixing and substrate preparation depend on the appropriate system and the conditions of the specific wall.
7 branches. Materials closer to your project.