PIR insulation
Floor renovation with Recticel Eurofloor: fitting insulation beneath the threshold
At a glance
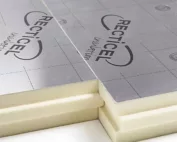
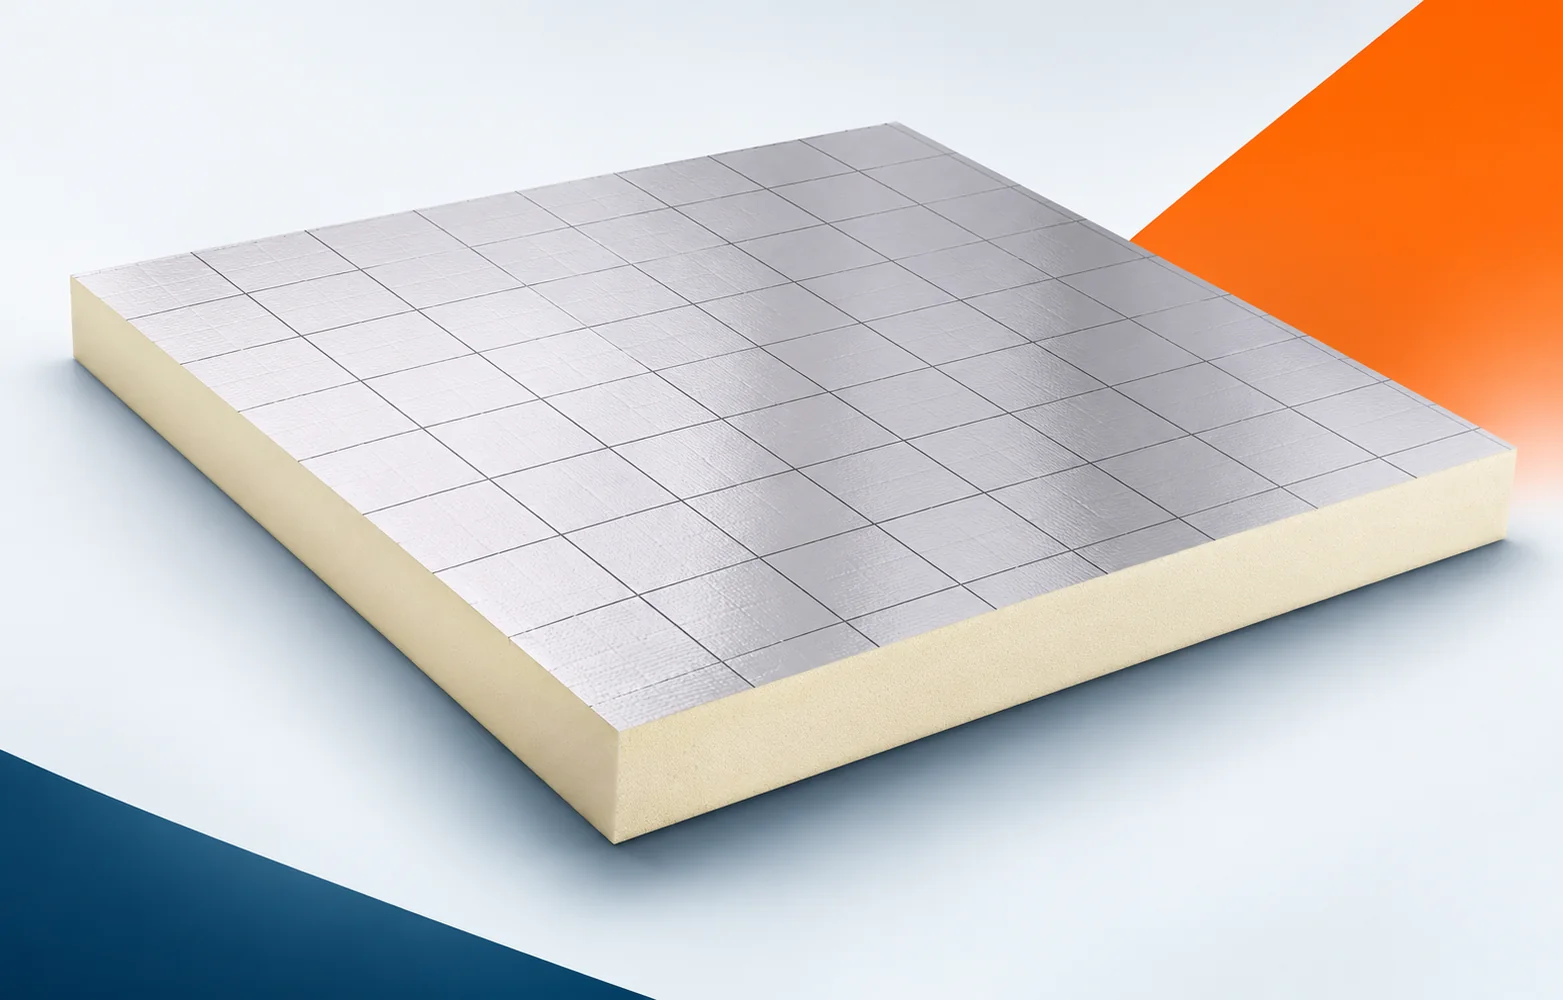
During a renovation, the height of the existing doors and thresholds limits the choice of floor build-up. Recticel Eurofloor can help accommodate the insulation. First, however, the levels must be measured accurately and the substrate assessed for moisture and evenness. Recticel Eurofloor has a rigid PIR foam core with a multi-layer, gas-tight foil printed with a grid on both sides. The manufacturer specifies it for thermal insulation of floors, including floors with underfloor heating. During the pre-renovation survey, check the floor where the heating installation is located in the layers above the thermal insulation. Eurofloor must be placed in the correct floor build-up together with the planned heating installation before the scope of demolition is determined and the old floor structure is prepared.
What remains beneath the new layer
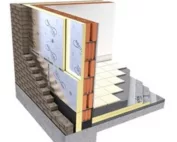
A new surface does not solve everything: the printed grid helps with setting out, but it does not determine the spacing of services on the designer’s behalf. Demolition and repair work should make it possible to link the choice of insulation to the floor height and the routing of the planned heating. Before the PIR boards cover the old layers, document the layer build-up from the substrate to the floor finish as well as the layout plan for the distribution of the heating elements.
Drying conditions after renovation
In the cross-section of the renovated floor, mark the Eurofloor board foil and the other required protections separately. The facing limits diffusion through the product, but the joints must be resolved within the whole system. Depending on the floor, separate damp-proofing and separating layers may be needed.
Before covering the existing structure, examine the separating layer and the damp-proofing protection in the cross-section of the floor being insulated. The foil on Eurofloor should not be equated with the complete set of layers protecting the floor against moisture, before the new build-up conceals the places important for assessing the cause of the problem. Adding insulation alone does not settle the matter when the gap between adjacent boards can interrupt the continuity of the surface covered with foil. The polyurethane foam in the finished product does not replace a repair; the designed protections must first be maintained despite the presence of the gas-tight Eurofloor facing. After preparing the place, check again the type of protective layers, the connections at the perimeter and the condition of the substrate before laying the insulation, instead of basing acceptance on the appearance of the new surface.
The renovated floor under Eurofloor may have remnants of old installations or local steps. Rigid boards need designed support, so such obstacles should not be ignored. It is not about achieving an even appearance after covering with screed. The layer beneath the insulation must be resolved. It is also worth checking the height of the finished floor at doors and adjacent rooms.
Thickness within the existing geometry
For the place under the existing threshold, combine the declared resistance of the selected Eurofloor thickness. The data sheet for 100 mm states RD 4.50 m²K/W; lambda in the described range of 20–100 mm is 0.022 W/(m·K). The declared value should be retained when comparing renovation variants.
Given the constraints of the existing geometry, consider the declared RD of 4.50 m²K/W assigned to the 100 mm thick Eurofloor board. The RD of Eurofloor describes the insulation layer and does not replace a proper calculation of the floor on ground before the limited space forces a change to the designed cross-section. The parameters recorded in the old documentation may not be sufficient, because the reciprocal of the board’s RD is not a ready-made U-value for the whole building floor. When comparing what the new polyurethane boards will provide, the correct calculation method must be retained when comparing different floor insulation variants. Add to the measurements of the existing condition the RD value from the data sheet, the floor geometry and the layers and joints required in the calculation, and later compare them with the planned cross-section.
Cut-outs and difficult terminations
For Recticel Eurofloor, the data sheet indicates a square format of 1200 × 1200 mm with straight edges. Take this into account in the cutting plan for the rooms and when converting the delivery into packs. Adopting the dimensions of another board from the same group would change the quantity take-off.
On the sketch of the junction between the old and new parts, include a laying plan based on the current format of 1200 × 1200 mm with straight edges. The square boards must be arranged according to the actual dimensions of the room and the obstacles in the substrate, also at the junction of the new layer with elements left in the building. Adjustment carried out only on site can be difficult, because using an older description of a different format may change the number of packs required. The sequence of works must be established so that the cutting plan is prepared according to the dimensions of the Eurofloor variant actually delivered. When accepting the section where the new polyurethane insulation ends, assess the format on the label, the support at the joints and the arrangement of the end strips at the walls.
Limitations that thermal insulation does not remove
In the Eurofloor declaration, distinguish CS(10/Y)120 from reaction-to-fire class F. The compression designation refers to the test point at 10% deformation.
In the building being renovated, re-check the position of heavy equipment with small feet on the finished floor. The screed over Eurofloor must distribute pressure in accordance with the requirements of the entire floor in use, also when some elements remain from the previous arrangement. Changing the layers may reveal other constraints, and without an assessment of the floor layers it is not possible to convert 120 kPa into the permissible weight of the furniture. Before leaving an old element in the arrangement, it is worth checking the service deformation and the load on the arrangement instead of relying solely on the test result. In the inspection report and in the repair design, retain the dimensions of the supports, the requirements for the screed and the loads envisaged for the given room.
How to accept the renovated joints
In the enquiry about Eurofloor, combine the selected insulation thickness with a description of how the new floor is to be constructed. The cost should include protection of the material, cutting to size and the layers laid above the boards. This will allow the quotation to show the scope needed to achieve the target floor level.
In the renovation quotation for ‘polyurethane insulation’, analyse the quotation for the floor thermal insulation, including also offcuts, coverings and protection during subsequent works. The condition of the laid boards must be accepted before handing the surface over to the installer of the services and the screed, and the final scope must be confirmed after identifying the necessary repairs. The existing condition affects the scope of the contract, because damage arising after the insulation has been laid may be difficult to identify once it has been covered. After uncovering the layers, responsibility for the condition of Eurofloor can be reliably established between the successive stages of floor construction. Before finally ordering the material, confirm the bill of quantities for the boards, the scope of the auxiliary layers and the handover report for the prepared substrate to the next team with the contractor responsible for preparing the old part.
7 branches. Materials closer to your project.