Roof and energy
How should you prepare the route for PV cables in a finished house?
In brief
In a finished house, the route for the cables from the photovoltaic roof should be planned before renovation work begins. What matters is installation safety, the tightness of the building envelope and limiting later chasing. Integrated roofing offers an opportunity to coordinate the roofing work with the electrical work. Cables can be routed through agreed locations before the roof is closed. First, however, the entire connection path must be established, right through to the relevant devices and the distribution board. The shortest distance is not always the best installation route. The conditions for routing the cables, the penetrations through building components and the ability to inspect them must be taken into account. Temperature, moisture and the risk of mechanical damage also matter. The designer should assess the entire route, not just a straight line from the roof slope to the technical room.
Why is distance alone not enough?
An existing house may contain enclosed risers, unused spaces and places that are difficult to open up. These are worth showing during the survey. It should not be assumed, however, that every free duct is suitable for a new installation. Its function and condition must be checked before it is used.
What does coordination with roofing installation provide?
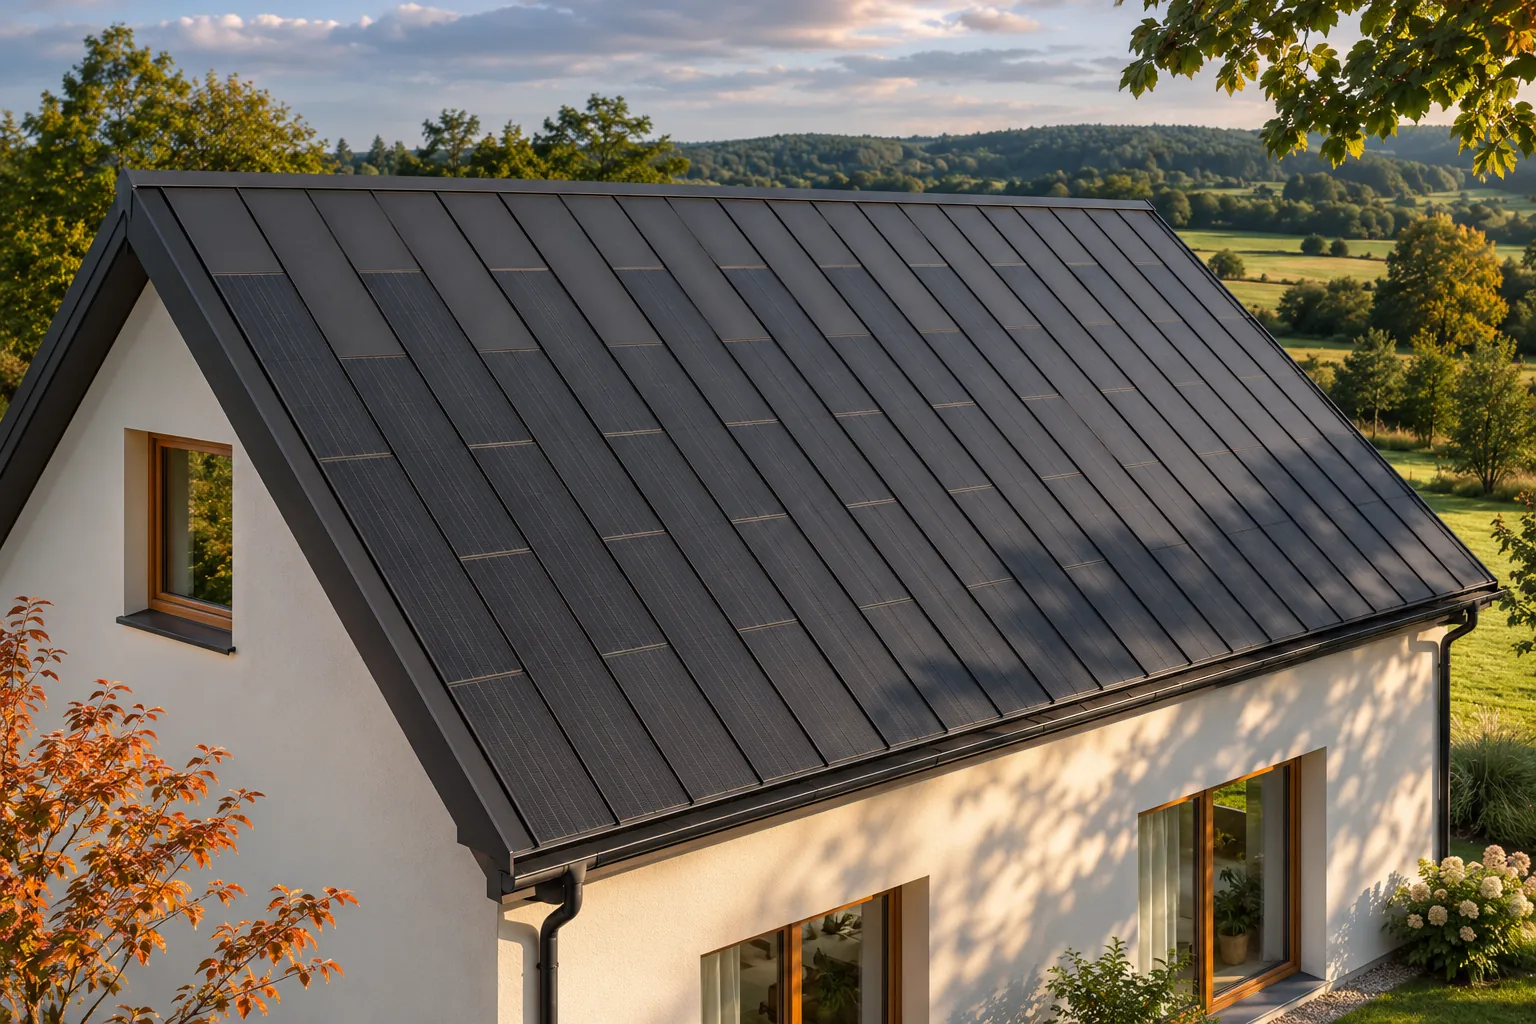
In BIPV, the electrical work is carried out in parallel with the active roof surface. An agreed sequence allows connections to be made, cables laid and tested before being covered. This means that random sections of the new roof do not have to be opened up later. This is one of the practical benefits of treating the covering and the energy system as a single task.
A clear division of work is needed, however. The roofer and the electrician should know when a given section is ready to be closed. A drawing of the routes and penetration points makes such arrangements easier. Merely ensuring that the teams communicate on site does not replace the preparation of important details.
How do you penetrate the roof layers?
Every penetration must preserve the functions of the layers it crosses. This applies to protection against water and to airtightness from the interior side. A cable sleeve does not automatically constitute a seal for the opening. The correct detail should match the roof construction and the materials used. It is not worth leaving it to be carried out at random after the covering is finished.
When renovating an attic, it is easy to lose the continuity of the seal in a place that is invisible once built in. An inspection before covering is therefore needed. Photographs of the penetrations and a record of the solutions used help in the future. They also make it possible to check whether later finishing work has disturbed the layer previously installed.
Where should the devices be placed?
The location of the inverter and any storage unit should meet the requirements of the specific devices. Temperature, ventilation, humidity and service access are important. Not every corner of the attic will be suitable. The convenience of the occupants and the route of connection to the house installation must also be taken into account.
It is worth choosing the location before determining the final route from the roof. An apparent saving of a few metres of cable can lead to inconvenient servicing for many years. Devices should not be enclosed behind permanent built-in structures without access. Preparing a suitable space is part of the renovation, not a minor task after the PV system is commissioned.
How can disruption to finished interiors be kept to a minimum?
Accurate identification of the house and agreement of the works before installation begins helps. The areas being renovated can then be used and the necessary openings planned for a single date. The owner should know which rooms require protection and subsequent restoration of the finishes. This scope should be included in the cost estimate.
A complete absence of chasing should not be promised without an inspection. Sometimes a safe and clear route requires more intervention than the variant that is easiest to conceal. A good design seeks a sensible compromise. An aesthetic integrated roof should have an equally orderly installation inside the house, accessible where needed.
What information should be retained after completion?
An installation diagram and a description of the actual routes are needed, not just a preliminary design. Photos of the cables before covering and labels for the devices should be included. The documentation will help with future cabinet installation, attic renovation or system expansion. Without it, the next team may not know what is behind the built-in elements.
A BIPV roof offers the chance for a coherent execution of the roof covering and the home’s electrical system. It is best used when the cable route is part of the design from the start. Correct penetrations, a suitable location for the devices and a clear record of the execution limit later problems. This is a barely visible part of the investment that clearly affects ease of use.
Examples of companies and brands in roof-integrated photovoltaics are GAF Energy, Autarq, EDILIANS, Dyaqua, SolRoof, ML System, Wienerberger Wevolt, SunRoof, Electrotile and MDM NT (MyRoof).
7 branches. Materials closer to your project.

- SEROCK — Dzierżenin 34 E
- BŁONIE — ul. Sochaczewska 138A
- RADOM — ul. Grobickiego 8
- ŁÓDŹ — Natolin 8
- OLSZTYN — Barczewo, ul. Prosta 9
- WROCŁAW — ul. Jerzmanowska 10C
- GORZÓW WLKP. — ul. Zielona 33/34