Installation and workmanship
Installing modular metal roof tiles on a pitched roof
In brief
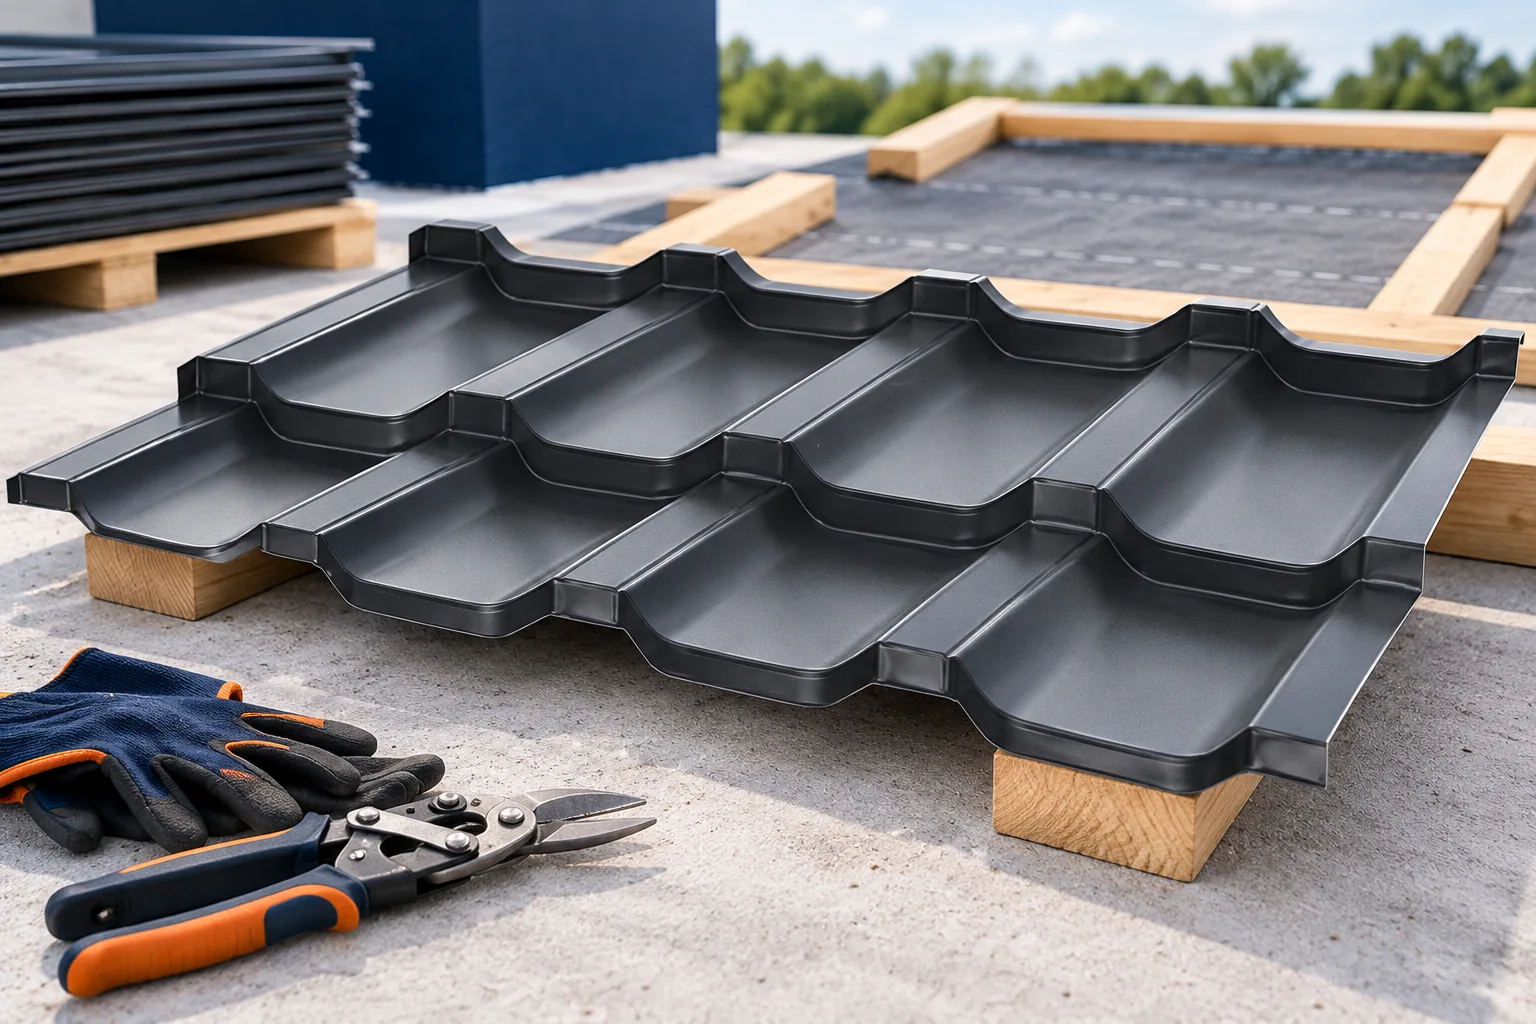
Controlling the roof plane’s geometry before laying the first module is key, rather than correcting rows later. Before installation, check the structure, pitch and roof dimensions, as well as the diagonals and eaves line. The chosen model must be approved for the given pitch, and batten spacing follows from the profile geometry of the specific modular tile. Modules will not correct any unevenness of the slope; forcing alignment with screws can distort the sheet and hinder even laps. It is therefore worth confirming support evenness and detail compliance with the manufacturer’s instructions before covering begins.
What needs to be prepared before installing the modules?
First, the structure, pitch and roof dimensions are checked. The selected model must be approved for the given slope. The diagonals and the eaves line must also be assessed. Modules will not correct any unevenness of the roof slope. If the substrate is uneven, forcing the alignment with screws can cause deformation and make it difficult to achieve even overlaps.
Delivery should be planned so that the right components reach the right roof slope. The condition of the coating, markings and completeness of accessories must be checked. Packs are stored in accordance with the instructions, protected from moisture. The small format does not mean resistance to wet storage. When lifting onto the roof, avoid sliding modules over one another and scratching them.
How to prepare the substructure and the layers under the covering?
The batten spacing results from the geometry of the profiles of the specific tile-effect metal roofing. The first batten and the start detail may have different requirements than subsequent rows. Dimensions must not be transferred from another model. Evenness of support is checked before covering begins. Later, access for correction will be considerably more difficult.
The membrane, flashings under the covering and ventilation should be ready in the correct sequence. At the eaves, water drainage and the air path must be maintained. Details around windows, roof valleys and chimneys are also important. The modules are to form the external covering of the prepared system. They do not replace the sealing layer on the interior side or correct insulation.
How to set out the first row?
The start of installation is determined relative to the adopted eaves line and the direction of laying. The instructions may specify a different sequence for individual models. The first elements should lie in accordance with the geometry and form correct overlaps. Their alignment should be checked before final fixing. Even a small deviation can accumulate on a wide roof slope.
All modules should not be forced into position according to an uneven building edge. Defined control lines and ongoing assessment of the rows are needed. When the elements stop fitting together, the cause must be sought earlier. Tightening further screws may only mask the error temporarily. A correct connection should correspond to the shape of the product.

How to make the laps and fixings?
The screw positions and the method of connecting the modules result from the instructions and the loads. Fasteners are selected according to the substrate and function. A fixing screw to the structure may differ from the element connecting the sheets. One must not be replaced by the other without approval. Particular attention is required at the roof edges, where wind action may be greater.
The clamping pressure should ensure a seal without damaging the washer or deforming the covering. Fastening that is too loose leaves a risk of movement and leakage. Over-tightening is also a mistake. The holes and screws should be positioned in accordance with the detail. Where seals are specified, their position and continuity should be maintained rather than adding random sealant after the covering is complete.
How should modules be cut at roof valleys and edges?
Cutting is best planned before the element is placed in its final position. The shape of the module and the direction of the lap limit the possibility of using offcuts. Not every fragment fits on the opposite side of the roof. At the roof valley, the widths and distances resulting from the design must be maintained so that water has a free path. Too tight a cut can block it.
Tools must not overheat the coating in a manner prohibited by the manufacturer. Swarf is removed on an ongoing basis, also from adjacent rows and gutters. After cutting, the edge and any coating repair requirements are checked. Walking on the covering should take place in the locations and manner permitted for the system. The module is not an arbitrary working platform.
How should the finished roof covering be accepted?
Check the alignment of the rows, the closure of the laps and the condition of the flashings. The fastenings and the locations of installation penetrations should be inspected. The film is removed from the surface within the required time, along with swarf and other waste. Water should drain to the intended drainage elements. At acceptance, it is worth comparing the completed details with the documentation of the selected model.
The owner should receive maintenance instructions and photographs of the layers completed before covering. Work at height requires proper safeguards also during final cleaning. Well-laid modules form an even roof slope without forced joints. Such a result depends on the preparation of the substructure and control from the first row, and not only on cosmetic corrections at the end.
7 branches. Materials closer to your project.