Sheet metal and roofing
How should you plan chimney flashing on a trapezoidal steel sheet roof?
In brief
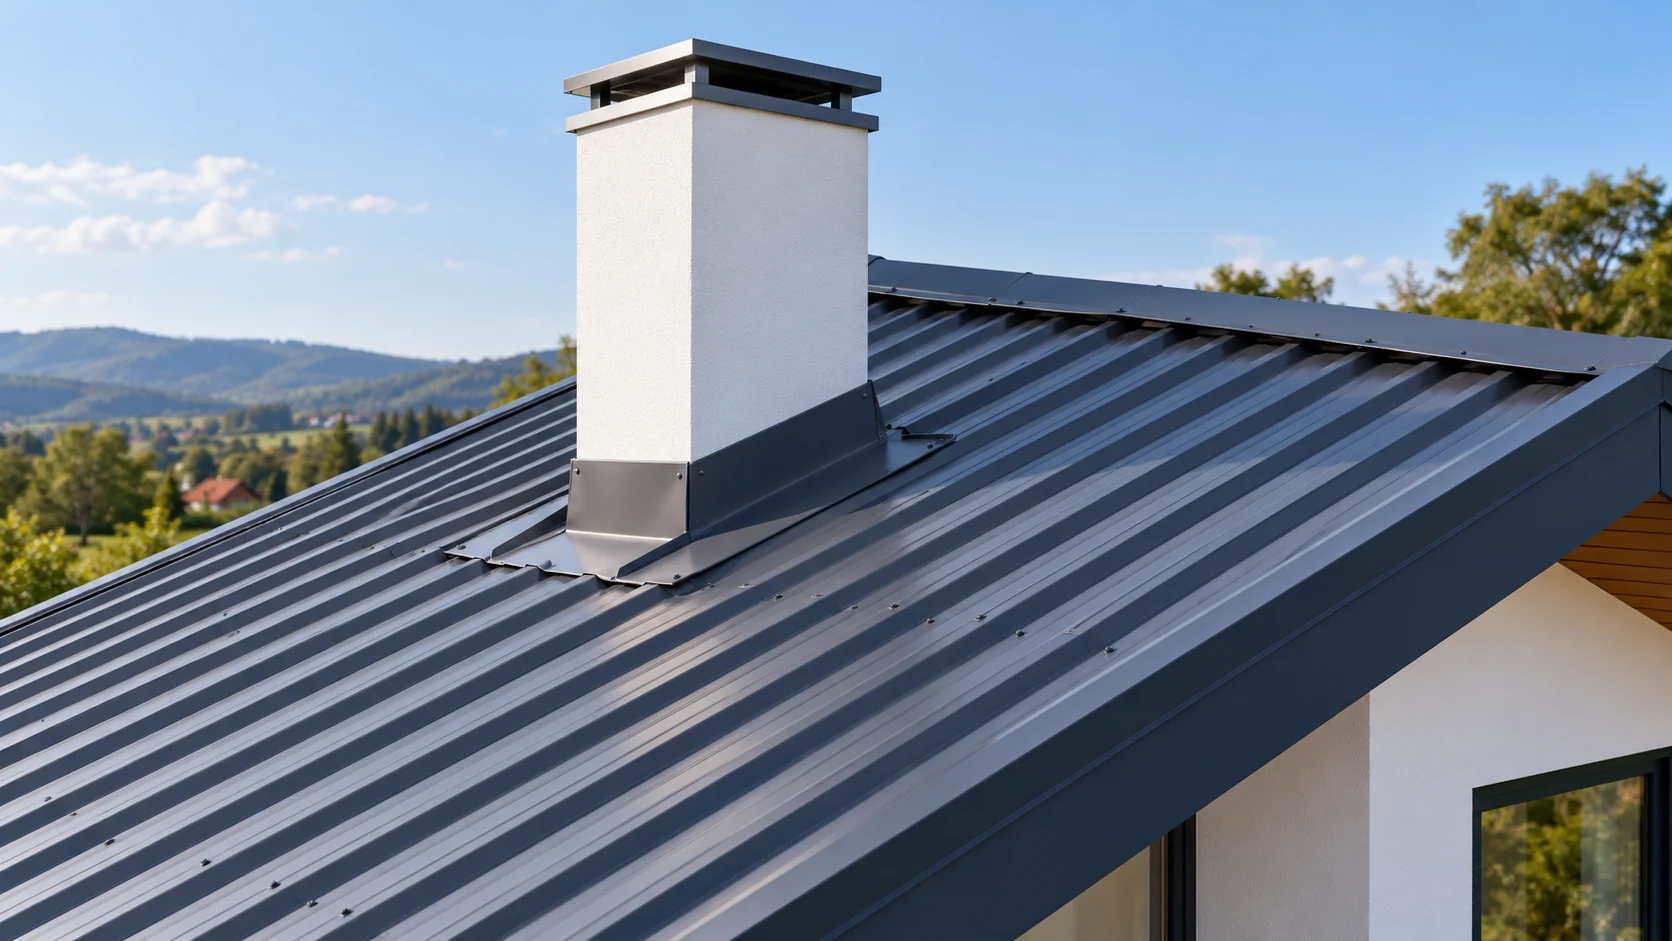
Chimney flashing must join two different surfaces: a vertical wall and a profiled roof covering. The most difficult point is usually behind the chimney, on the ridge side. This is where water arrives from the higher part of the roof. A good detail starts with measurement and unobstructed drainage. A sealant layer alone will not replace correct laps. You need the dimensions of the chimney at the roof covering, its position and the roof pitch. Measure the width on the eaves side and the length of the sides. Check whether the chimney walls are perpendicular to the roof covering and whether the render forms an even surface. Do not order components solely according to the chimney dimension given on the building plan.
What should be measured before the flashings are made?
Mark the run of the trapezoid ridges and valleys on each side. This determines the layout of the side flashings and how the space under the sheet is closed. The distance to the ridge, roof valley or another opening is also important. A narrow strip of covering between obstacles may require a separate solution. It should not arise only as a random cut during installation.
What role does each apron play?
The lower flashing drains water onto the covering below the chimney. The side elements lead it along the walls. The upper flashing catches water flowing in from the ridge and directs it to the sides. Each part must work with the next in accordance with the direction of flow.
Flashing at the wall requires a separate solution for the upper termination. It may include a clamping strip or another detail provided in the system. It should limit water penetration behind the flashing. Various movements of the chimney and covering must also be taken into account. A rigid connection of all elements into one body may crack under the influence of temperature changes or minor structural displacements.
Why does the space behind the chimney require attention?
Behind a wide chimney, water from a section of the roof slope collects. Leaves, snow and fine debris may accumulate there. When the side drainage is too narrow, water begins to pond at the connections. Additional sealing compound will not increase the capacity of this point.
The detail design should take into account the width of the obstacle and the length of the slope above. In some layouts, an element dividing the water stream is needed. However, it should not be added based on a random photo. Its geometry must match the roof. Before installation, it is worth checking on the drawing whether the water has a continuous path from the upper flashing to the covering surface below the chimney.
In what order should the work be carried out?
First, the substrate and the layers under the covering are prepared. The membrane or other protection must retain its own drainage path. Only then are the sheet and external flashings fitted. The final sequence depends on the system, but the principle of laps in accordance with the flow remains fundamental.
- Check the support of the sheet edges at the opening.
- Prepare the lower, side and upper elements according to the detail.
- Fit their position without forcing the shape of the sheet.
- Carry out the fixings and seals at the designated locations.
- Close the connection to the chimney and remove any swarf.
Do not treat this sequence as a construction drawing. The overlap lengths, fixing spacings and sealing materials must be selected for the specific solution.

How to avoid mistakes at the trapezoidal ribs?
The spaces between the profile and the flashing must not be closed with any arbitrary piece of foam. The sealing element must match the shape of the sheet and the function of the location. A filler that is too high may lift the apron. One that is too low will leave a path for water blown under the covering.
Do not make unnecessary holes in the zone of intensive run-off. Do not pull the flashing down with screws onto an uneven substrate. This creates depressions in which water collects. Carry out cutting with a tool recommended for coated sheets. Hot swarf can damage the coating even beyond the cut line itself. After work, inspect the entire surface below the chimney where metal particles may have fallen.
What to check before accepting the finished flashing?
Check the continuity of the overlaps and the free flow on both sides of the chimney. See whether the flashings have any reverse slope. Assess the termination at the wall, the condition of the coating and the fixings. In photographs it is also worth recording the layers that are covered during the works. Later they cannot be assessed without dismantling.
After the first heavier rainfall, inspect the interior in the chimney area. In subsequent seasons, remove contamination in accordance with the principles of safe roof maintenance. The flashing is a detail requiring periodic inspection. A well-fitted shape facilitates drainage, but does not exempt you from checking the seals and the condition of the surface.
Questions before ordering
Can the chimney flashing be made from one wide strip of sheet metal?
A wide strip alone does not solve all the connections. An arrangement of a lower, side and upper section is needed, along with a tight finish at the wall, in accordance with the adopted detail.
Does every chimney require the same width of aprons?
No. The dimensions depend, among other things, on the roof pitch, the covering profile and the position of the chimney. Copying the width from another roof may leave too small a drainage path.
7 branches. Materials closer to your project.