Installation and workmanship
What is a roof valley and how can it be kept watertight?
In brief
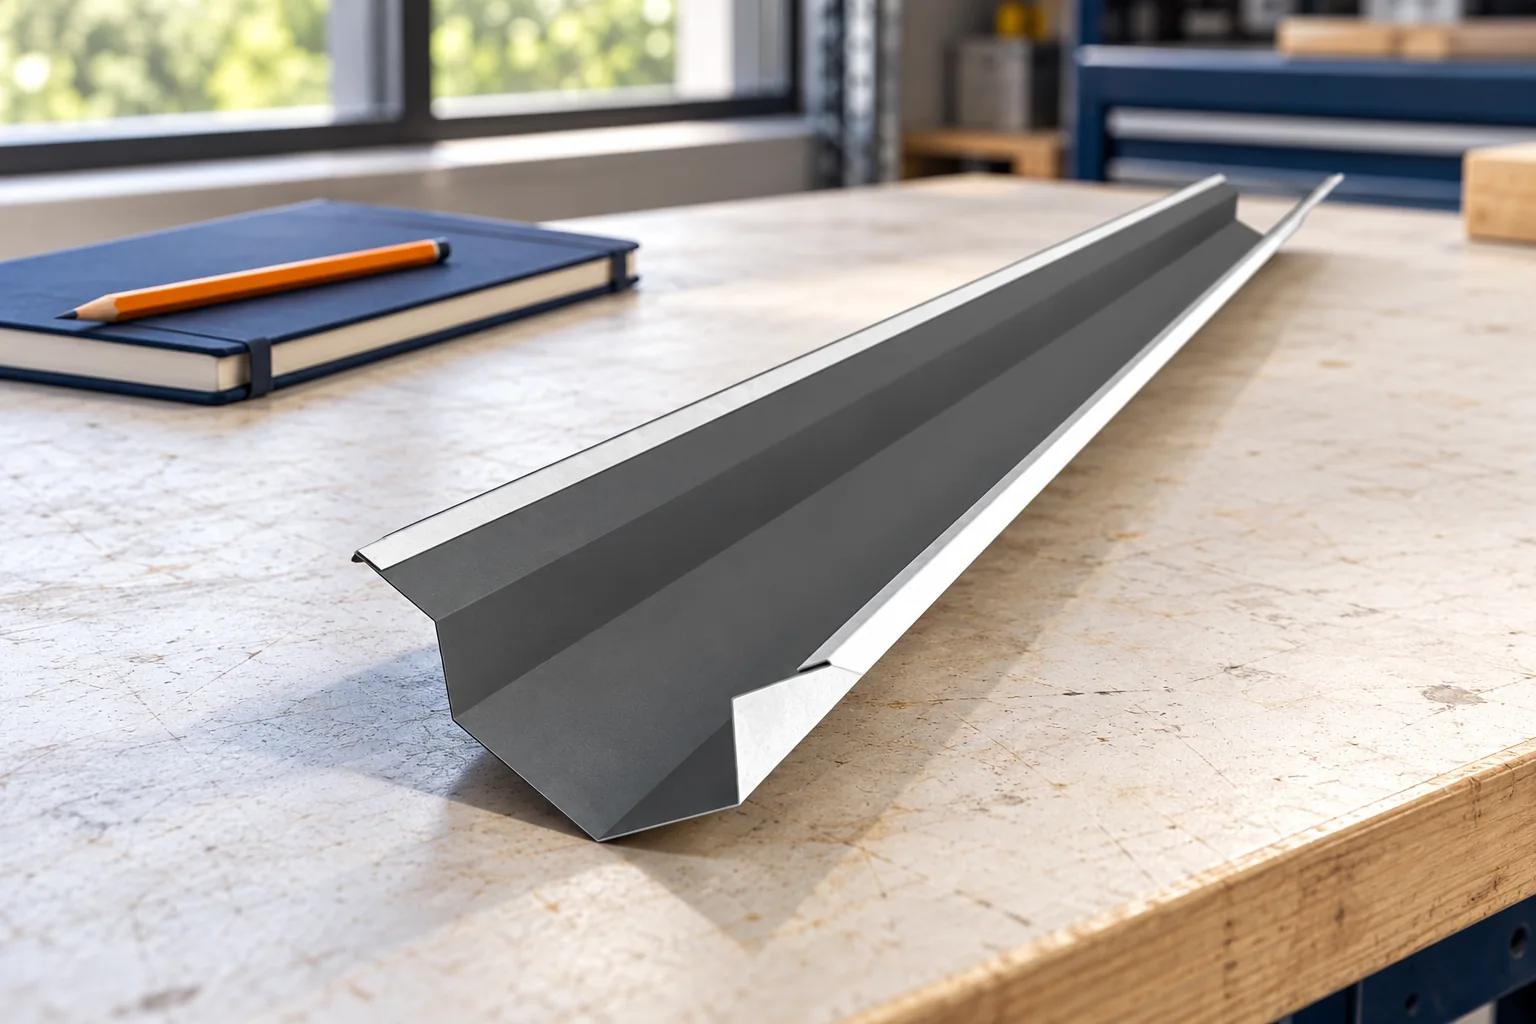
A roof valley is the concave junction of two roof slopes that collects water from both adjacent surfaces and must allow it to drain freely. When assessing the workmanship, it is worth checking not only the flashing itself but above all the clear flow of the channel and the distance of the sheet edge from its centre line. This distance determines the drainage cross-section and is often the source of problems. Watertightness depends on the shape of the flashing, its support and correct laps, not on the amount of sealant. Even the best sealant will not repair a badly formed detail.
Where does a roof valley occur?
The roof valley sits in a concave junction of roof slopes. It occurs, for example, where two parts of a building meet or at the sides of certain dormers. Water flowing from adjacent surfaces reaches a shared channel. The larger the catchment area and the more complex the geometry, the greater the importance of the width and clear passage of this location. It is not a detail chosen solely to match the roof colour.
Unlike a convex corner, a roof valley is constantly exposed to flowing water. It can also trap snow and debris. It is a mistake to cover its axis with tile-effect metal roofing almost to the centre. The covering is meant to direct water onto the flashing, not to restrict the drainage cross-section. The required clearance depends on the system, the length of the valley and the catchment area of the slopes.
How should the substrate for the flashing be prepared?
The support must hold the flashing in its defined shape and allow the adjacent sheets to be properly finished. The required arrangement of boards or battens follows from the system instructions. Excessive voids can cause the sheet to deflect during installation or maintenance. The resulting depression retains water, even though it looks inconspicuous on a new, dry roof.
The underlay also requires continuity in the roof valley. Water that gets beneath the covering should drain away along the designed path. The membrane must not end at an arbitrary point or be pierced by a series of unnecessary fastenings. Before the detail is covered, it is advisable to check the layout of the strips and take photographs. A later inspection may require dismantling part of the covering.
How should flashings and their laps be laid?
Valley sections are laid in the direction of drainage. The higher element should discharge water onto the lower element. The overlap length and any sealing are defined by the technical solution. Dimensions must not be transferred from one roof to another, especially when the pitch or the length of the slopes changes. A wide channel will not compensate for a reversed overlap.
Fastenings should not accidentally pierce the area over which water flows. The method of fixing must also allow for thermal movement of the sheet. Rigidly screwing a long flashing at many arbitrary points can deform it. When assessing the detail, both tightness and the ability to deform without tearing the connections are checked. The specific solution is selected by the contractor according to the documentation.

How should sheet metal be cut at the valley?
The cutting line is marked out before the sheets are finally fixed. It is worth checking it from a greater distance, because an uneven edge will be visible on the finished roof surface. Cutting tools approved for coated steel sheet that do not overheat the edges are used. An angle grinder damages the protective coating and scatters hot filings onto adjacent surfaces.
Narrow ends of tile-effect metal roofing require particular attention. They should not be left without proper support or held by a random screw in the valley channel. After cutting, swarf is removed and the edges are assessed. Local protection of the coating is selected according to the recommendations for the material. The entire flashing is not painted with an arbitrary preparation in the hope of improving watertightness.
Why can a roof valley leak?
Frequent causes are an undersized outlet cross-section, damaged seams and debris forming a barrier. During thaws, water can back up behind snow or ice. Stains appearing lower down in the attic do not always indicate the point of water entry. It may travel along the membrane or a structural element before becoming visible inside.
Repair begins with an inspection, not with covering everything in silicone. The outlet, the laying of the sheets, the fixings and the condition of the flashing under their edges must be checked. Sealant may be part of the intended detail, but it will not replace a missing lap. If the channel has the wrong shape, a lasting repair may require its replacement and re-cutting of the covering.
How to keep it clear and assess the workmanship?
During inspection, leaves, twigs and other deposits that restrict drainage are removed. Soft tools should be used and the coating protected from scratching. A strong jet is not directed under the seams. For a hard-to-reach roof valley, cleaning should be carried out by a specialist with appropriate protection. Going onto a wet roof just to remove a few leaves is an unnecessary risk.
At acceptance, check the even run of both edges, the clear channel and the termination of the roof valley at the eaves. Water should reach the gutter, not behind it. Also ask for photos of the concealed layers and a description of the flashing used. This information will facilitate later servicing. The roof valley should remain accessible for periodic inspection, particularly on a roof surrounded by trees.
7 branches. Materials closer to your project.