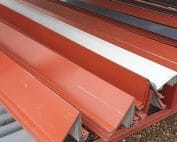
Installation and workmanship
How an eaves flashing directs water from the roof into the gutter
In brief
The eaves gutter flashing serves to collect water flowing down the roof slope and direct it into the gutter, while also shielding the eaves zone. At handover, it is worth checking not only the continuity of the flashing and its laps, but above all whether water from the covering actually reaches the gutter rather than passing behind it or under the covering. Equally important is preserving the required ventilation beneath the metal sheet. The shape of the flashing should follow the specific eaves detail, not merely the width of the available sheet.
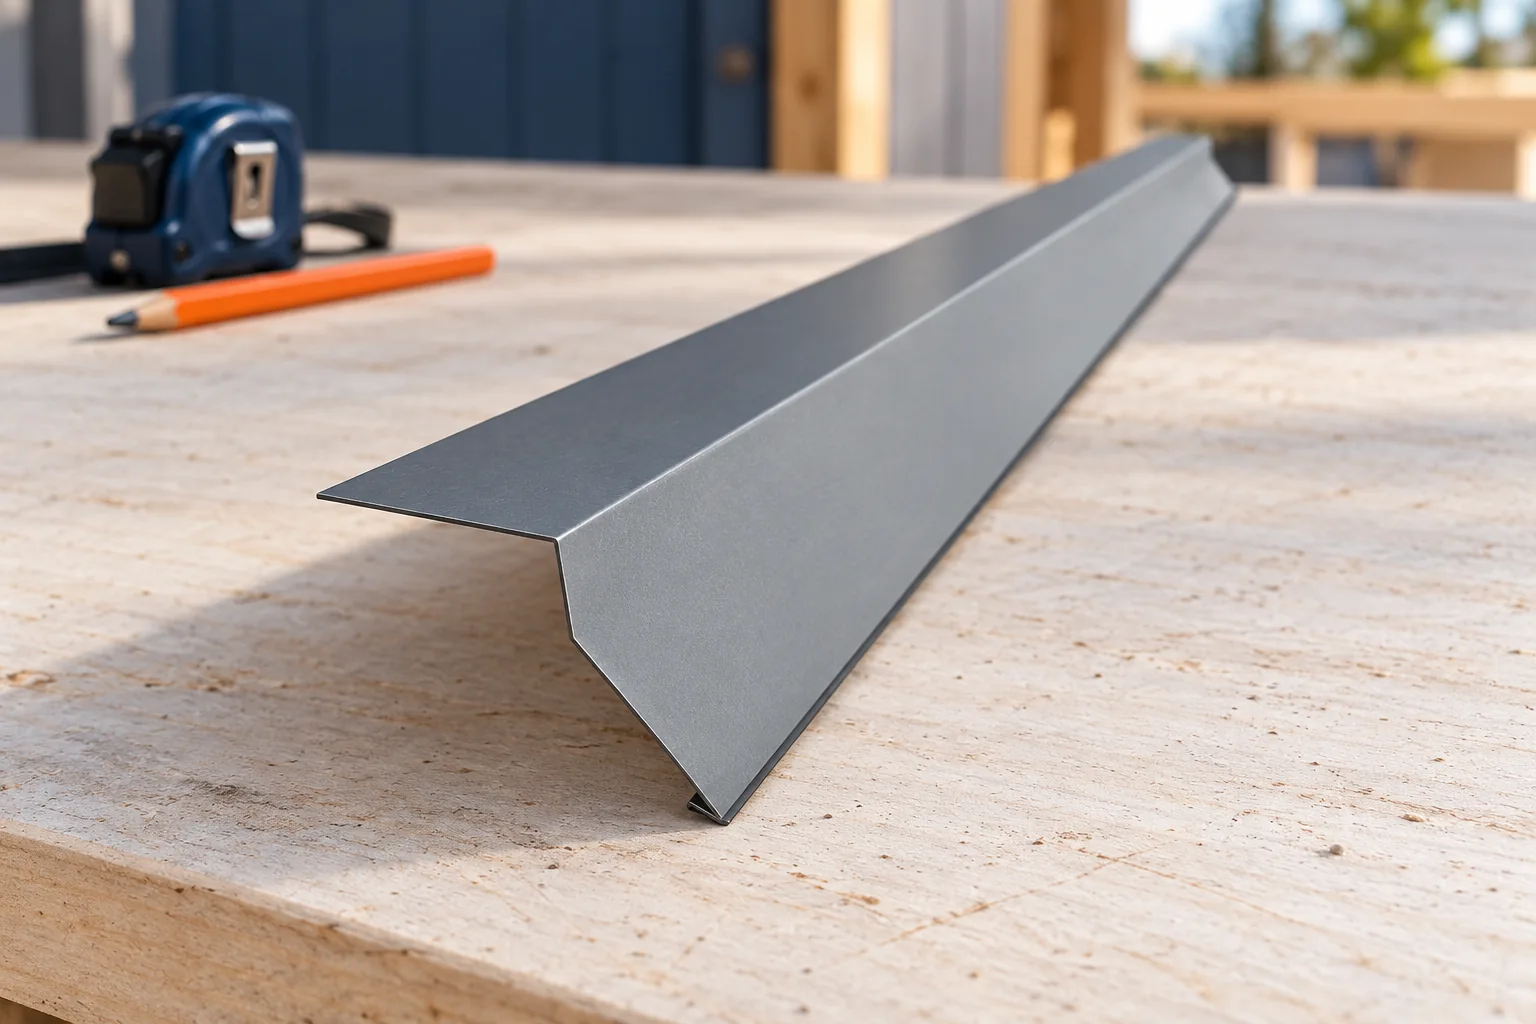
What is the function of this flashing?
Water flowing down the roof slope must pass safely over the lower edge of the covering. The gutter flashing forms a controlled path to the gutter and shields the components behind it. Without the correct detail, some water can get into the fascia board or under the covering. The problem is often only visible as a stain on the soffit, although the cause is a joint located higher up.
The shape of the flashing depends on the geometry of the eaves. The projection of the sheet, the position of the gutter and the distance between the layers all matter. The flashing should not be ordered solely according to the width of sheet available in stock. The correct dimension should result from the detail. An edge that is too short may not direct water into the gutter, while excessive projection can hinder the operation of the entire system.
How does it differ from other eaves flashings?
In the eaves zone there may be separate components responsible for water from the covering and for water from the underlay. There are also flashings that shield the fascia board. The names used by installers vary, so it is best to work from a cross-section drawing. You need to see where water reaches a given component from and where it is meant to drain away to.
It cannot be assumed that one wide flashing will always replace all the others. A system with a membrane drained in a specific way must maintain its continuity. The joint should also take into account the durability of the material exposed to light and weather conditions. A membrane left without adequate protection at the roof edge may lose its properties over time. The aesthetic appearance of the eaves alone does not confirm correctness.
How does the flashing work with the gutter?
The gutter must be located where the water from the flashing arrives. Its position is determined together with the brackets and the extension of the roof slope. The gutter should not be raised so high that it takes the weight of sliding snow. Conversely, too great an offset can cause water to overflow beyond its edge during rain. The detail must be adapted to the specific roof.
During installation it is worth inspecting the eaves line along its entire length. A local unevenness in the flashing or gutter can direct part of the flow in the wrong direction. The ends of the valleys are particularly important, where water from a larger area collects. A good gutter will not fix an incorrectly shaped valley outlet. All these components should form one verified drainage path.

How should laps and fixing be carried out?
Sections of flashing must have joints in accordance with the covering instructions and the direction of drainage. The ability of the sheet to move thermally is also important. A long flashing rigidly fixed at random points may buckle. Fastenings should be arranged so as not to create unnecessary water paths. The joint plan is not replaced by a large number of screws visible across the entire surface.
The material and coating should be suited to the operating conditions and should work together with the other components. Cutting should be carried out with tools that do not overheat the edges. After installation, swarf should be removed and any damage protected in a manner approved for the coating. The gutter is a place where debris readily collects, so the inspection after the flashings have been completed should also cover its interior and outlets.
Can the flashing block ventilation?
A ventilation space with an inlet at the eaves is often provided beneath the sheet. The strip, protective mesh and other components must be arranged so as to maintain the required airflow. Sealing the entire edge tightly with foam can trap air and moisture. Protection against insects or birds should be matched to the system rather than achieved at the expense of the required ventilation.
It is worth distinguishing a controlled air inlet from a gap that lets rain in. A correct detail allows the space to be ventilated while limiting the driving in of water and contaminants. This is not achieved by leaving large openings at random. The roof covering profile, the flashing and the protective element must be compatible. The solution may differ between tile-effect metal roofing and trapezoidal steel sheet.
How do you recognise a problem at the eaves?
Streaks on the fascia board, a damp soffit and signs of corrosion beneath the edge require investigation. The cause may be the gutter flashing, but also a blocked gutter, water from the membrane or condensation. It is not worth simply sealing everything from below straight away. Such a repair may only trap moisture in a concealed place. The path of the water from the roof slope to the outlet must be traced.
At handover, ask to see a section drawing of the eaves and photographs taken before the detail was covered. Check that the flashings are continuous, their ends are correctly finished at the edges and the ventilation inlet is clear. During rain, look for water overshooting the gutter. A well-fitted eaves flashing is easy to overlook, but a fault can let water into several adjacent roof components.
7 branches. Materials closer to your project.