Metal fences
Metal fence pickets: from bay measurements to the order schedule
In brief
It is worth preparing an order for metal fence pickets on the basis of measuring each bay and a sketch showing the arrangement of components. The dimensions between posts, ground slope, gaps, installation direction and end finish affect the required lengths and quantity of material. This Izoprofil.pl guide leads from taking an inventory of the fence to a clear schedule for the supplier. We distinguish between the profiled sheet picket, the load-bearing structure of the bay and the fixing components. We also discuss assigning colour and coating to the visible sides, checking the sample and documenting changes. The selection of supports and connections requires data for the specific system and site conditions; a correct count of pieces does not yet confirm the load-bearing capacity of the fence. An approved drawing, however, helps avoid accidental cutting of material after delivery.
Measure the clear span of the bay in several places
Mark the bays on the site sketch and record the dimension between the surfaces to which the installation refers. Do not confuse the centre-to-centre distance of the posts with the clear gap between them. Measuring at the bottom, middle and top reveals non-parallel supports. Such a discrepancy must be resolved before dividing the field width into pickets and gaps.
On a sloping section, plot the ground level, the base and the planned top line. Determine whether successive bays are to form steps or follow the slope. Describe the pedestrian gate and the driveway gate separately, taking the leaf construction into account. A drawing of one simple field should not automatically determine the length of all components on an uneven plot.
Draw out the rhythm of the pickets and the edge gaps
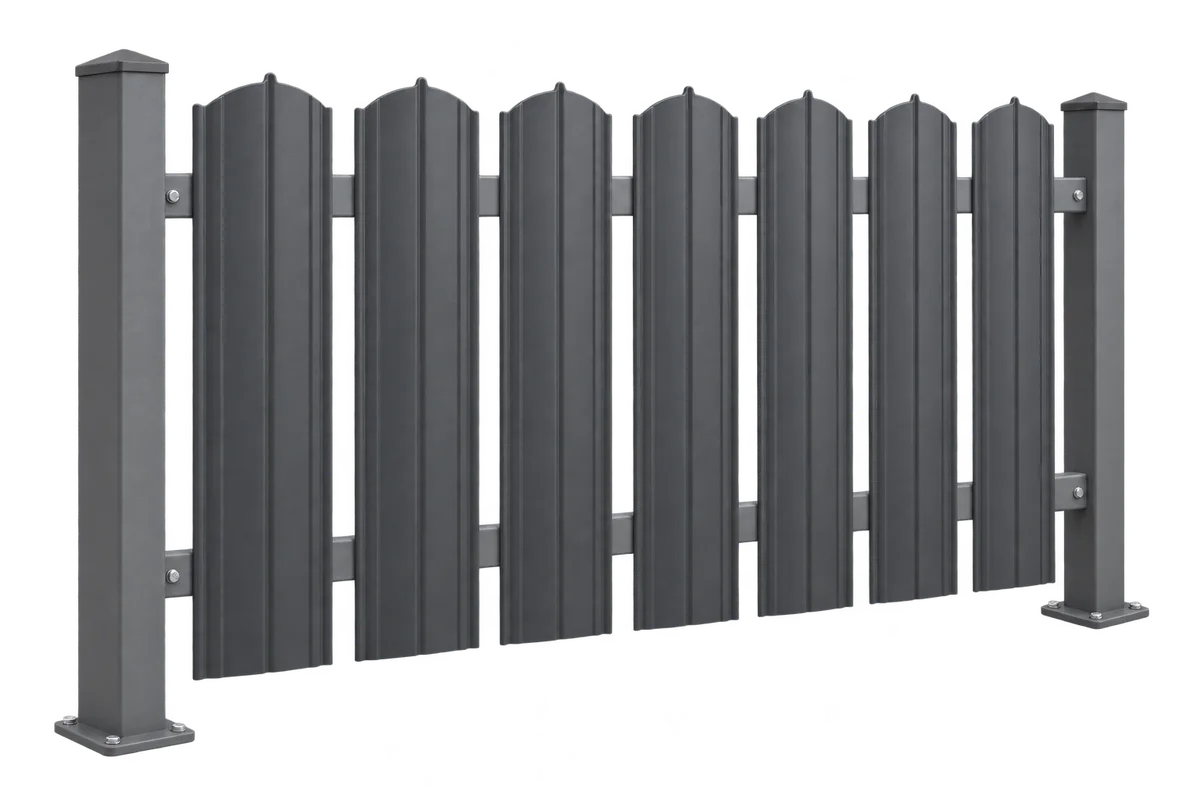
For the layout, use the finished picket width in accordance with the product drawing. The width of the flat steel strip before profiling does not describe the space occupied on the bay. Mark both spacings at the posts and the clear gaps between the elements. Checking the full dimensional chain shows whether the last picket fits without forcing a narrowing of the end gap.
When you change the model, the installation direction or the number of rows, make the sketch again. A different profile may require different strips and support points. The infill density also affects the wind action on the entire fence; the visible gap is not a structural assessment on its own. For this reason, the aesthetic variant should be agreed before the final selection of supports.
Assign the finish variant to each side
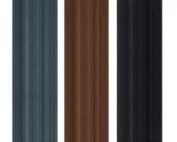
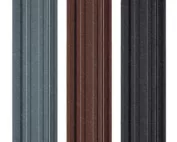
In the specification, enter the colour, the type of surface and the expected finish of the reverse side. The term double-sided may refer to the coating of the picket or to the arrangement of two rows of elements. These meanings must be kept separate. For a wood-effect decor, also note the orientation of the pattern if it matters in the selected product and the planned installation position.
Label the approved sample with the product name and the coating variant. Assess it in daylight, from the property side and from the street side, against the background of the planned posts. The colour number does not describe gloss or texture on its own. For later reordering, it is worth keeping the batch data; do not assume identical light reflection on any deliveries based solely on a similar name.
Separate the infill schedule from the structure
The picket list defines the infill, while the list of posts, rails and connections concerns its support. For an existing structure, the condition and dimensions of the components must be confirmed. New infill does not repair corroded fastening. If the height or degree of exposure of the bay changes, the suitability of the existing arrangement for the new conditions must be assessed.
Fasteners are selected to suit the material and thickness of the substrate and the intended fixing location. They should be identifiable on the order together with any strips and cover trims. Do not replace the technical description with a statement such as a screw in the colour of the fence. The supplier needs the data required to select the accessory, and the installer needs instructions specifying correct use within the given system.
Determine how the components are to be prepared for installation
Before delivery, establish the storage location and the order in which packs are to be opened in accordance with the bay markings. Lifting and carrying long elements should limit their bending and friction of the coatings. If cutting is necessary, use a method permitted by the documentation. Accidental shortening of the pickets may remove the factory-finished edge or change the agreed appearance of the end.
Compare the first assembled bay with the drawing before repeating the layout across the entire property. Check the spacings, the top line, the orientation of the profile and access to the fixings. Remove swarf from the surface in accordance with the recommendations before it remains in the folds. Do not correct incorrect geometry by over-tightening the fastener and deforming the thin sheet.
Check the order, delivery and subsequent access
The final schedule should link the bay number with the model, length, number of pickets and accessories. Note the date and version of the approved drawing. If a dimension changes after measurement, correct the dependent items as well, not just one length. A material allowance may facilitate repair, but its scope should be agreed; it does not replace the accurate listing of the different bays.
On acceptance of the delivery, compare the labels and quantities with the approved schedule before the material goes to installation. Retain information on the coating, the cleaning method and the accessories ordered. In the finished fence, access to the connections should allow inspection and replacement of a damaged element. Clear bay markings will facilitate later reporting and ordering of the correct picket.
7 branches. Materials closer to your project.