PIR insulation
PIR when replacing the roof covering: insulating without losing loft space
At a glance
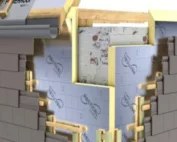
Replacing the roof covering is an opportunity to insulate the roof slopes from the outside. PIR boards above the rafters can limit intervention in finished rooms. Before starting, the condition of the timber, the heights of the layers and the way the new roof connects to the existing façade must be checked. PIR boards laid above the rafters form a layer that also covers the wooden structural elements. This makes it possible to reduce their contribution to heat flow through the roof. The exposed structure allows areas previously inaccessible to be assessed. The new insulation should be placed on a prepared assembly with a confirmed technical condition. After removing the covering, the timber and the locations of earlier leaks should be inspected. The new layer should not conceal sections requiring structural repair.
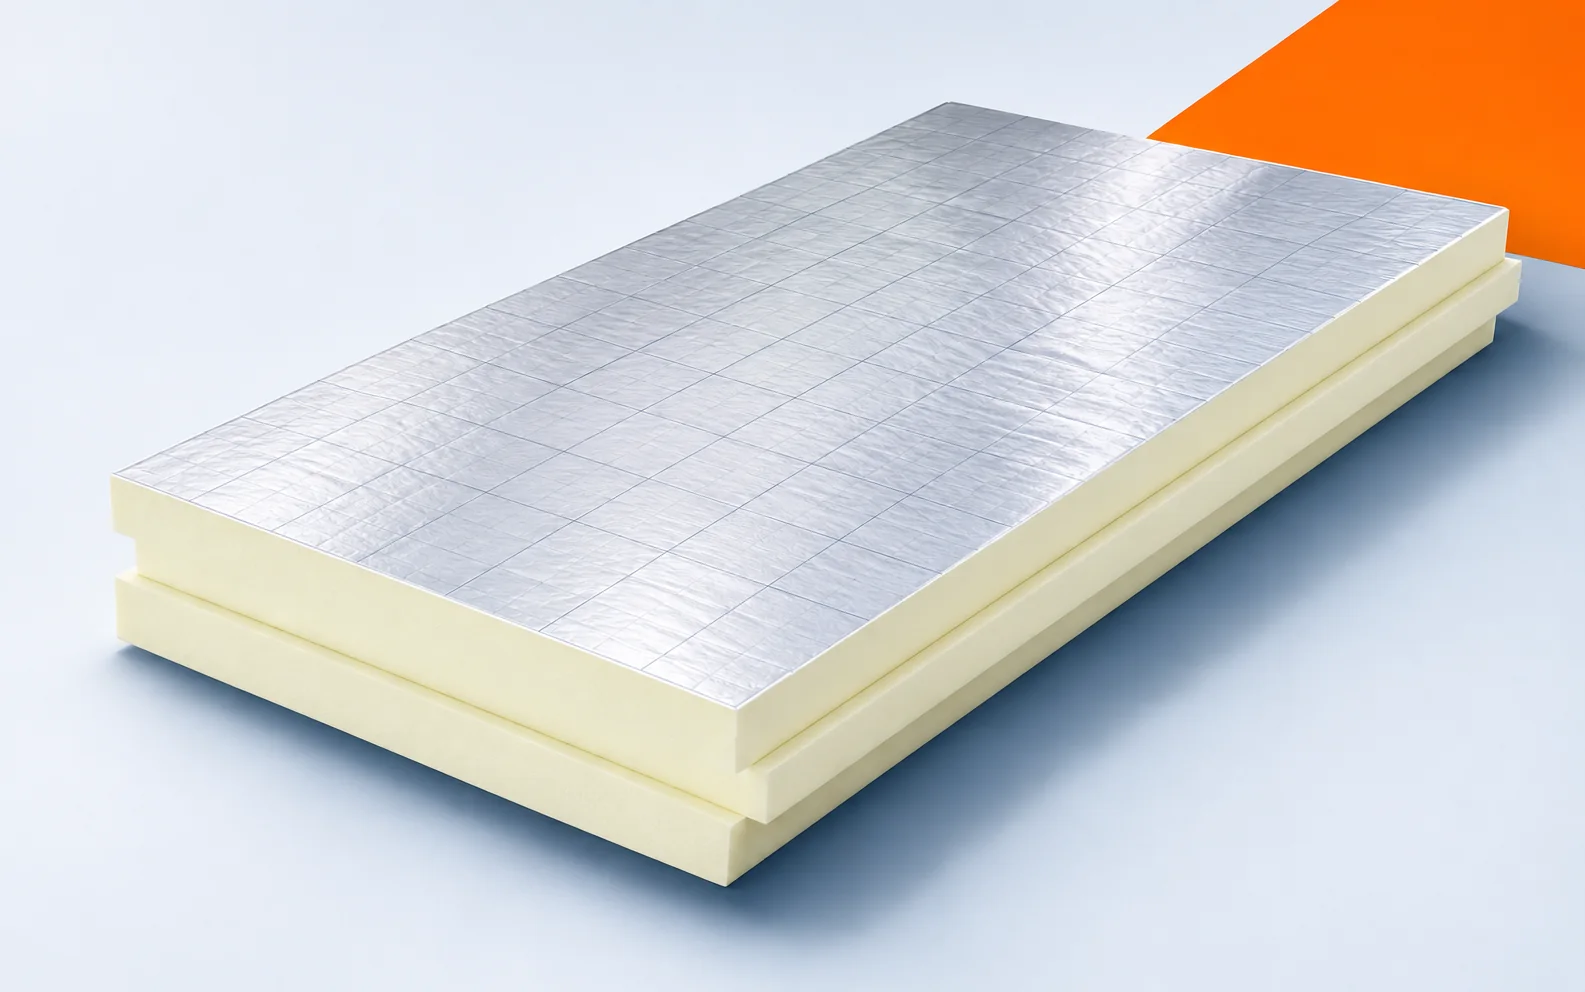
Continuous layer above the rafters
It is worth comparing the actual spacing with the chosen board support solution. An exposed roof offers the chance to sort out these issues before thermal insulation. This allows PIR to be installed as part of a prepared system rather than as a layer masking old problems.
Roof height and available space
On an old eaves, check the planned level of the covering once the renovation is complete. In the height budget, besides PIR, there may be sheathing, membranes, counter-battens and battens. A low lambda makes it easier to reduce the insulation itself, but it does not automatically reduce the other roof components. The available space at the existing eaves may force a change to the entire detail.
The available heights should be measured rather than assuming that every thickness will fit under the flashing. In an old building, it is worth measuring the height at the roof edge and the position of the gutter. Sometimes the constraint concerns an adjacent flashing rather than the eaves itself. A low lambda allows a thinner insulation variant to be compared, but all the other layers must be taken into account. The drawing of the new section should also show the old elements that remain in place. Only then can it be determined which modifications can be limited.
Rainwater, vapour and airtightness
Preserving the attic finish requires connecting the retained layers on the room side with the new sealing. These are to limit uncontrolled air and vapour flow. The underlay layer, which drains water from beneath the covering, must be developed separately. The renovation covers both of these tasks, even if the work is carried out mainly from the outside.
If there is no access to the junction detail, a method of repairing it must be devised. The airtight layer from the inside may be concealed by a finished ceiling. If repair is required at the wall plate, realistic access to that point must be provided for. The external PIR board will not automatically replace the missing connection. It is worth developing the detail before opening up the entire roof slope. This allows the accessories and the scope of dismantling to be prepared, instead of making a decision under pressure to protect the roof from the weather.
Fixing to the structure
After exposing the rafters, verify their geometry before selecting the fastenings. Unevenness and differing dimensions of the old timber affect how the new system is supported. The screws must transfer the loads of the roof covering, battens and counter-battens to the structure; the design specifies their anchoring, positioning, spacing and length. The thickness of the added board alone does not describe this connection.
The PIR layer does not replace the preparation of a support in accordance with the chosen solution. Uneven rafters may require the geometry to be corrected in accordance with the design. Pressing the rigid board down with screws is not a universal way of levelling the support. The condition and load-bearing capacity of the anchoring point must be checked. Once the structure has been prepared, the arrangement of the joints can be assessed. This sequence makes installation easier and reduces the risk of leaving voids or causing damage when trying to fit to the old surface.
Eaves, windows and penetrations through the roof slope
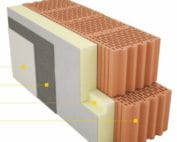
Compare any retained roof window with the new covering height before closing the slope. The insulation, seals and water drainage path must fit around it. The second checkpoint is the eaves: here the thermal insulation above the rafters should achieve continuity with the layer in the wall. Both details must be adapted to the actual elements of the existing building.
The change may require adapting the flashing and the way the reveal is insulated. A retained roof window must be coordinated with the new height of the layers. Access to the flashing, space for the thermal insulation and the method of water drainage are important. Sometimes changing the position of the covering means additional work around the frame. It is worth including this in the renovation cost estimate. A good board in the roof slope area will not compensate for an incorrect termination at the retained joinery.
Sequence of works and closing the roof
Plan the removal of the covering in sections that can be secured at the given stage of work. Ready-made PIR boards do not require the core to be produced on the roof, but they still need dry storage, careful cutting and protection of the exposed roof slope. The organisation of the renovation should therefore combine the pace of installation with the ability to cover the open section.
Protecting the attic in use should be part of the scope of works. The sequence of works should take into account the rooms in use below. Sections can be designated that can be secured on the same day in accordance with the solution. A dry place for the new boards and prepared accessories are also important. Installation without interruptions limits the time the structure is open. However, it is not worth increasing the pace at the expense of omitting checks of the joints that will soon disappear under the next layer.
How to read the geometry of the roof slope
The share of the rafters can first be seen on a simple geometric module: timber 10 cm wide at an axial spacing of 100 cm occupies about 10% of the width. This does not mean the same share in heat losses and does not give a U-value. A continuous layer above the rafters increases the resistance also along the path of flow through the timber, but the calculations must take into account the actual connections and all materials. In the scope of delivery, separate the PIR boards intended for the selected roof from the foam for seals. The former have a factory geometry adapted with cut-offs; the latter serves as an accessory. The common name of polyurethane insulation should not blur this difference.
7 branches. Materials closer to your project.