Installation and workmanship
How to lay modular tile-effect roof sheets without damaging the coating
In brief
Protecting the coating on modular steel roof tiles begins before the first pack is opened. Set aside clean, dry areas for storage and cutting, with room to lay down trimmed pieces. A grain of sand, a sharp offcut or a piece of rubble under a sheet can score its finish as soon as the sheet moves. Plan how the modules will be carried and cut and how installers will move across the roof. Keep tools organised and away from completed sections where a falling tool could chip the surface.
How to prepare the workplace?
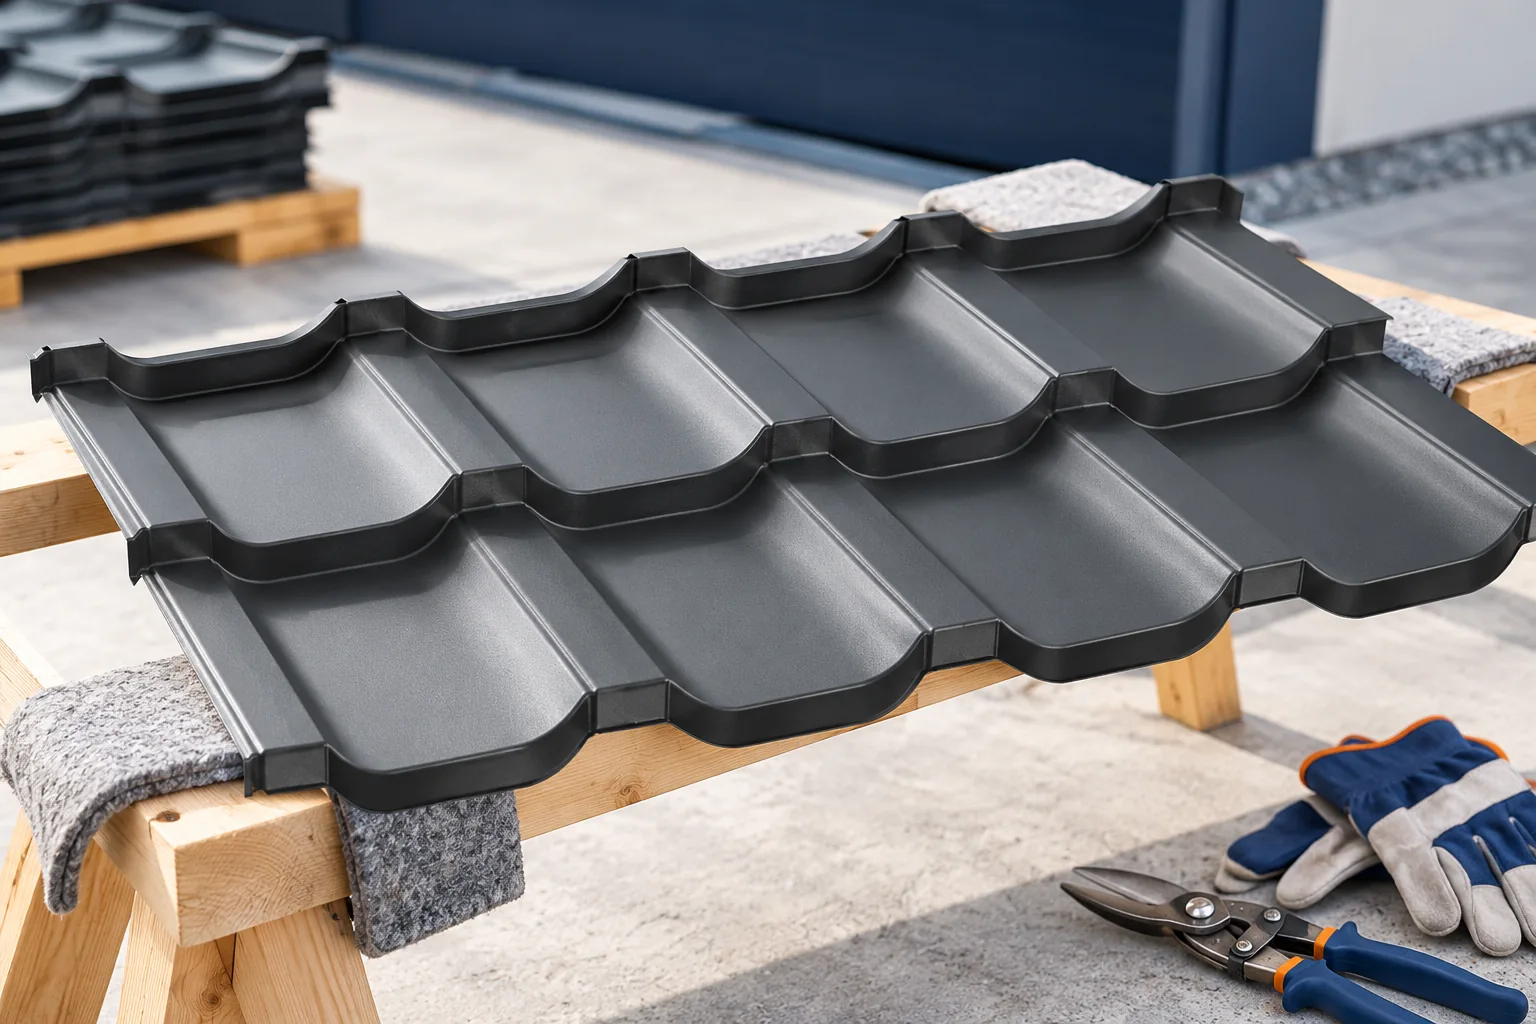
Before opening the packs, it is worth designating a dry storage and cutting station. The modules should not lie on sand, rubble or sharp waste. Even a small particle under the sheet can scratch the coating during movement. Space is also needed for setting aside cut pieces. Organising tools reduces the risk of dropping them onto a finished section of the roof.
Transport onto the roof slope is planned together with protecting people. A wide sheet must not be carried in conditions where the wind takes control of it. Platforms, scaffolding and fall protection systems are selected to suit the building. Fitting a harness alone without proper anchoring does not solve the problem. Work should be organised so that it does not force walking on random, unsupported places.
How to lift and set down modules?
The sheet is lifted, not dragged across the surface of the neighbouring element. Particular attention must be paid to the overlap edges and embossings. Bending them can make fitting difficult, even when the scratch is barely visible. After setting the material down, it should have stable support. It must not rest solely on protruding corners or be weighed down with a heavy random object.
If water has got into the pack, proceed according to the storage instructions. Tightly stacked damp sheets will not dry properly under additional film. Discolouration and damage to the protection may occur. Before installation, it is therefore worth inspecting the elements from the middle of the packaging as well. Early detection of the problem allows its cause to be clarified before the material is fixed across the whole roof slope.
What to cut coated sheet with?
Shears, nibblers and other tools permitted in the instructions that do not overheat the edges are used. An angle grinder is unsuitable. It damages the protective layers in the cutting zone and scatters hot particles. Marks may appear on neighbouring sheets and in the gutter. Such damage does not always look serious at the moment it is made, but later it can become the start of corrosion.
The cutting location must be planned so that swarf does not fall under finished overlaps. After working, it is removed with a soft brush or another permitted method. It must not be rubbed off forcefully over the coating. Minor damage is protected with material compatible with the system. Extensive deformation or a deep scratch may justify replacing the module instead of hiding the defect with a large patch of paint.

How not to damage the sheet when screwing?
The screw must match the substrate, the thickness of the elements and the function of the connection. The torque setting should ensure the washer is pressed correctly without being excessively compressed. Over-tightening can deform the sheet, while under-tightening can leave a leak. The result must be checked continuously rather than assuming that one tool setting will be correct across the whole roof.
The fixing positions are specified by the profile manufacturer’s instructions and the design. Additional holes are not drilled merely to pull a crookedly laid sheet into line. The geometry of the substructure and the position of the component must first be checked. If the module is stressed by incorrect alignment, a further screw can only conceal the problem briefly. Nor may timber fixings be replaced with arbitrary metal screws.
How should you move across the roof covering?
Above all, movement over the installed sheet should be kept to a minimum. Access routes and working positions are planned in advance. Where access onto the covering is permitted, the positions for placing a foot should follow the instructions and the support of the sheet. Walking on an unsupported pressing can permanently flatten it. A small module is not for this reason resistant to every point load.
Footwear should be clean and suitable for working on the roof. A stone lodged in the sole can leave a long scratch. On a wet or icy slope the risk of slipping increases, so weather conditions must be assessed independently of the pace of work. A soft sole must not be treated as protection against falling. Protective measures and organisation appropriate to the nature of the work are required.
What should be checked after laying the last module?
The inspection should cover scratches, deformation, swarf, foil remnants and the correct seating of the washers under the screws. Examine the gutters and downpipes, where small waste often accumulates after cutting. Also check whether tools have damaged the membrane in places that are still accessible. Defects are best rectified before the scaffolding is dismantled, when access to the roof is safer.
It is worth retaining the material designation and a small number of matching modules intended for future repair, if storage conditions permit. The acceptance documentation should record the materials used and any repairs to the coating. A well-executed roof does not need large painted-over areas immediately after installation. A clean, undeformed surface is the result of careful work at every earlier stage.
7 branches. Materials closer to your project.