Sandwich panels
A sandwich panel home: agreeing dimensions before ordering
At a glance
Before ordering sandwich panels for a house, coordinate the envelope geometry with the frame, windows, doors and intended finishes. A room plan is not a panel cutting schedule, and a structural opening may differ from the size used to order a window. This guide explains how to assemble consistent information for the designer, installer and supplier: elevation references, measurement points, revision records and approval of element lengths. It does not replace calculations or construction drawings. Its purpose is to avoid correctly manufactured panels arriving for an outdated sketch. Dimensions should come from agreed documents and, at the appropriate stage, measurements of the actual frame. Establish who checks them before releasing the order.
Identify every elevation and element
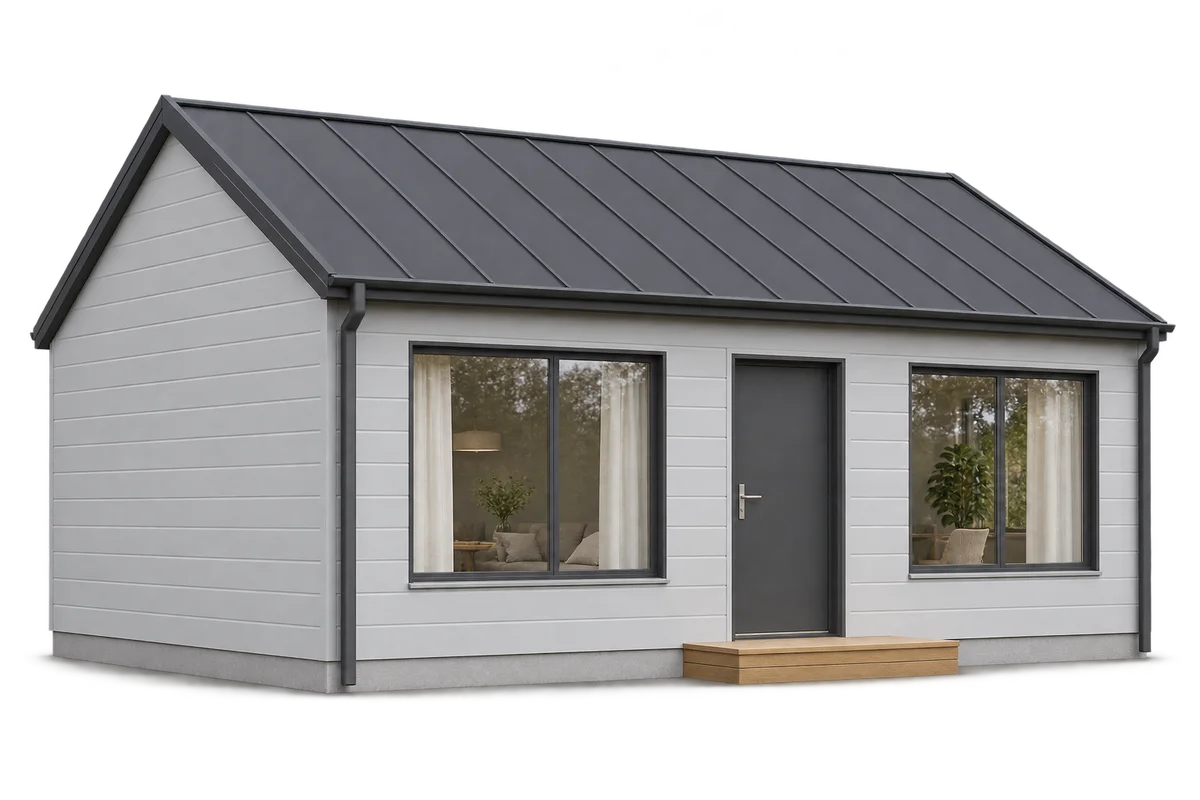
Use wall references that match the drawings. Each panel number should identify an installation position, not merely a line in the purchasing list. On similar elevations, identify the entrance side, corners and installation direction.
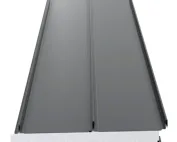
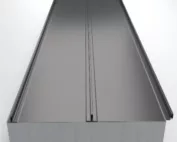
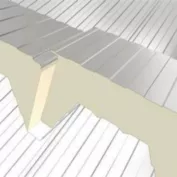
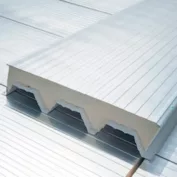
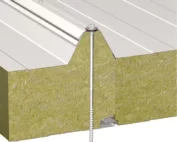
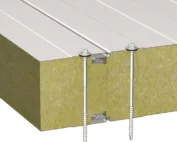
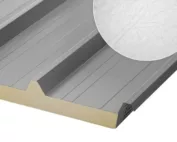
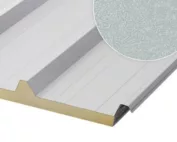
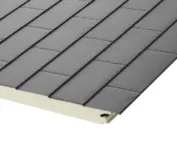
Distinguish length, cover width and thickness. Do not calculate quantities from an arbitrary dimension shown in a product photograph. The cutting schedule must reflect the selected profile and the designed joints.
Agree measurement references
State whether a dimension refers to a structural centreline, a support face or a finished surface. Record the height datum as well. These references matter more than apparently precise numbers on a sketch.
If the frame is already erected, report differences between drawings and measurements for resolution. Do not silently adjust an order to one isolated reading. A correction may affect neighbouring panels and flashings.
Schedule openings and frames
The window and door schedule should identify each opening, its reference drawing and approval status. Separately agree the dimensions required by the joinery supplier and the connection to the panel envelope.
Openings must be considered together with panel capacity and support. A rectangle on an elevation does not establish whether additional framing is needed. The selected arrangement requires a project-specific assessment.
Check interfaces between building parts
At the plinth and eaves, distinguish panel dimensions from flashing dimensions. Account for the actual layers and designed gaps. A single overall building height is not automatically the length of every wall panel.
Describe junctions with a garage, canopy or extension in separate details. Similar-looking surfaces may conceal different frames and levels. The materials schedule should show where each scope begins and ends.
Maintain one current schedule
Give every schedule a date and revision number. When an opening changes, check the associated panels, flashings and quantities too. Sending a revised screenshot without a version reference makes control difficult.
Mark unconfirmed data as provisional. Avoid blank fields that could be mistaken for omitted components. An open-questions register should identify who is responsible for providing each answer.
Close out decisions before manufacture
Before manufacture, compare the order with the approved panel layout and current opening schedule. Check identifiers, quantities and units. Price acceptance should not be the only document defining what is to be made.
Keep the approved set with the delivery documents. It helps establish whether a site discrepancy comes from the supplied element, a later design change or installation in the wrong position. Investigate before treating cutting as the automatic remedy.
7 branches. Materials closer to your project.