Sandwich panels
How do you plan ceiling cleaning after some barn panels have been replaced?
At a glance
After a barn ceiling repair, two neighbouring white bays can have different facings. New panels sit alongside old ones, sometimes with a strip of trim covering the edges of the repair. Before the first wash, mark the extent of the work on a floor plan. For each area, identify the panel, the face exposed to the room and its care instructions. The junction between the two areas needs its own entry. With this plan the building manager can show the crew which method applies to each surface and where information is still needed from the installer.
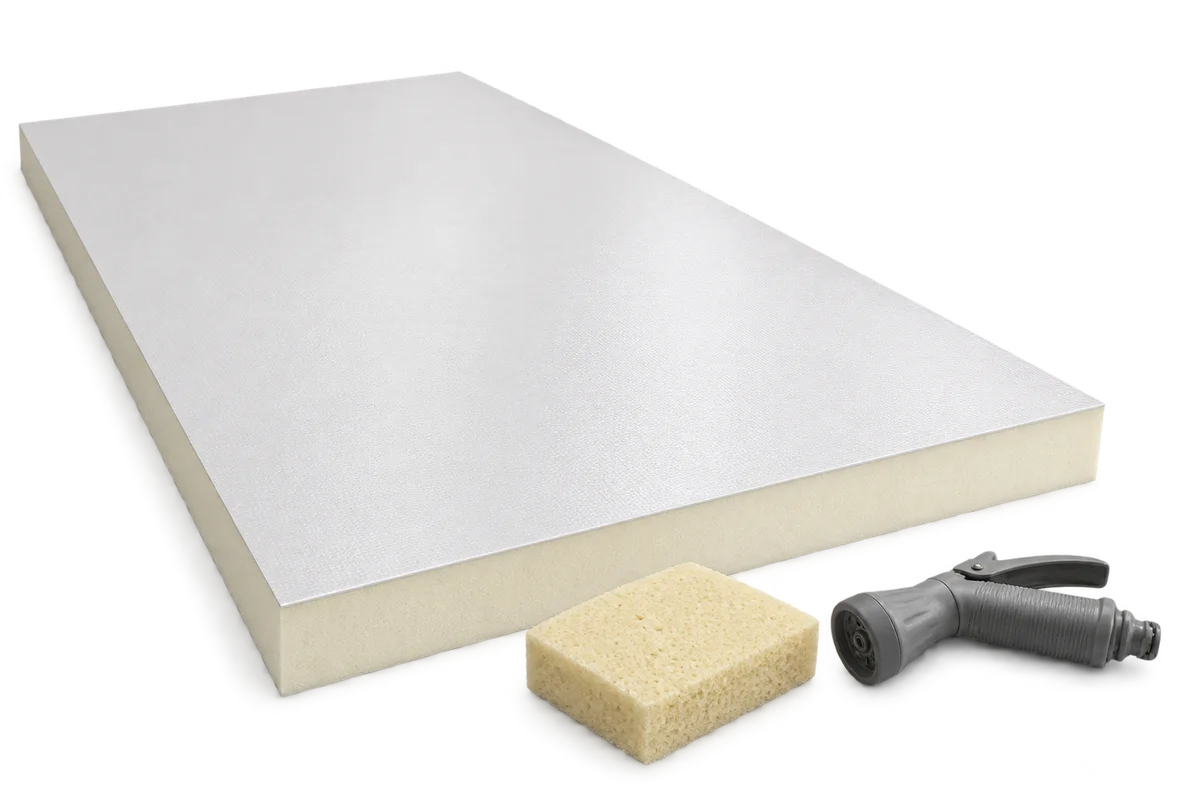
Where did the replacement work end?
On the sketch, outline the replacement panels and mark the doorway from which the overview photograph was taken. If only part of a row was repaired, show the actual end of the repair within that row.
Ask the installer if any original trims were retained. Show both the new facing and the older trim beside it, even where the finished ceiling is all one colour.
How do you match a bay to its documents?
Look for the replacement product reference in the repair order, on a retained label or in the material schedule. Confirm with the installer which face was turned towards the room. The cleaning guidance needs to cover that face.
Consult the earlier delivery records for the original section. If the only description is “insulation board”, ask the supplier to identify the facing. A photograph of a surviving batch label may help them trace the product.
Why give the junction its own entry?
At the boundary, note any visible trim, closed edge or sign of repair. Photograph it from the room side. The installer can then identify the detail they fitted and explain what it means for wet cleaning.
If a cover is loose or an exposed edge can be seen behind a trim, mark the section for inspection. Leave the cover in place and defer washing that section until its condition has been assessed.
How do you specify a method for each facing?
In two columns, record how the cleaner may be applied, its compatibility with each facing and any rinsing conditions. A common product can be specified once its suitability for both surfaces and the proposed method of use have been confirmed against the instructions.
If a small trial has been agreed, identify a patch on both an old and a new panel. After drying, compare each patch with an untreated area on the same panel. A shade difference between the old and new panels may have existed before cleaning began.
What if a panel cannot be identified?
After several repairs, one panel may be impossible to match to a particular delivery. Give it its own reference on the plan and send the supplier a photograph of the entire bay along with the repair details available.
Against that bay, record precisely what information is missing and who is following it up. The crew can then leave it out of the agreed wash. Once the care instructions arrive, add the specific cleaning method to the plan.
How do you pass the plan on to the next crew?
File the date, product names and care documents used for the agreement with the plan. If more panels are replaced, it will be easier to see which part of the record still applies to the existing ceiling.
At handover after the first wash, walk the contractor from the original section to the replacement section. Update the sketch with the area actually cleaned and any spot left out at the junction. The next crew will see both the repair boundary and the extent of the last cleaning job.
7 branches. Materials closer to your project.