Gutter installation: planning falls, brackets and outlets

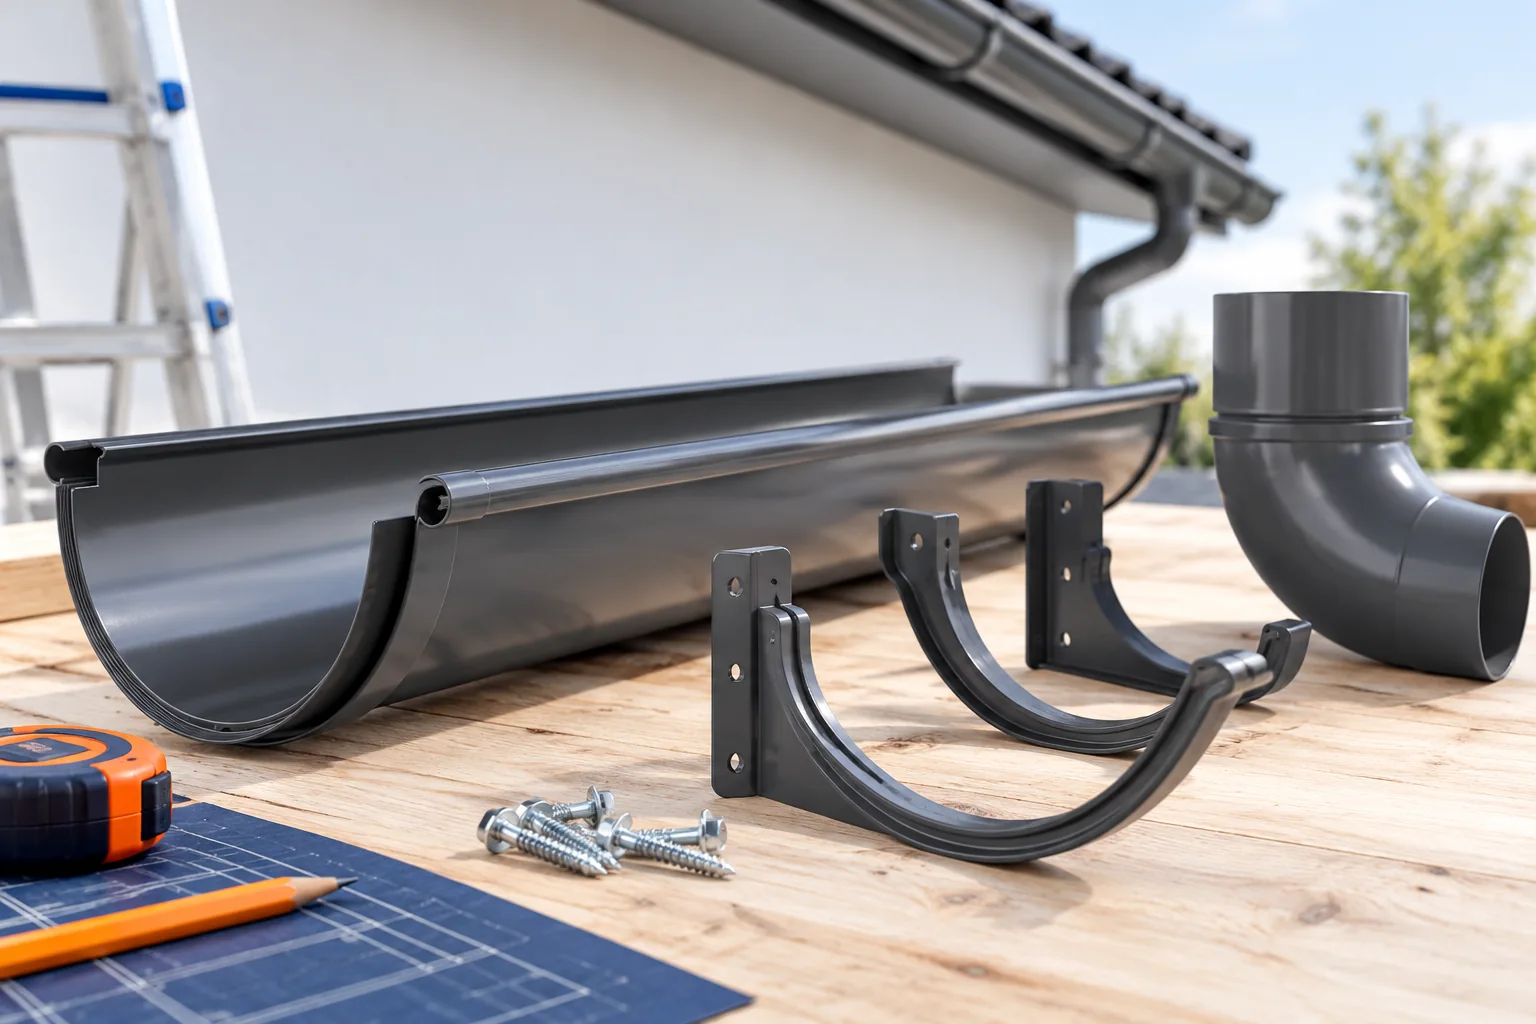
Installing gutters begins with dividing the roof into catchment areas and determining the outlets. Before choosing the cross-section, brackets and falls, establish whether the outlet will be at the end or in the middle of the gutter – this affects how the whole system performs. Also check the position of the downpipes relative to windows, entrances and rainwater discharge at ground level to avoid flooding the pavement. Bear in mind that one universal bracket spacing or fall does not suit every gutter; the specific system's guidelines and the condition of the substrate are key.

2026-11-14T22:28:22+01:00

Timber roof framing: structural forms, installation and costs

Before comparing quotes, establish whether the design and the specification of the scope of works are common to all contractors — these, not a cubic metre of timber, let you judge what the price covers. The roof structure transfers the loads of the covering, snow and wind to the building's supports, and its layout depends on the span, roof shape and planned attic. Check the strength class, cross-sections, lengths, moisture content and method of protection; the name of the timber species alone does not replace classification. Also assess the connections and bracing, because a set of beams without them does not make a stable roof.

2026-11-14T22:25:59+01:00

Fixing through the crest of the corrugation. The rule you need to check in the installation instructions

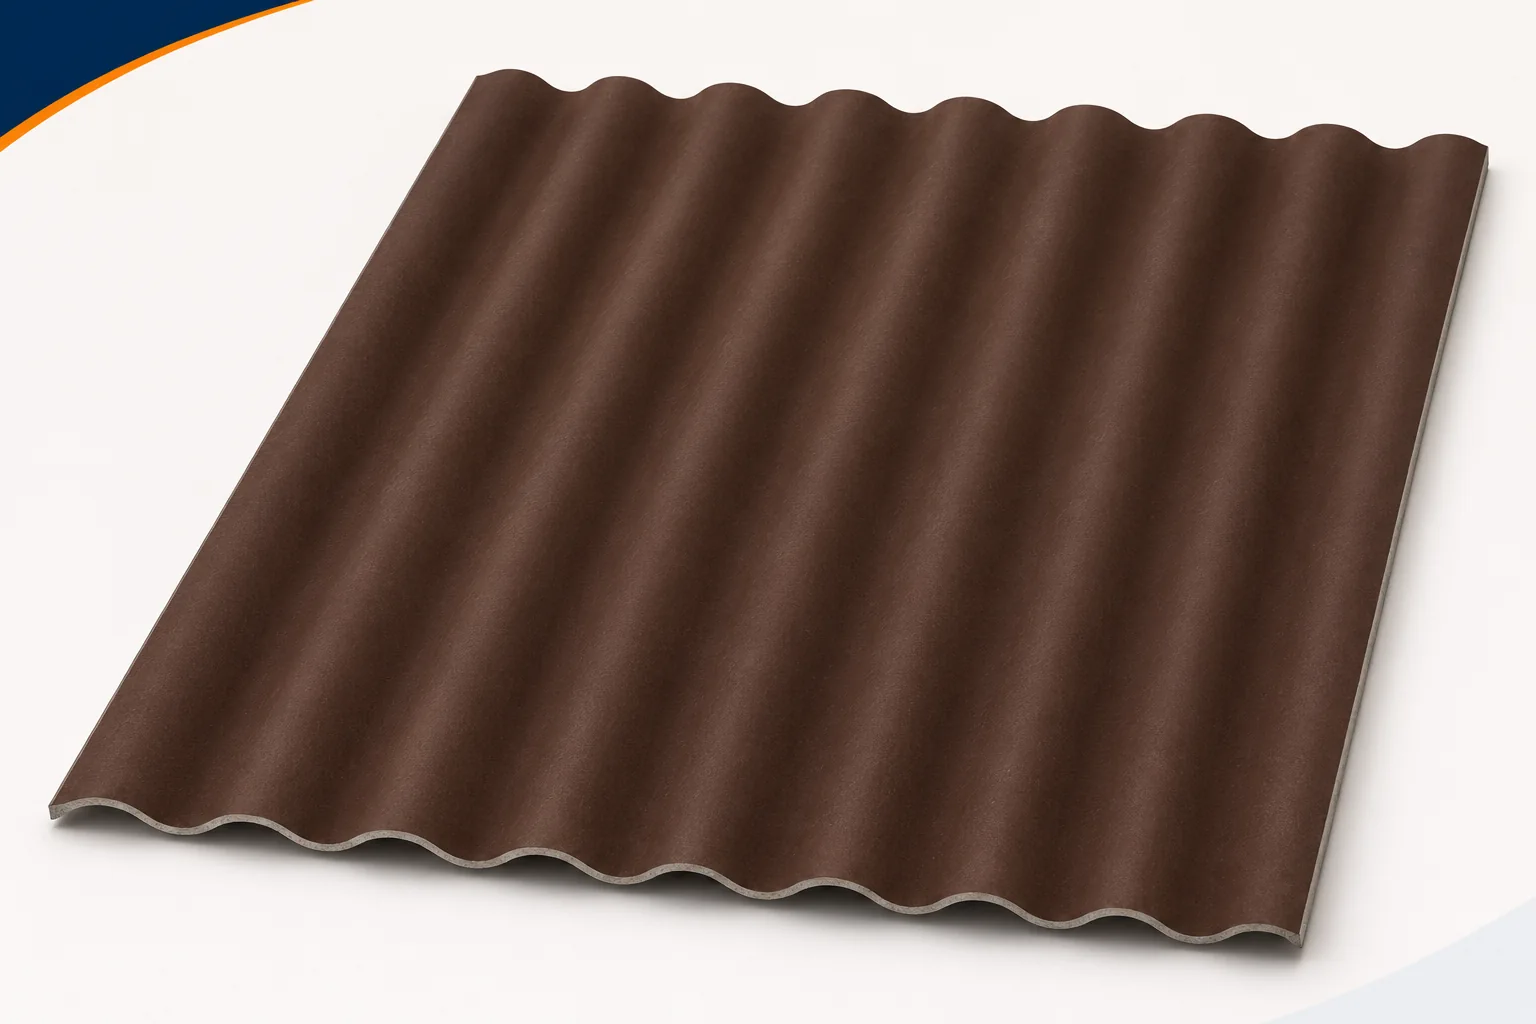
The position of the fastener affects the weathertightness and the way the covering performs. It is not chosen where it is easiest to reach with a tool. Fibre cement sheets are fixed according to the pattern specified for the product. In many roof systems the holes lie on the crests of designated corrugations. Asbestos-free fibre cement should not, however, be installed on the basis of this general rule alone. The support, the position of the hole and the required sealing set must also be determined. The valley of the corrugation directs water down the slope. The crest is a different location in terms of geometry and run-off. The fixing system uses this difference but requires proper sealing of the penetration. Placing the screw high up alone does not guarantee weathertightness.

2026-11-15T17:20:37+01:00

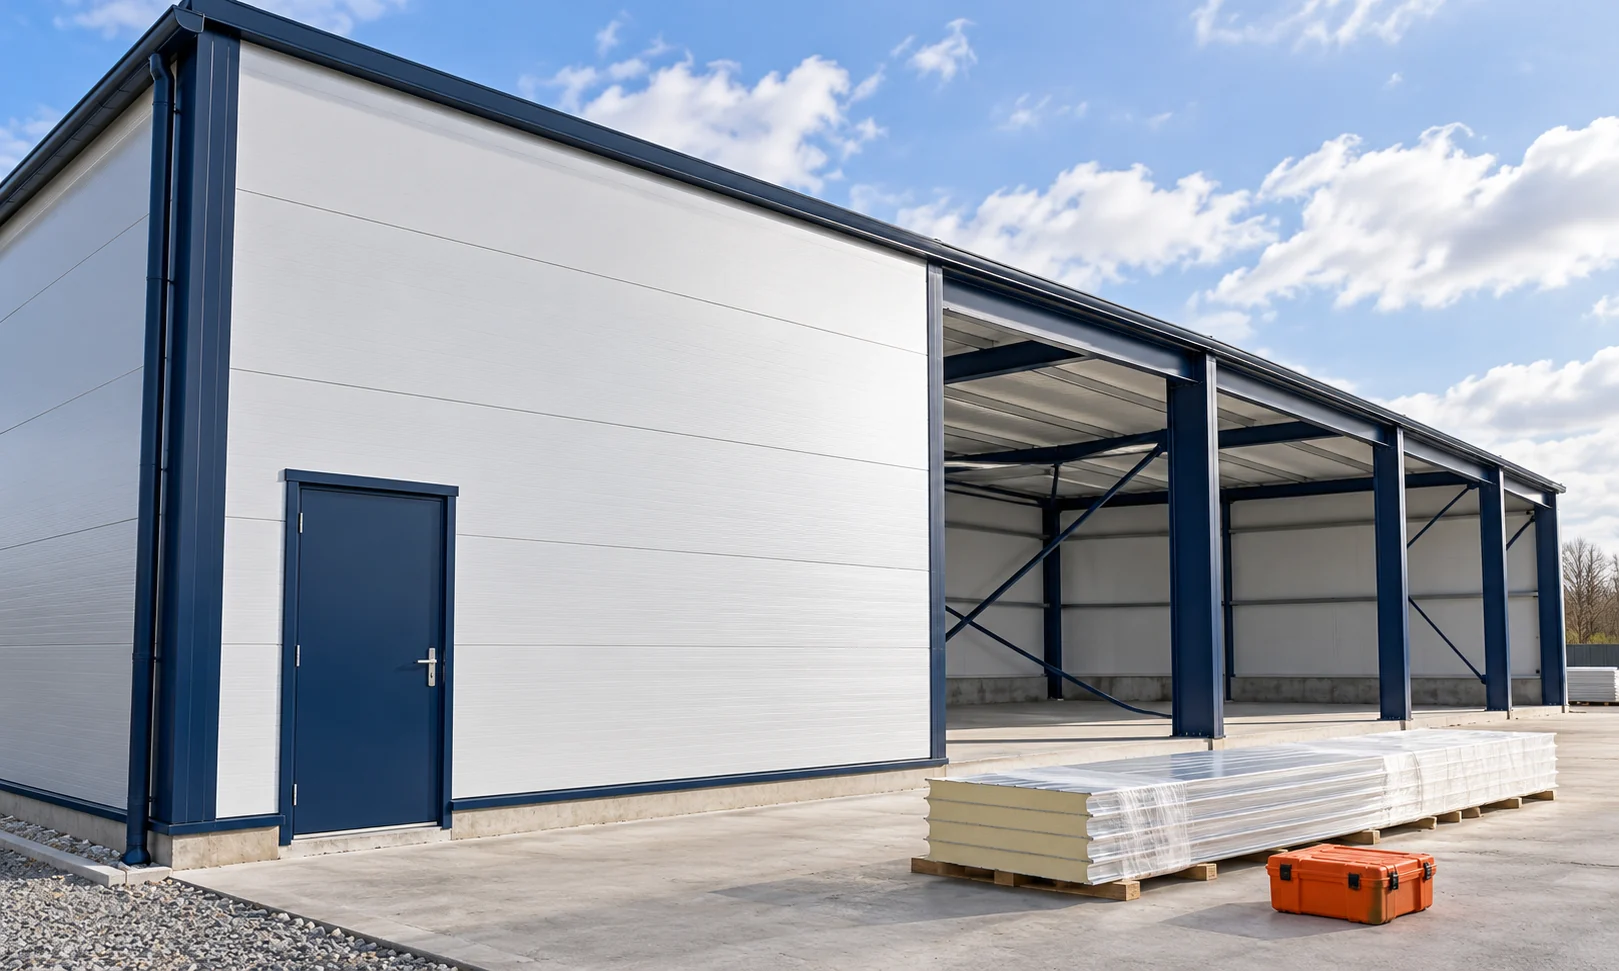
How do you install the panels from measuring the structure to closing the building envelope?

A good installation pace starts with dimensions that match. A panel will not fix a crooked support or a badly positioned opening. Before delivery, it is therefore worth finalising the measurements and the layout of the building envelope. After that, the work follows the details of the specific system. The sequence below helps prepare the site, though it does not replace the connection design. Measure the support axes, heights and diagonals. Also check the width of the surface on which the panel will be supported. The nominal frame dimension is not always the panel cutting dimension. It is affected by the solutions at the base, corners and top edge.

2026-11-14T11:59:52+01:00

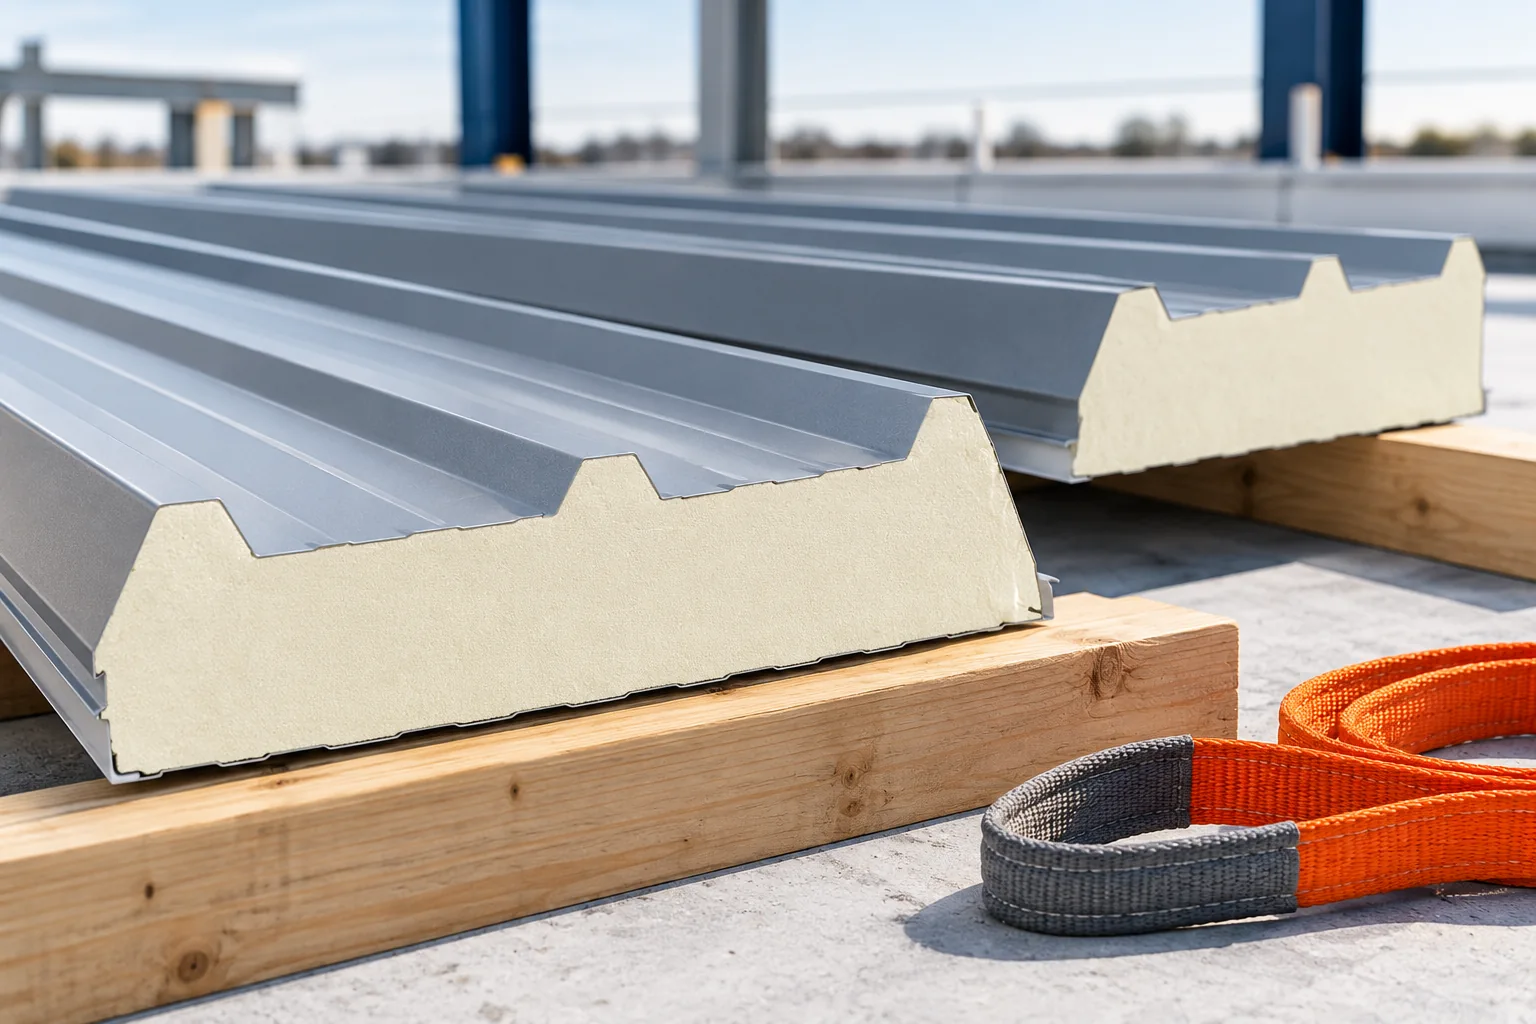
Installing insulated roof panels: sequence of work and key details

A roof panel schedule needs to agree with both the structural drawings and the fitting instructions for the selected panel. Before delivery, check lengths, support positions, joint details and the direction in which the roof will be laid. Two PIR panels can both be 100 mm thick yet use different joints. Confirm the facing and core thicknesses and the requirements of the actual model. Check that the supports are in plane and that lifting will protect the edges. Once fitting starts, inspect the joints, fixings, seals and flashings as the work progresses.

2026-11-14T22:28:25+01:00

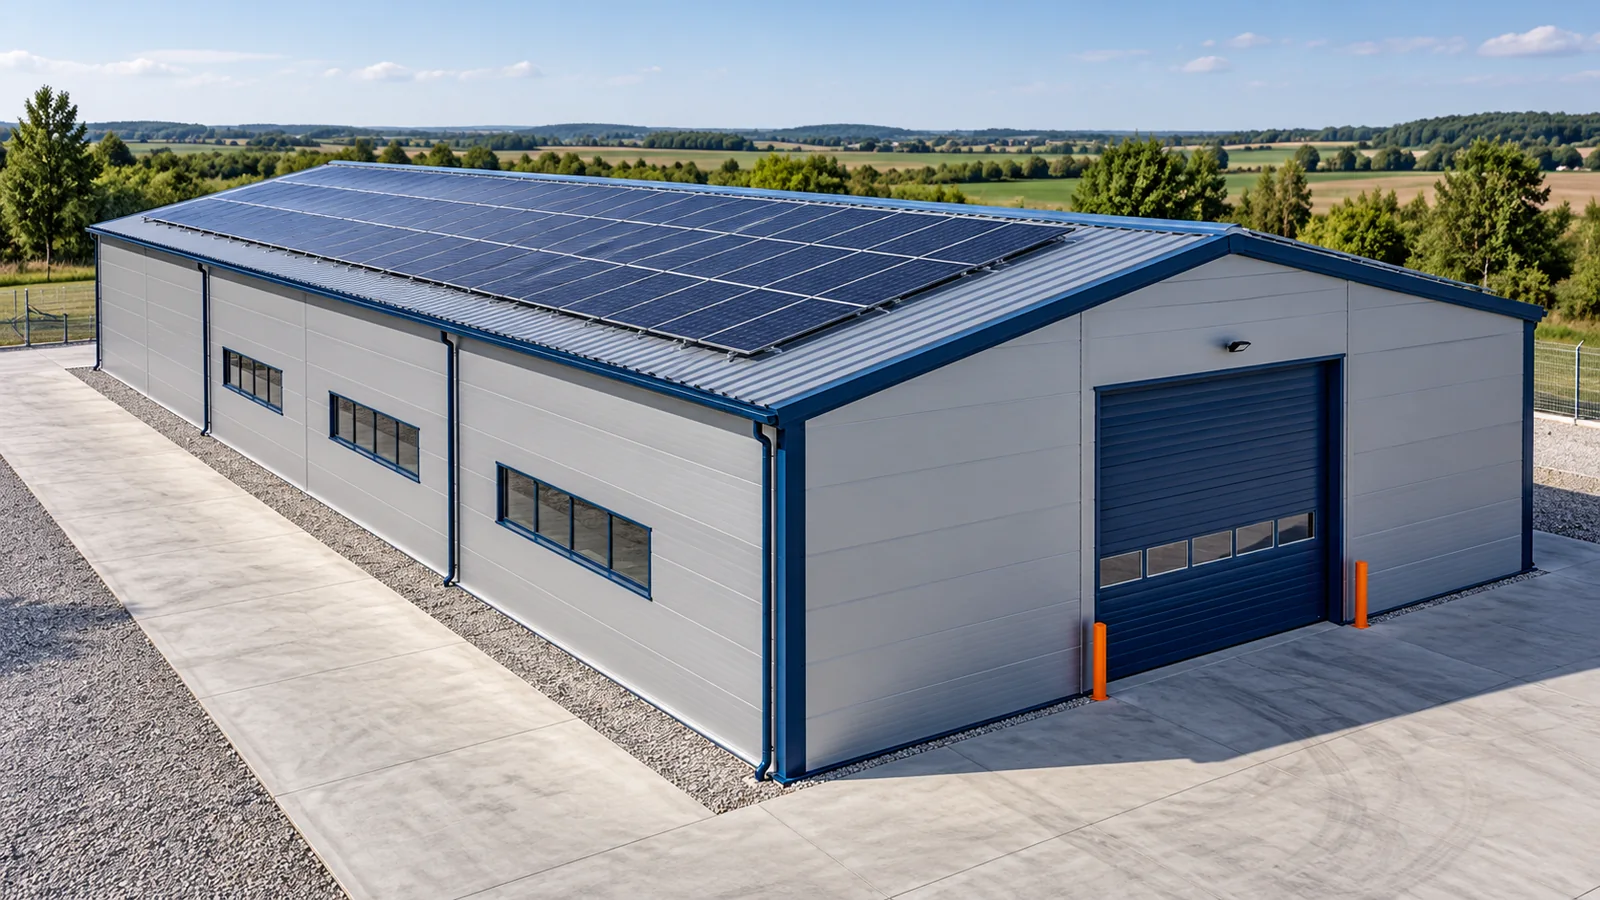
Checking loads before adding solar panels or equipment to a steel building

A large steel hall roof invites the use of photovoltaics and technical equipment. However, free surface area does not mean free load-bearing capacity. Every additional element has weight, fixings and a specific way of transferring forces. Before ordering equipment, it must be checked whether the existing structure was prepared for it. This is easiest to do before choosing the final installation layout. The schedule must include the weight of the equipment and the support structures. Their arrangement must also be known. The same total weight can load the roof differently when distributed evenly and differently across several supports. A steel hall requires assessment of the actual way forces are transferred, not only the value given per square metre.

2026-11-15T02:36:04+01:00

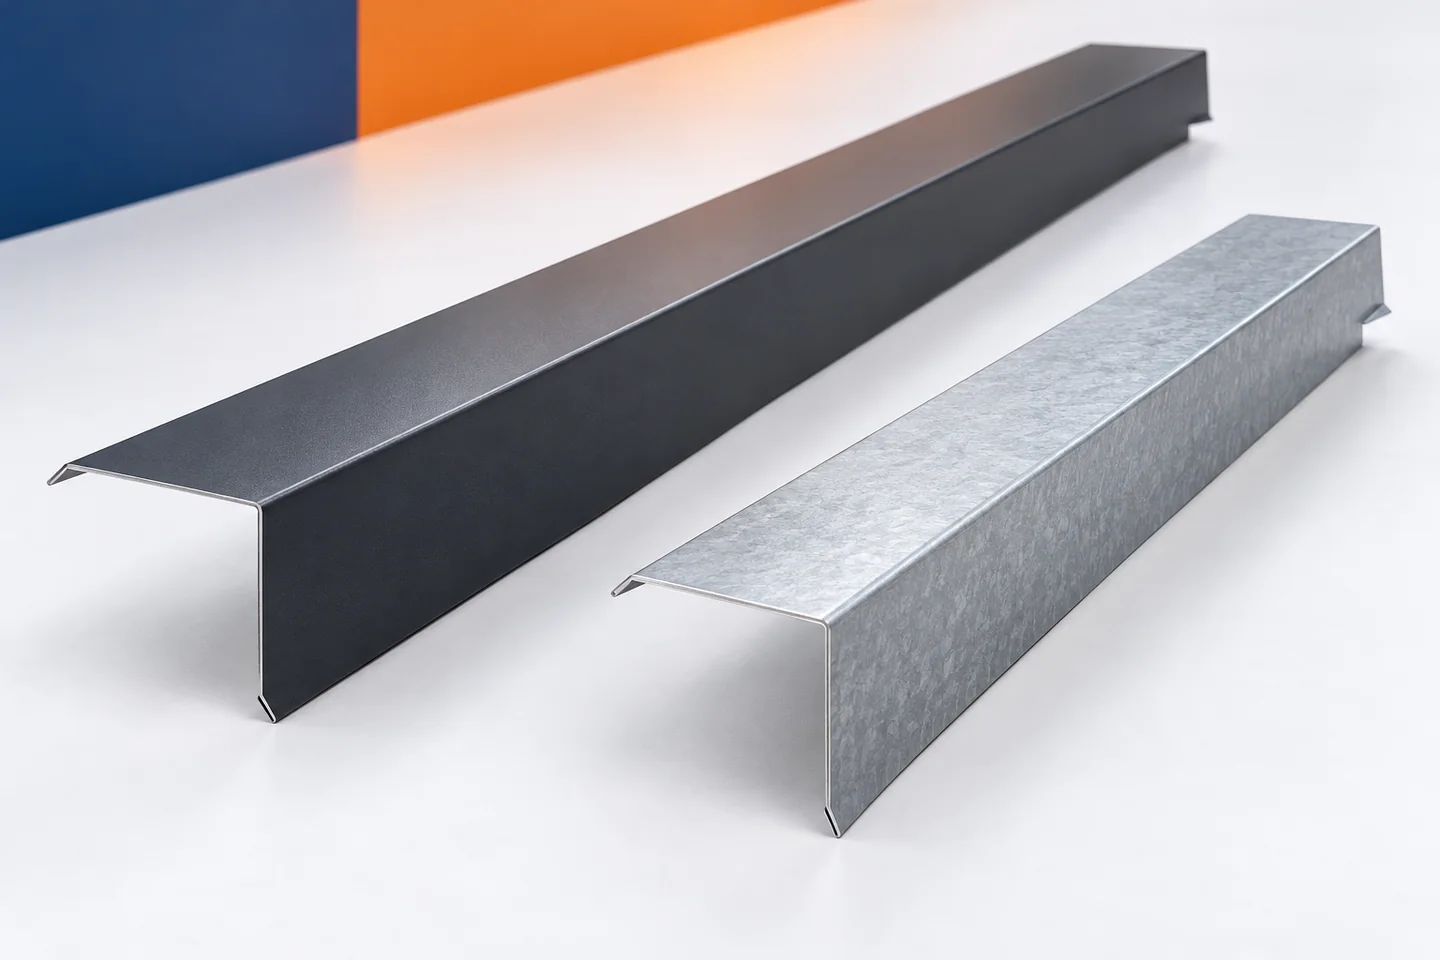
Inspecting a delivery of sheet metal flashings before installation

It is best to check the flashings while they can still be compared with the documents and set aside freely. Bringing the entire delivery onto the roof before checking makes it harder to clarify mistakes. The acceptance check does not have to be complicated. It should, however, cover quantity, geometry, material and surface condition. This allows a recognisable complete set to be handed over to the installer instead of a collection of similar metal strips. The acceptance check requires the schedule according to which the delivery was made. If the order was changed, the latest approved version must be used. It is not worth comparing the sheets with the first working quote. Differences may then result from an agreed correction rather than from a supplier error.

2026-11-15T02:37:05+01:00

Joining timber beams: how to choose a connection

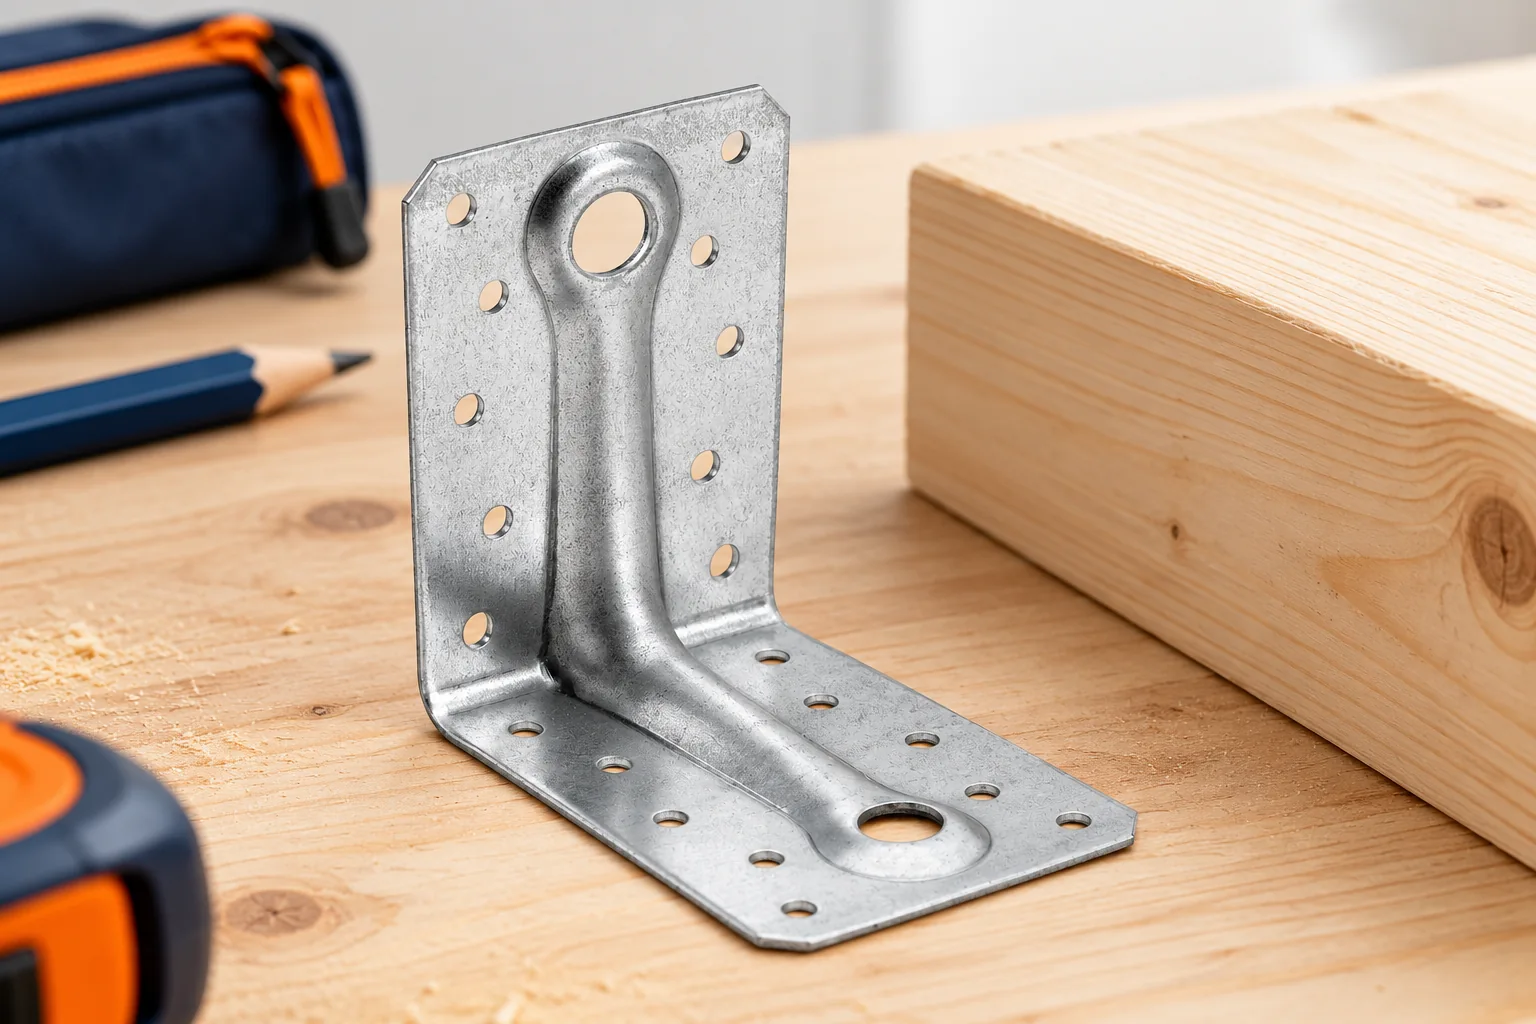
The choice of how to connect timber beams depends primarily on the forces the joint must transfer, not on the appearance of the connection. Extending a beam, supporting it on a post and joining two members at an angle are separate tasks, so no single variant is best in every situation. Check the load direction, geometry, timber class, edge distances and access for installation. Also establish whether the connection is mainly to provide bearing or must additionally resist uplift. Leave the design of the detail itself to the structural designer.

2026-11-14T22:26:58+01:00

How do you combine insulation of an old roof with the installation of BIPV roofing?

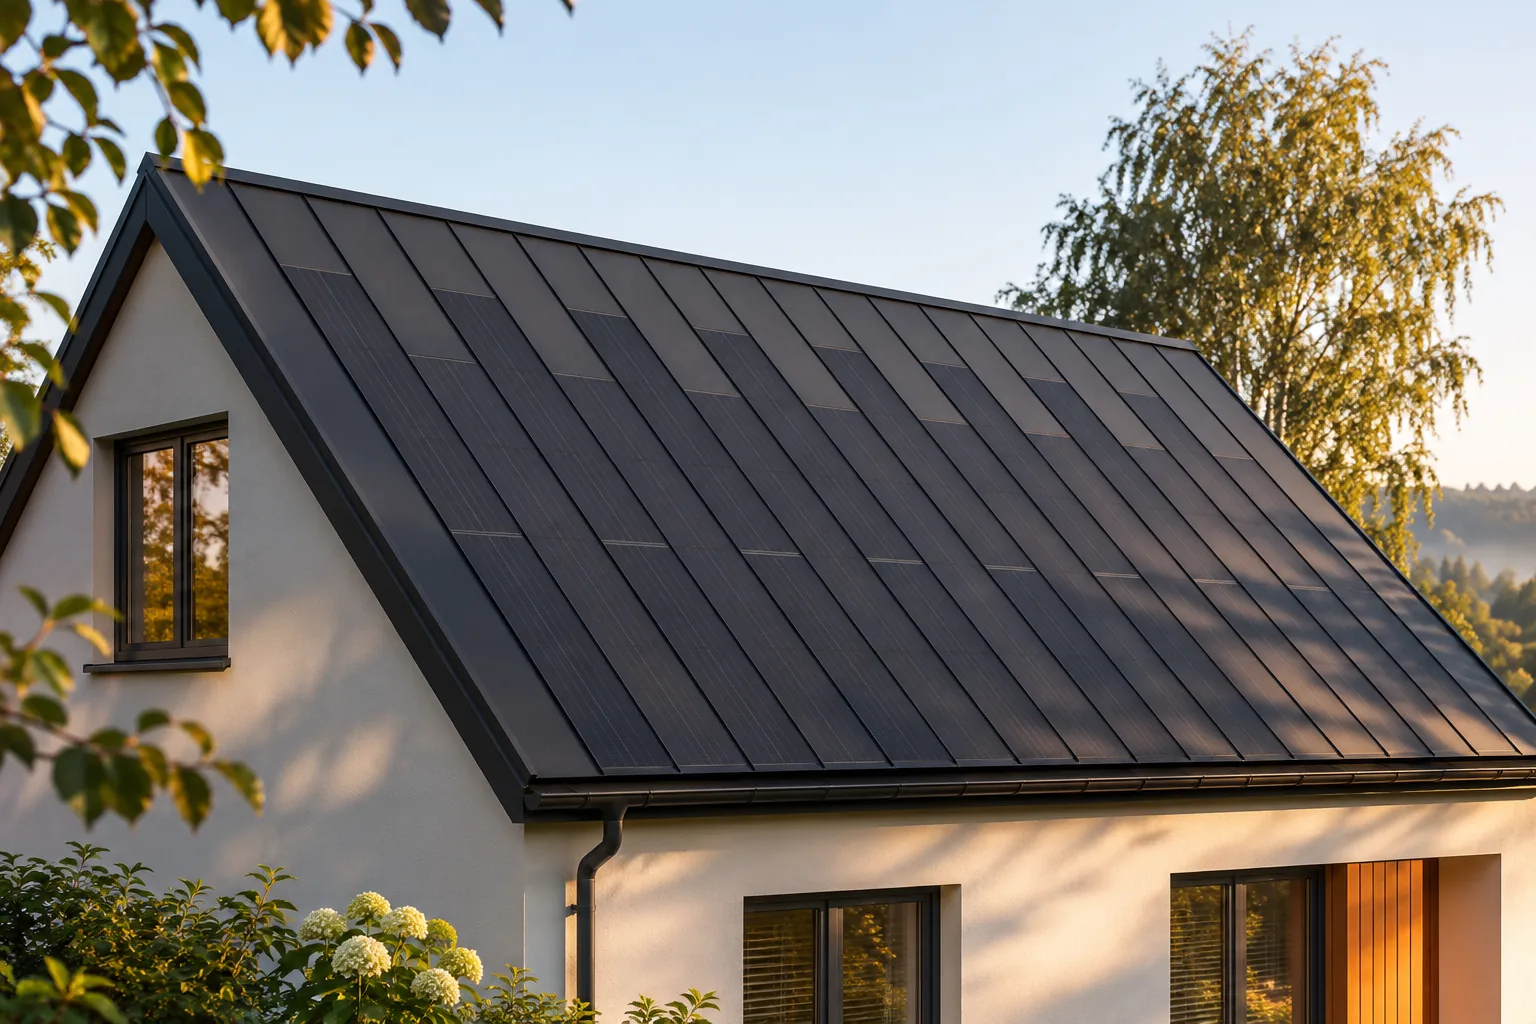
Replacing the roof covering with photovoltaic roofing is a good opportunity to check the roof insulation. The layers can then be assessed from the outside, and areas that are difficult to repair once the work is finished can be improved. BIPV does not replace insulation, but it can work together with it in a well-designed building envelope. The best result comes from a joint plan for airtightness, ventilation and covering. This gives the house both a new roof surface and a properly ordered roof. With the covering removed, it is easier to assess the condition of some of the layers and of the points where they meet the flashings. This is the moment to check for signs of moisture, the continuity of the insulation and the geometry of the roof slope. Returning to these areas later may require dismantling the new roof again.

2026-11-15T17:19:28+01:00

How a wall plate is anchored to a ring beam

Wind uplift and lateral thrust from the roof reach the reinforced concrete ring beam through the wall plate and its anchors. Whether the connection can transfer these forces depends on more than the diameter of the rods. Check the specified anchor spacing, embedment and washers alongside the condition of the timber. Where anchors are installed later, the concrete and the position of the reinforcement also matter. Before insulation covers the connection, compare the installed anchors with the drawings while their position and seating can still be seen.

2026-11-14T22:26:42+01:00
Back to top